NCNN环境部署及yolov5pt转ncnn模型转换推理
该内容还未完整,笔记内容,持续补充。
〇开发环境版本
vs2022
cmake3.21.1
ncnn20231027发行版
yolov5s v6.2(注意:这个版本是我目前模型转换通过的,其他版本自行测试)
vunlkan1.2.198.1
Protobuf3.20.0
Opencv3.4.1
一、模型转换
yolov5s v6.2训练的pt模型,直接导出tourchscript,然后使用ncnn里面的pnnx工具直接转换为ncnn。
这个地方别去pt转onnx转ncnn的了,踩了多少坑才出来的,有能力的可以去踩。
官方文档:
https://github.com/pnnx/pnnx https://github.com/pnnx/pnnx
导出tourchscript使用yolov5里面export.py
tourchscript转pnnx命令(pnnx可以自己编译也可以直接下载ncnn-windows里面有编译好的):
pnnx.exe best.torchscript inputshape=[1,3,640,640]二、部署环境(该部分内容待修改,最新版本ncnn无需vunlkan可直接编译;)
注意:cmake编译需要使用x64 Native Tools Command Prompt for VS 2022工具里面,cmd是没效果的。
直接拉取GitHub源码,然后更新完整代码。
git clone https://github.com/Tencent/ncnn.git
cd ncnn
git submodule update --init
1.安装vunlkan 1.2.198.1版本,记得配置环境变量
官网下载(只有最新版,而且特别慢):
https://vulkan-tutorial.com/ https://vulkan-tutorial.com/
GitHub下载:
https://github.com/KhronosGroup/Vulkan-Loader https://github.com/KhronosGroup/Vulkan-Loader
2.安装Protobuf3.20.0版本
源码下载地址:
官方文档:
编译Protobuf命令 :
mkdir build_vs
cmake -G"NMake Makefiles" -DCMAKE_BUILD_TYPE=Release -DCMAKE_INSTALL_PREFIX=%cd%/install -Dprotobuf_BUILD_TESTS=OFF -Dprotobuf_MSVC_STATIC_RUNTIME=OFF ../cmake
nmake
nmake install
3.编译ncnn
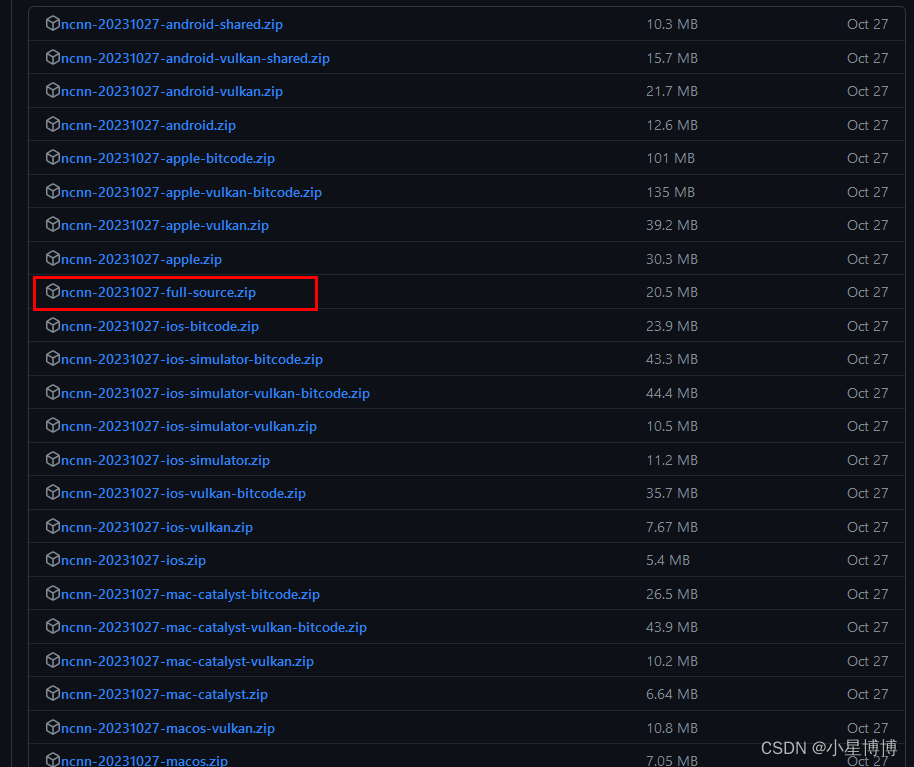
下载ncnn完整源码:
https://github.com/Tencent/ncnn/releases https://github.com/Tencent/ncnn/releases
直接下载发行版本的完整代码,然后解压,用以下命令编译,自行替换Protobuf的编译路径,其中DNCNN_VULKAN=ON表示使用Vunlkan加速
mkdir build_vs
cmake -G"NMake Makefiles" -DCMAKE_BUILD_TYPE=Release -DCMAKE_INSTALL_PREFIX=%cd%/install -DProtobuf_INCLUDE_DIR=D:\protobuf-cpp-3.20.0\protobuf-cpp-3.20.0\protobuf-3.20.0\build_vs\install/include -DProtobuf_LIBRARIES=D:\protobuf-cpp-3.20.0\protobuf-cpp-3.20.0\protobuf-3.20.0\build_vs\install/lib/libprotobuf.lib -Dprotobuf_DIR=D:\protobuf-cpp-3.20.0\protobuf-cpp-3.20.0\protobuf-3.20.0\build_vs/install/cmake -DProtobuf_PROTOC_EXECUTABLE=D:\protobuf-cpp-3.20.0\protobuf-cpp-3.20.0\protobuf-3.20.0\build_vs\install/bin/protoc.exe -DNCNN_VULKAN=ON ..
ncmake
ncmake install https://github.com/protocolbuffers/protobuf/releases/download/v3.20.0/protobuf-cpp-3.20.0.tar.gz
 https://github.com/Tencent/ncnn/wiki/FAQ-ncnn-protobuf-problem.zh