Android中绑定控件的几种方式
声明:本篇文章主要转载自:你还在用 findViewById 吗?
- 官方API findViewById
TextView tvCenter = findViewById(R.id.tv_center);
tvCenter.setText("Text Change");- 开源库ButterKnife
虽然方式一简单又好用,但是当控件很多的时候,就会出现一大堆的findViewById。
比如这样:
TextView tv1;
TextView tv2;
TextView tv3;
TextView tv4;
TextView tv5;

@Override
protected void onCreate(Bundle savedInstanceState) {
    super.onCreate(savedInstanceState);
    setContentView(R.layout.activity_main);
    tv1 = findViewById(R.id.tv1);
    tv2 = findViewById(R.id.tv2);
    tv3 = findViewById(R.id.tv3);
    tv4 = findViewById(R.id.tv4);
    tv5 = findViewById(R.id.tv5);
}
而使用开源库ButterKnife,就很清爽。
关于ButterKnife绑定控件id,看这篇:ButterKnife
- DataBinding
首先需要对 module 所在的 build.gradle 做更改,修改配置如下:
android {
    ...
    dataBinding {
        enabled = true
    }
}
接着在布局外面套一层 layout,如下:
<?xml version="1.0" encoding="utf-8"?>
<layout xmlns:android="http://schemas.android.com/apk/res/android">
    <androidx.constraintlayout.widget.ConstraintLayout
        xmlns:app="http://schemas.android.com/apk/res-auto"
        xmlns:tools="http://schemas.android.com/tools"
        android:layout_width="match_parent"
        android:layout_height="match_parent"
        tools:context=".MainActivity">

        <TextView
            android:id="@+id/tv_center"
            android:layout_width="wrap_content"
            android:layout_height="wrap_content"
            android:text="Hello World!"
            app:layout_constraintBottom_toBottomOf="parent"
            app:layout_constraintLeft_toLeftOf="parent"
            app:layout_constraintRight_toRightOf="parent"
            app:layout_constraintTop_toTopOf="parent" />

    </androidx.constraintlayout.widget.ConstraintLayout>
</layout>
这一部分是有快捷键的,鼠标放在androidx这一行,Alt+Enter,选择Convert to dat........回车
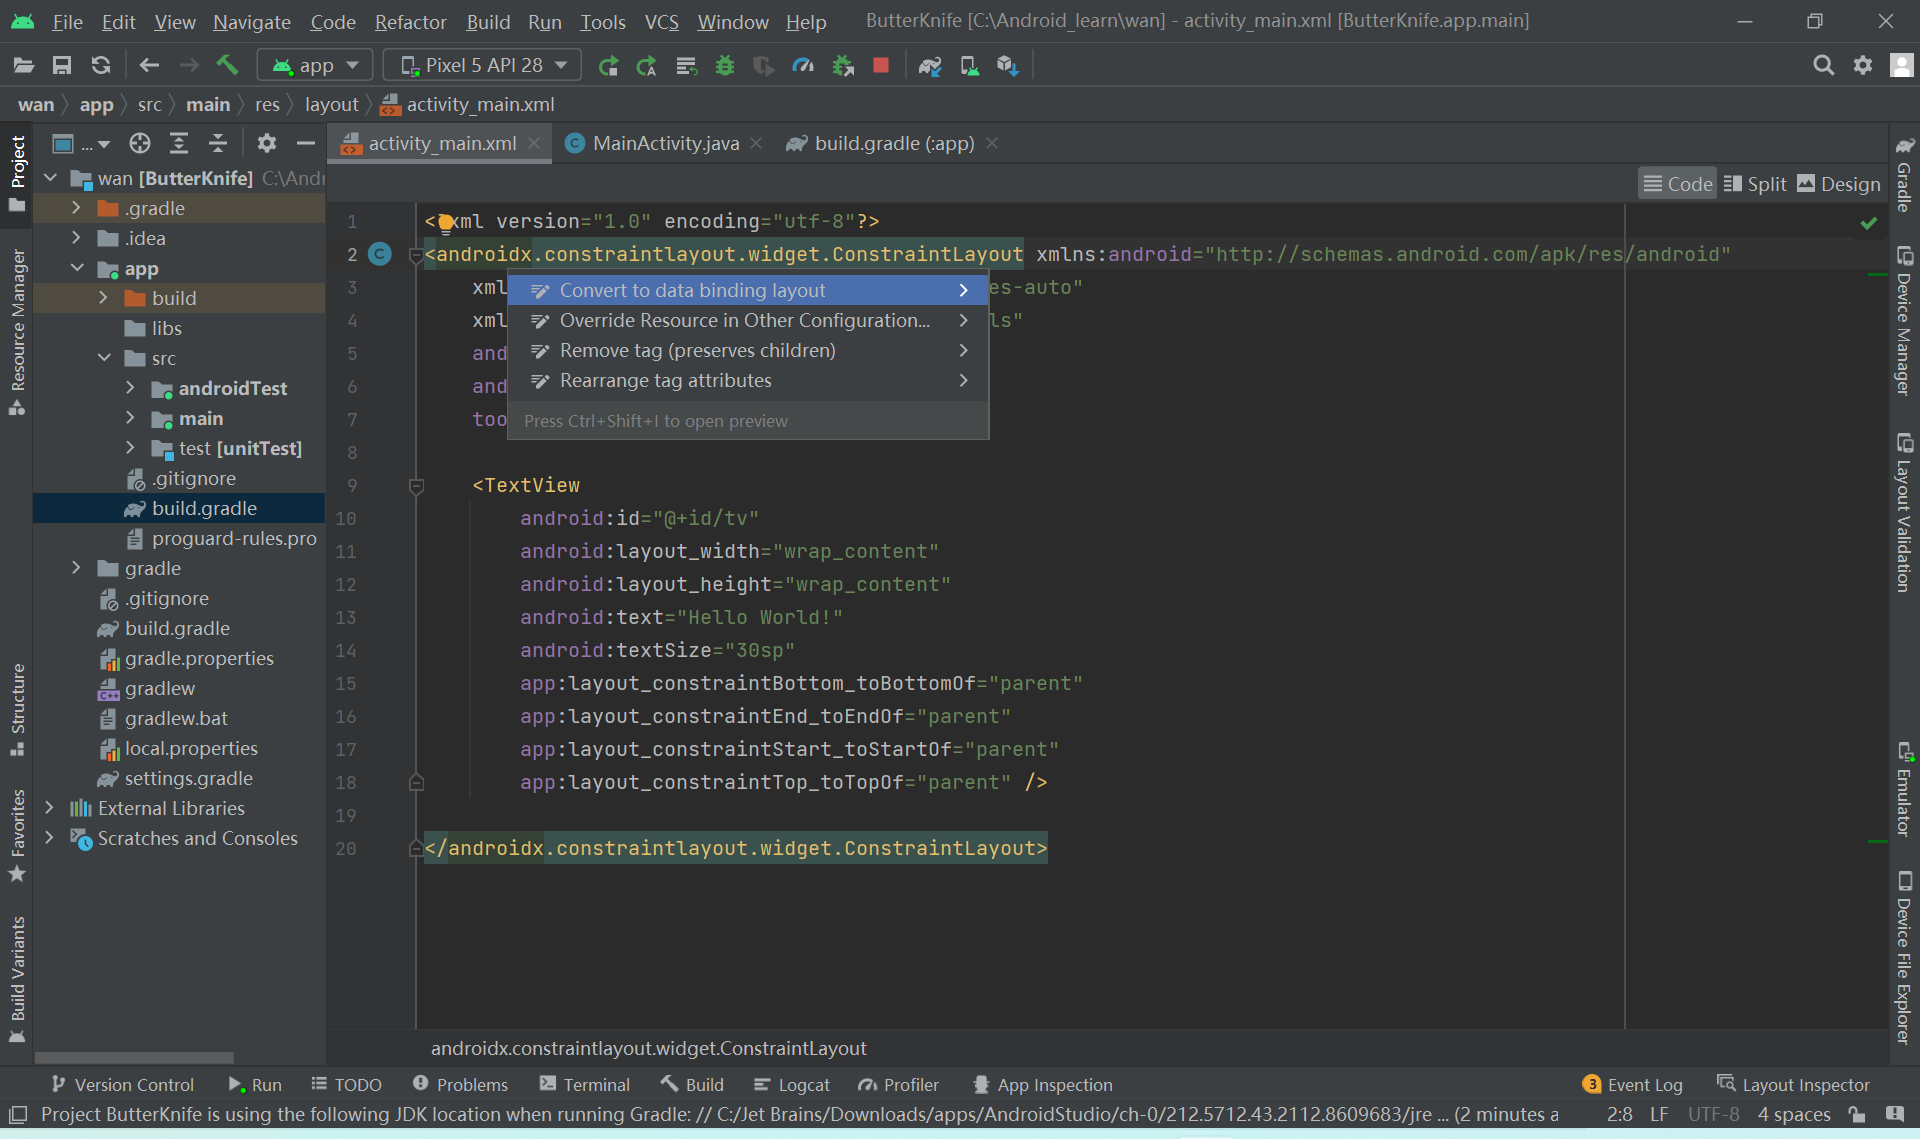
然后主界面代码逻辑修改如下: