Centos7:Jenkins+gitlab+node项目启动(2)
Centos7:Jenkins+gitlab+node项目启动(1)
Centos7:Jenkins+gitlab+node项目启动(1)-CSDN博客
Centos7:Jenkins+gitlab+node项目启动(2)
Centos7:Jenkins+gitlab+node项目启动(2)-CSDN博客
Centos7:Jenkins+gitlab+node项目启动(3)
Centos7:Jenkins+gitlab+node项目启动(3)-CSDN博客
安装gitlab
编辑文件(新建)
vim /etc/yum.repos.d/gitlab-ce.repo
[gitlab-ce]
name=Gitlab CE Repository
baseurl=https://mirrors.tuna.tsinghua.edu.cn/gitlab-ce/yum/el$releasever/
gpgcheck=0
enabled=1
安装
yum install gitlab-ce

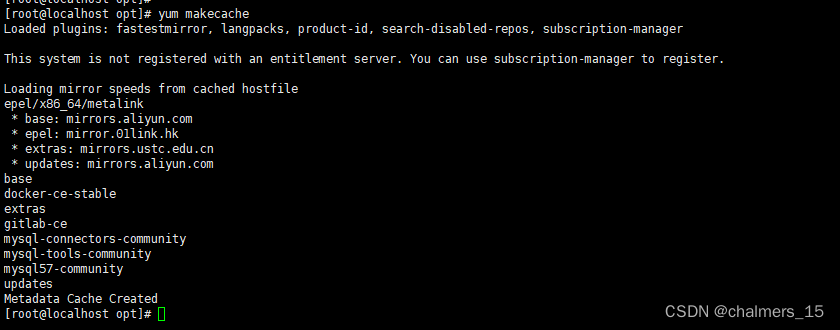
缓存
yum makecache
常用指令
gitlab-ctl start    # 启动所有 gitlab 组件;
gitlab-ctl stop        # 停止所有 gitlab 组件;
gitlab-ctl restart        # 重启所有 gitlab 组件;
gitlab-ctl status        # 查看服务状态;
gitlab-ctl reconfigure        # 启动服务;
vim /etc/gitlab/gitlab.rb        # 修改默认的配置文件;
gitlab-rake gitlab:check SANITIZE=true --trace    # 检查gitlab;
sudo gitlab-ctl tail        # 查看日志;
修改配置
vim /etc/gitlab/gitlab.rb
external_url 'http://127.0.0.1:8282'
puma['port']=8283
注1:8282 随意定义 不冲突就好
注2:8283 这行没加的话 cpu飙升 打开本地GitLab 会出现 502
启动服务+启动组件
gitlab-ctl reconfigure 这个比较久
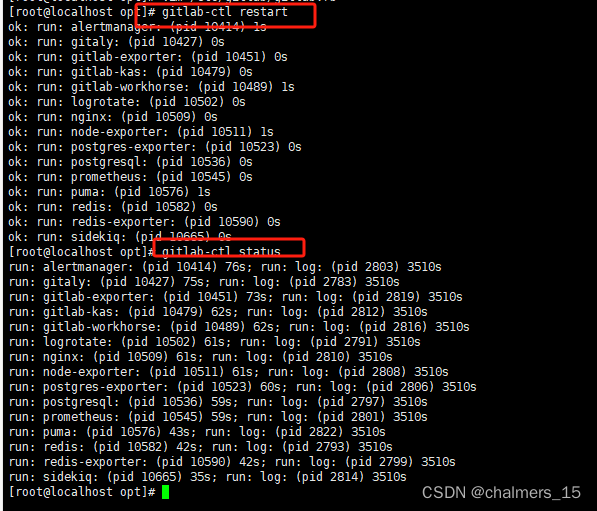
gitlab-ctl restart
gitlab-ctl status
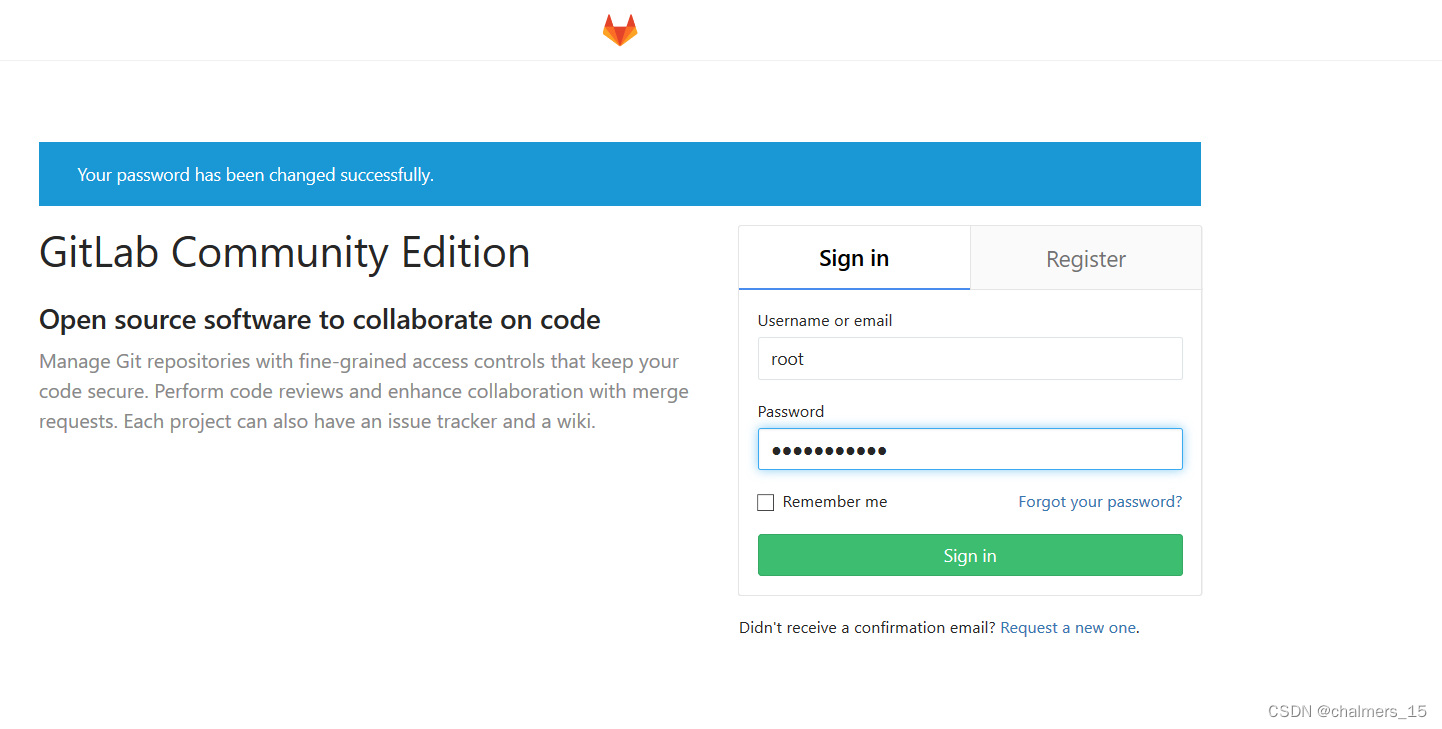
登录 http://192.168.2.77:8282/
用户:root
密码cat /etc/gitlab/initial_root_password

注1:修改相应的ip和端口
查看是否安装git
git --version

生成密钥文件
终端执行 ssh-keygen 下一步 下一步
cat id_rsa.pub

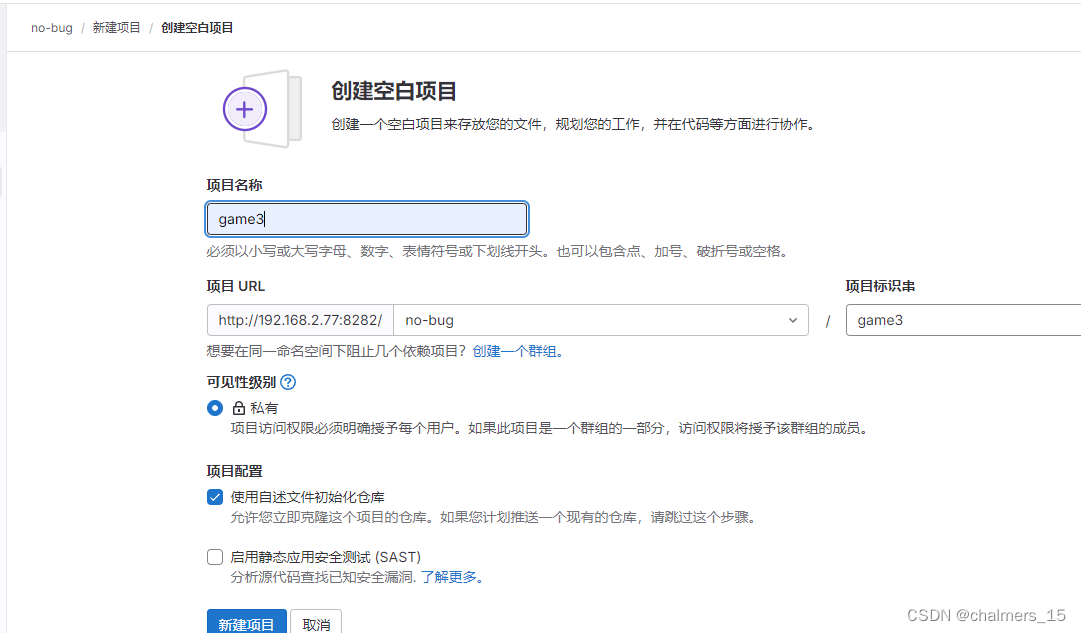
新建群组+新建项目

来吧 从此无bug
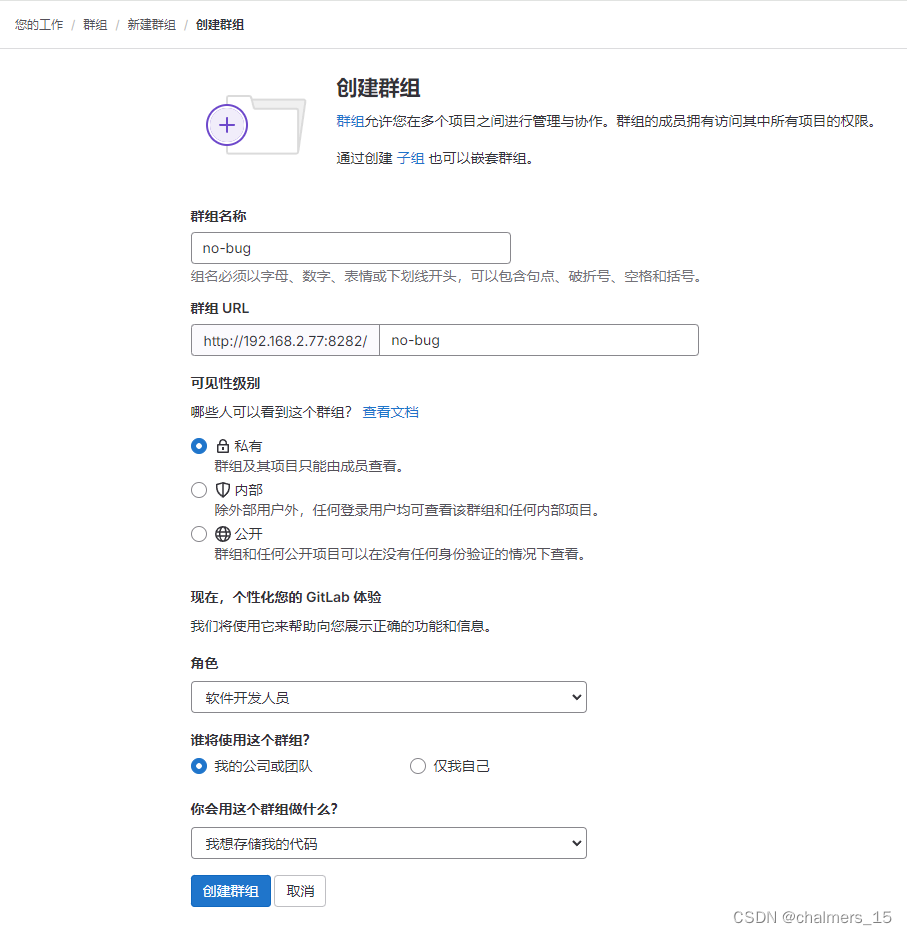
随便取个名字吧
来几个人一起写bug
http://192.168.2.77:8282/users/sign_up
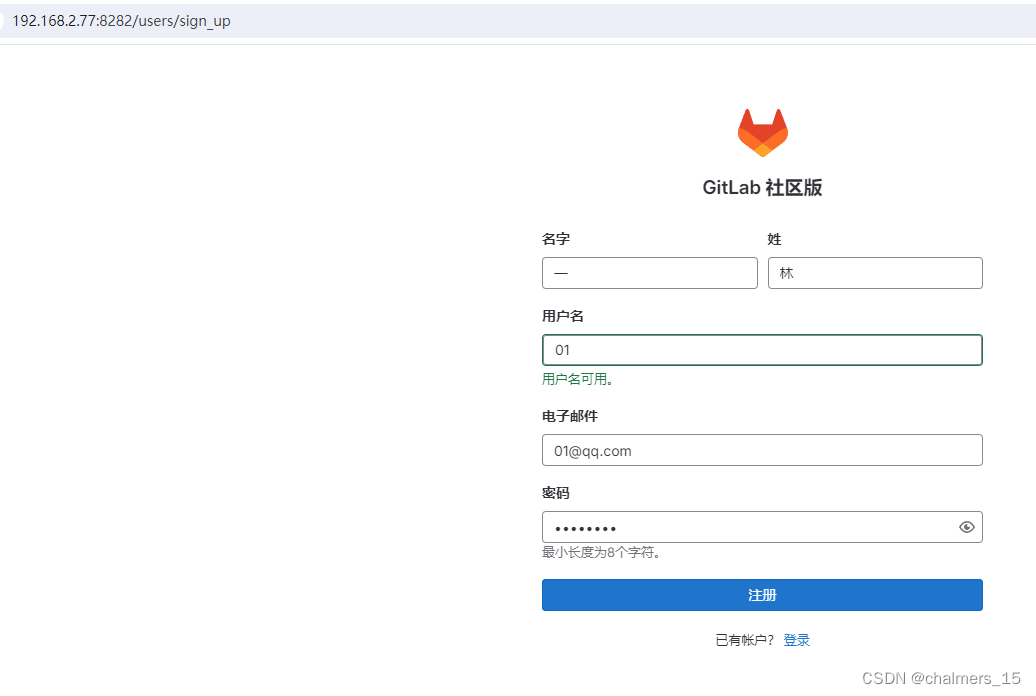
您已成功注册。但是,由于您的帐户正在等待管理员的批准,我们无法让您登录。
root 账号登录 http://192.168.2.77:8282/admin

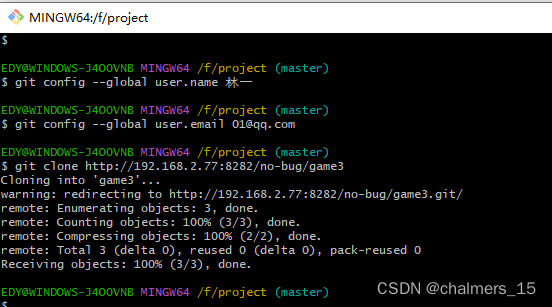
拉取下来
git config --global user.name 林一
git config --global user.email 01@qq.com
git clone http://192.168.2.77:8282/no-bug/game3
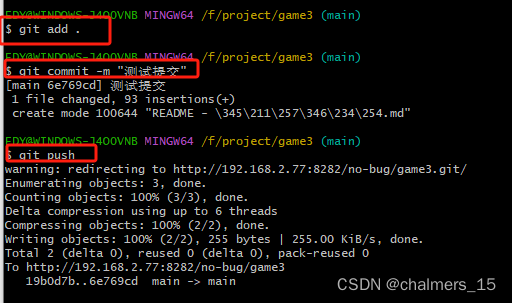
推送上去(注意当前路径)

随便新增一个文件
git add.
git commit -m "测试提交"
git push
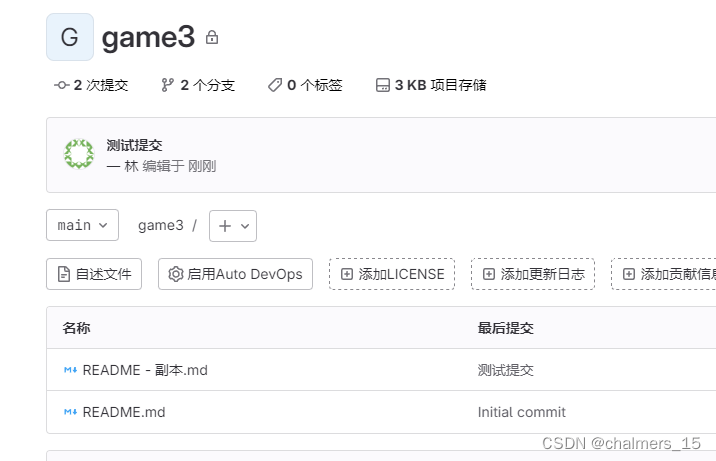
去网页查看项目
http://192.168.2.77:8282/no-bug/game3