Docker入门(安装、换阿里源及配置阿里云镜像加速)
文章目录
一、Docker 概述
1.1 Docker 为什么出现
-
要解决的问题
一款产品: 开发 – 上线 两套环境! 应用环境, 应用配置!开发 – 运维.
问题: 我在我的电脑上可以运行! 版本更新, 导致服务不可用! 对于运维来说, 考验就十分大!
环境配置十分的麻烦, 每一个机器都要部署环境(集群Redis、ES、Hadoop…)! 费时费力。
发布一个项目(jar + (Redis + MySQL jdk ES)), 项目能不能都带上环境安装打包!
之前在服务器配置一个应用的环境 Redis MySQL jdk ES Hadoop , 配置超麻烦, 不能够跨平台.
Windows, 最后发布到 Linux!
传统: 开发jar, 运维来做!
现在: 开发打包部署上线, 一套流程做完! -
解决方案
java – apk – 发布( 应用商店) — 张三使用apk — 安装即可用
java – jar(环境) – 打包项目带上环境(镜像) — (Docker仓库: 商店) — 下载我们发布的镜像 — 直接运行即可!Docker 给以上的问题, 提出了解决方案!
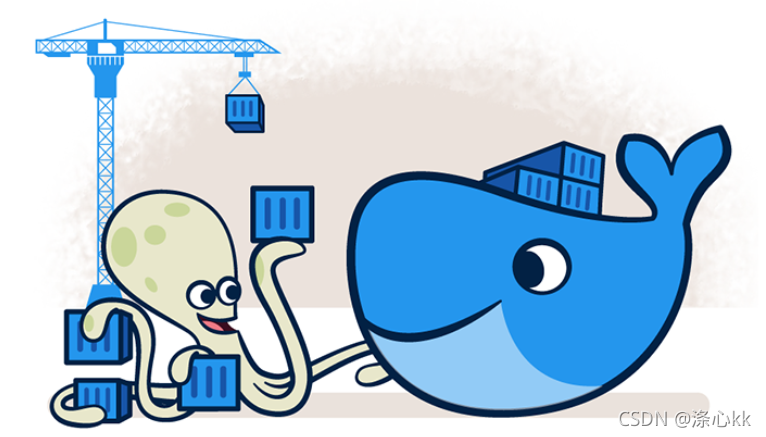
Docker的思想就是来自于 集装箱 !
JRE – 多个应用(端口冲突) – 原来都是交叉的!
隔离: Docker 核心思想! 打包装箱! 每个箱子是互相隔离的.
Docker 通过隔离机制, 可以将服务器利用到极致!本质: 所有的技术都是因为出现了一些问题, 我们需要去解决, 才去学习!
1.2 Docker 的历史

1.3 聊聊 Docker
Docker是基于Go语言开发的开源项目 官网

文档地址 Docker的文档是超级详细的!
仓库地址:https://hub.docker.com/(发布docker镜像)
1.4 Docker 能干嘛
虚拟机技术
缺点:
1、资源占用十分多
2、冗余步骤多
3、启动很慢
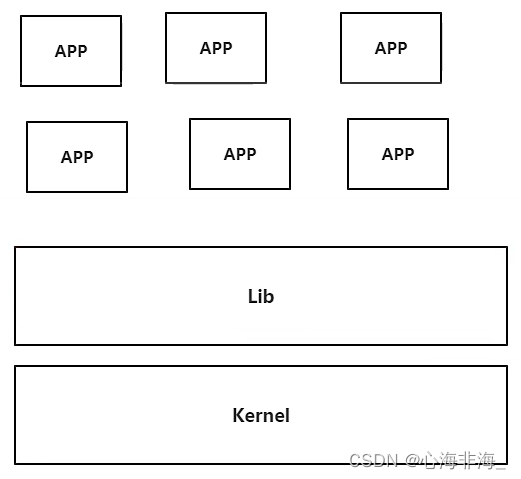
容器化技术
容器化技术不是模拟的一个完整的操作系统
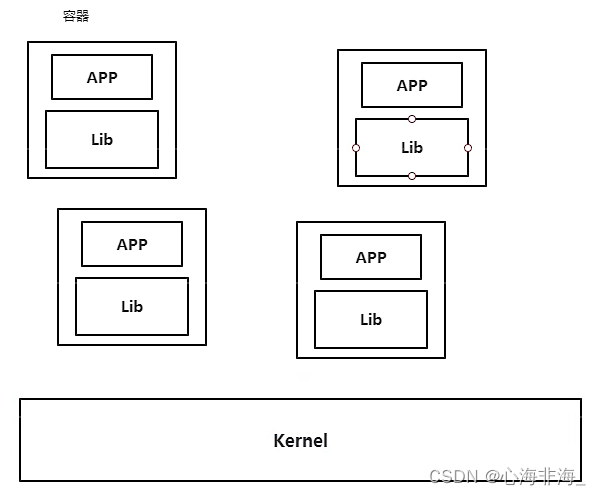
比较Docker和虚拟机技术的不同:
- 传统虚拟机虚拟出一套硬件,运行一个完整的操作系统,然后在这个系统上安装和运行软件
- 容器内的应用直接运行在宿主机的内容,容器是没有自己的内核的,也没有虚拟我们的硬件,所以就轻便了
- 每个容器间是相互隔离,每个容器内都有一个属于自己的文件系统,互不影响
DevOps(开发、运维)
应用更快速的交付和部署
传统:一堆帮助文档,安装程序
Docker:打包镜像发布测试,一键运行
更便捷的升级和扩缩容
使用了Docker之后,我们部署应用就和搭积木一样!
项目打包为一个镜像,扩展服务器A! 服务器B
更简单的系统运维
在容器化后,开发测试环境都是高度一致的
更高效的计算资源利用
Docker是内核级别的虚拟化,可以在一个物理机上运行很多的容器实例,服务器的性能可以压榨到极致
二、Docker 安装
2.1 Docker 的基本组成

镜像(image):
docker 镜像就好比是一个模板,可以通过这个模板来创建容器服务,tomcat镜像==>run==>tomcat01容器(提供服务器)
通过这个镜像可以创建多个容器(最终服务运行或者项目运行就是在容器中的)
容器(container):
Docker利用容器技术,独立运行一个或者一组应用,通过镜像来创建的
启动、停止、删除、基本命令 ==> 目前可以把这个容器理解为一个简易的linux系统
仓库(repository):
仓库就是存放镜像的地方,分为公有仓库和私有仓库
Docker Hub(默认是国外的)
阿里云(配置镜像加速)
2.2 安装 Docker
环境准备
1、需要会一点点的Linux基础
2、CentOS 7
3、Xshell
环境查看
# 系统内核是 3.10 以上的
[root@dixinkk etc]# uname -r
3.10.0-514.26.2.el7.x86_64
# 系统版本
[root@dixinkk ~]# cat /etc/os-release
NAME="CentOS Linux"
VERSION="7 (Core)"
ID="centos"
ID_LIKE="rhel fedora"
VERSION_ID="7"
PRETTY_NAME="CentOS Linux 7 (Core)"
ANSI_COLOR="0;31"
CPE_NAME="cpe:/o:centos:centos:7"
HOME_URL="https://www.centos.org/"
BUG_REPORT_URL="https://bugs.centos.org/"

CENTOS_MANTISBT_PROJECT="CentOS-7"
CENTOS_MANTISBT_PROJECT_VERSION="7"
REDHAT_SUPPORT_PRODUCT="centos"
REDHAT_SUPPORT_PRODUCT_VERSION="7"

---------------或者
[root@dixinkk ~]# lsb_release -a
LSB Version:	:core-4.1-amd64:core-4.1-noarch
Distributor ID:	CentOS
Description:	CentOS Linux release 7.3.1611 (Core)
Release:	7.3.1611
Codename:	Core
安装
帮助文档:
官方文档:安装
注意:更换镜像源站为阿里云
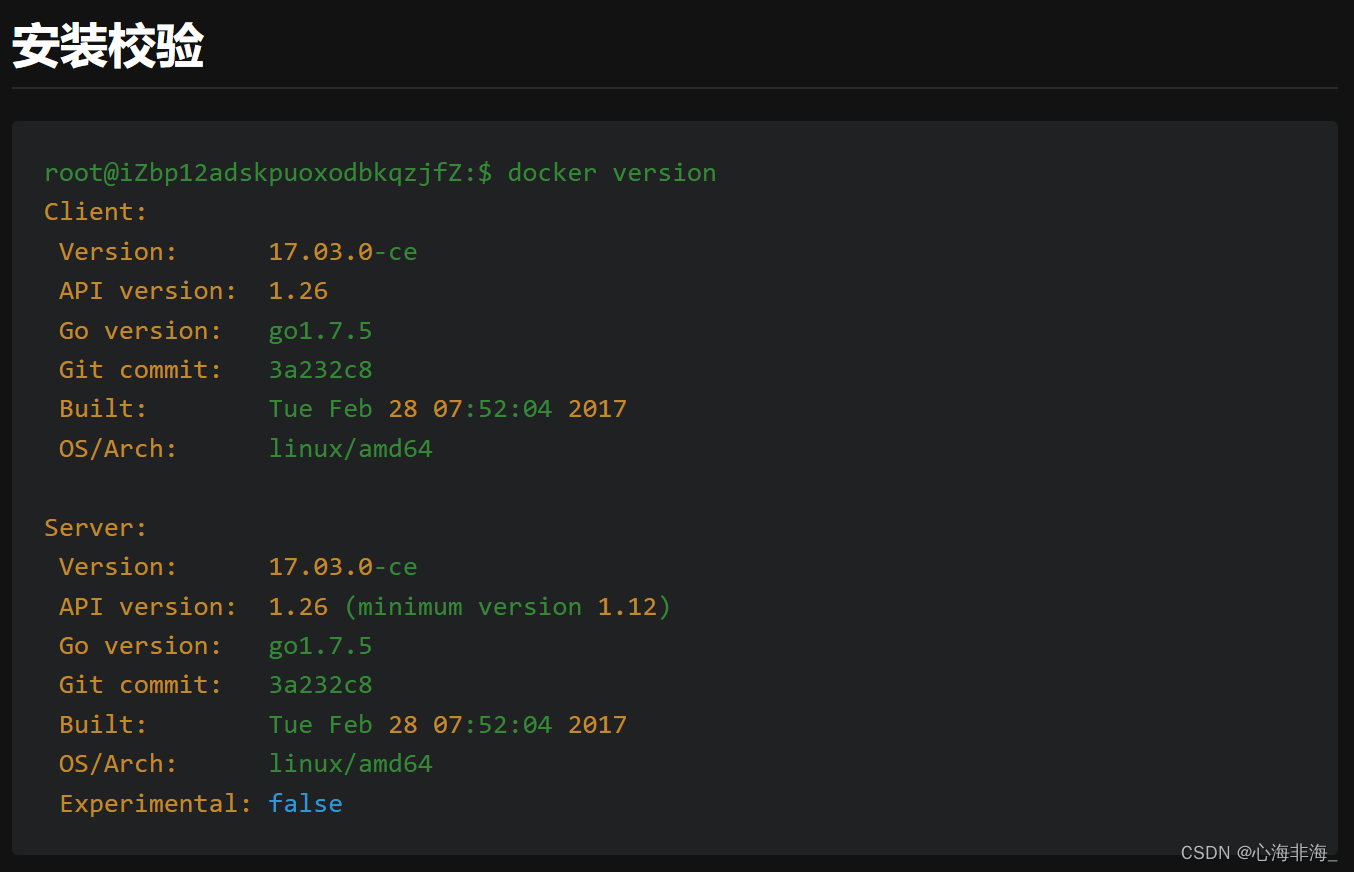
# 1.docker 启动
sudo service docker start
--------或者
systemctl start docker

# 2.docker run
[root@dixinkk /]# docker run hello-world
Unable to find image 'hello-world:latest' locally
latest: Pulling from library/hello-world
Digest: sha256:80f31da1ac7b312ba29d65080fddf797dd76acfb870e677f390d5acba9741b17
Status: Downloaded newer image for hello-world:latest

Hello from Docker!
This message shows that your installation appears to be working correctly.

To generate this message, Docker took the following steps:
 1. The Docker client contacted the Docker daemon.
 2. The Docker daemon pulled the "hello-world" image from the Docker Hub.
    (amd64)
 3. The Docker daemon created a new container from that image which runs the
    executable that produces the output you are currently reading.
 4. The Docker daemon streamed that output to the Docker client, which sent it
    to your terminal.

To try something more ambitious, you can run an Ubuntu container with:
 $ docker run -it ubuntu bash

Share images, automate workflows, and more with a free Docker ID:
 https://hub.docker.com/

For more examples and ideas, visit:
 https://docs.docker.com/get-started/
------
证明安装成功

# 3.查看 hello world 镜像 -- docker images
[root@dixinkk /]# docker images
REPOSITORY    TAG       IMAGE ID       CREATED        SIZE
hello-world   latest    feb5d9fea6a5   8 months ago   13.3kB
卸载 docker
1.卸载依赖
2.删除资源
# /var/lib/docker docker 的默认工作路径

2.3 阿里云镜像加速
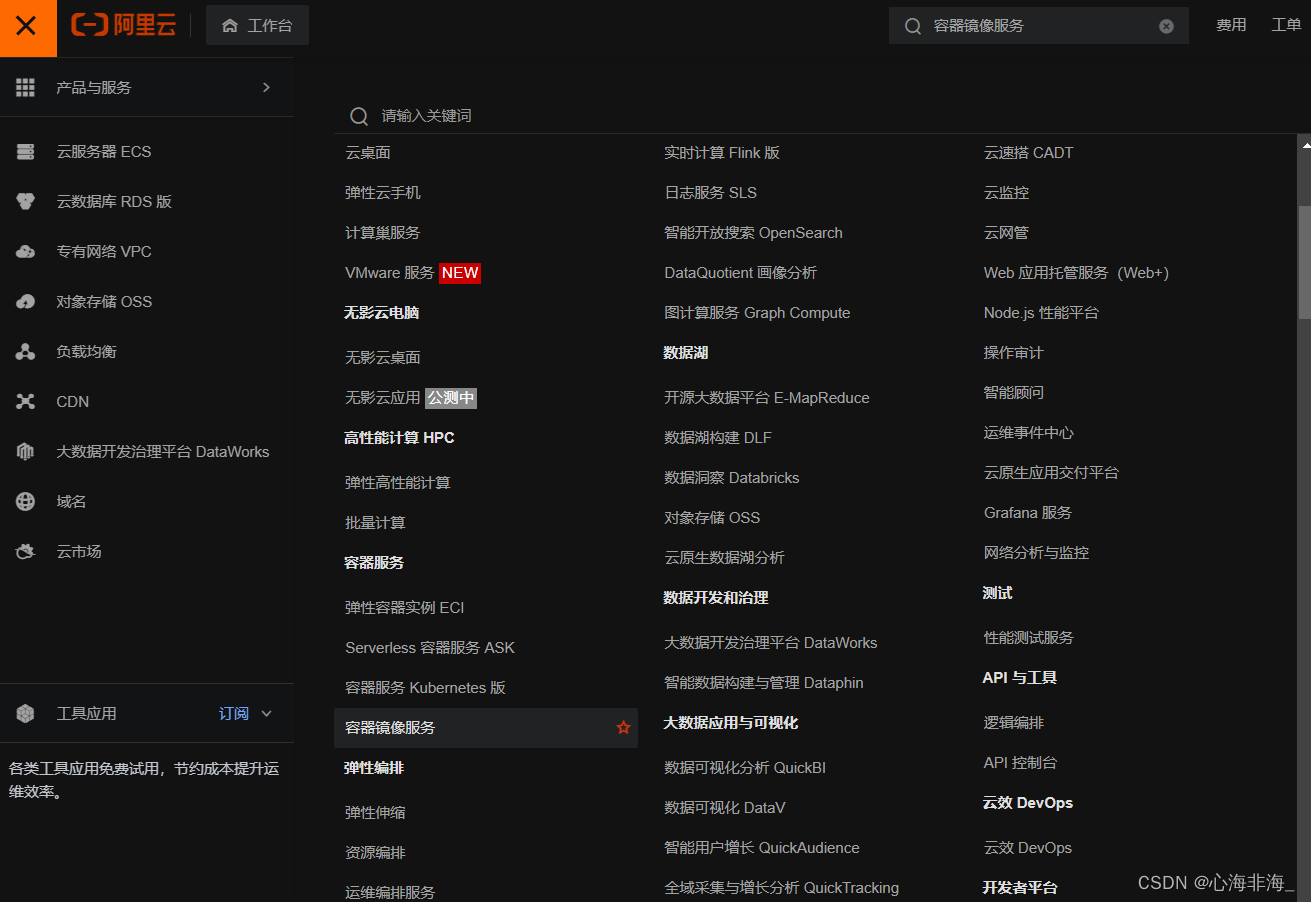
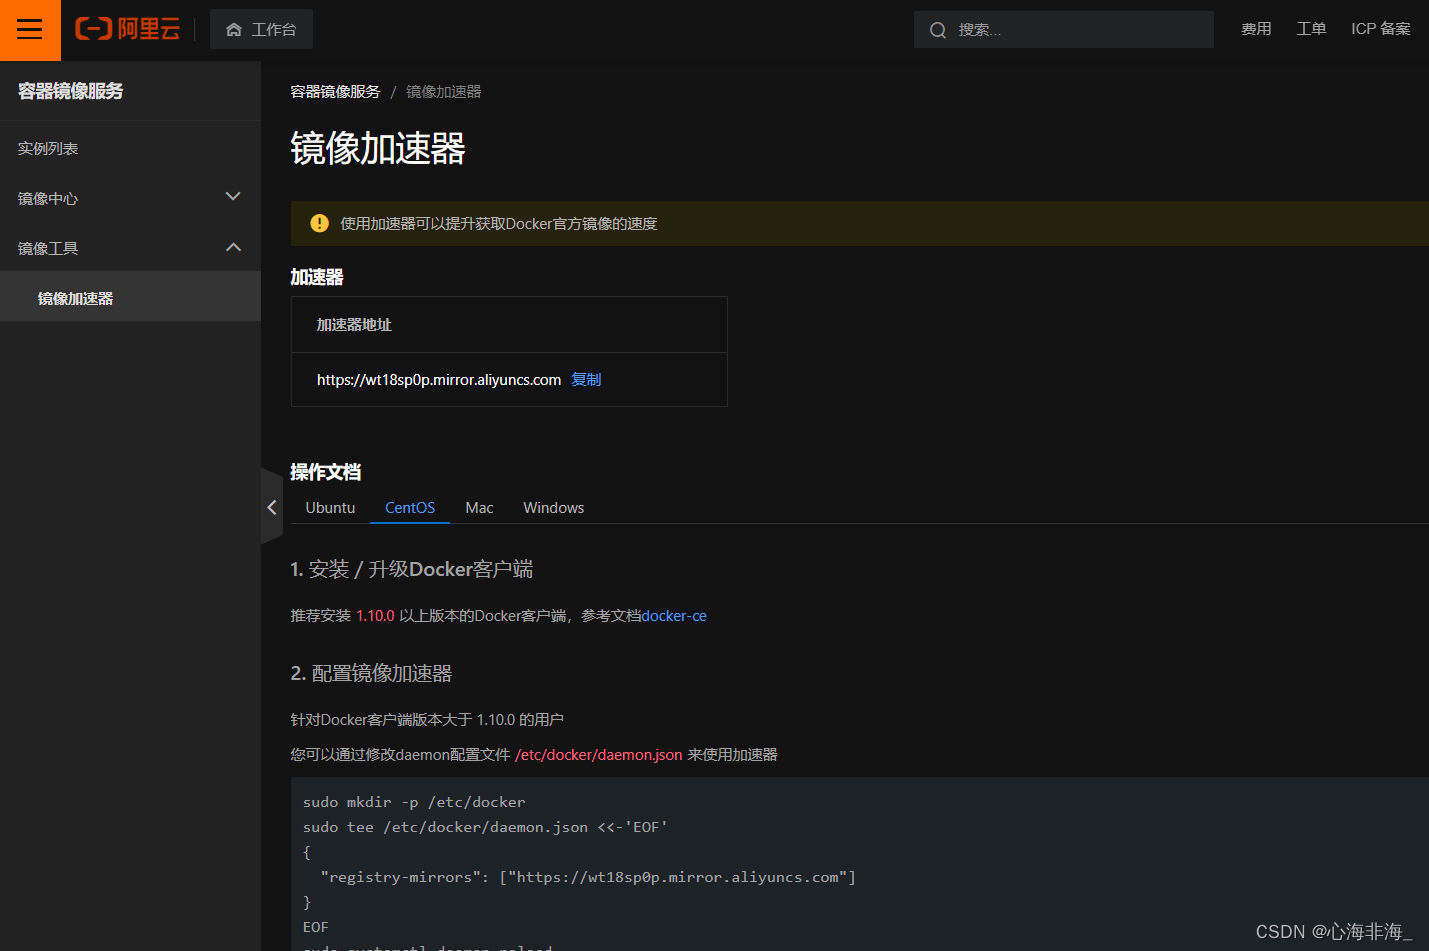
配置使用
sudo mkdir -p /etc/docker

sudo tee /etc/docker/daemon.json <<-'EOF'
{
  "registry-mirrors": ["https://wt18sp0p.mirror.aliyuncs.com"]
}
EOF

sudo systemctl daemon-reload

sudo systemctl restart docker