通过office部署工具安装office
本教程同样使用于在已安装offic 365的基础之上安装如Project、Visio
1. 下载office部署工具
2. 运行Office Deployment Tool工具
下载文件后,运行自解压缩可执行文件,其中包含 Office 部署工具可执行文件 (setup.exe) 和多个示例配置文件 (configuration.xml)

3. 编辑xml配置文件
首先声明,上图中的四个后缀名为xml的文件均为示例文件
(1). 可选择四个中的一个xml文件作为自己的配置文件
此处我选择 configuration-Office36-x64.xml 作为自己的配置文件
- 首次打开该文件是这样的
<!-- Office 365 client configuration file sample. To be used for Office 365 ProPlus apps,
     Office 365 Business apps, Project Pro for Office 365 and Visio Pro for Office 365.

     For detailed information regarding configuration options visit: http://aka.ms/ODT.
     To use the configuration file be sure to remove the comments

     The following sample allows you to download and install the 32 bit version of the Office 365 ProPlus apps
     and Visio Pro for Office 365 directly from the Office CDN using the Current Channel
     settings  -->

<Configuration>

  <Add OfficeClientEdition="64" Channel="Current">
    <Product ID="O365ProPlusRetail">
      <Language ID="en-us" />
    </Product>
    <Product ID="VisioProRetail">
      <Language ID="en-us" />
    </Product>
  </Add>

  <!--  <Updates Enabled="TRUE" Channel="Current" /> -->

  <!--  <Display Level="None" AcceptEULA="TRUE" />  -->

  <!--  <Property Name="AUTOACTIVATE" Value="1" />  -->

</Configuration>
(2). 若此次安装Office只想安装Word、Excel、PPT三个,便将步骤1中选择的xml编辑如下
<!-- Office 365 client configuration file sample. To be used for Office 365 ProPlus apps,
Office 365 Business apps, Project Pro for Office 365 and Visio Pro for Office 365.
For detailed information regarding configuration options visit: http://aka.ms/ODT.
To use the configuration file be sure to remove the comments
The following sample allows you to download and install the 64 bit version of the Office 365 ProPlus apps
and Visio Pro for Office 365 directly from the Office CDN using the Current Channel
settings -->
<!--<Configuration>-->
<!-- <Add OfficeClientEdition="64" Channel="Current">-->
<!-- <Product ID="O365ProPlusRetail">-->
<!-- <Language ID="en-us" />-->
<!-- </Product>-->
<!-- <Product ID="VisioProRetail">-->
<!-- <Language ID="en-us" />-->
<!-- </Product>-->
<!-- </Add>-->
<!-- <!– <Updates Enabled="TRUE" Channel="Current" /> –>-->
<!-- <!– <Display Level="None" AcceptEULA="TRUE" /> –>-->
<!-- <!– <Property Name="AUTOACTIVATE" Value="1" /> –>-->
<!--</Configuration>-->
<Configuration>
# 安装64位版本的office,若希望安装32位,将64改为32即可
<Add OfficeClientEdition="64" >
<Product ID="O365ProPlusRetail"> # 安装OFFICE 365
<Language ID="zh-CN" /> # 指定语言为中文
<ExcludeApp ID="Access" /> # 不安装 Access
<ExcludeApp ID="Groove" /> # 不安装 Groove
<ExcludeApp ID="InfoPath" /> ....(与上一样,都是不安装)
<ExcludeApp ID="Lync" /> ....
<ExcludeApp ID="OneNote" />
<ExcludeApp ID="Outlook" />
<ExcludeApp ID="Publisher" />
<ExcludeApp ID="SharePointDesigner" />
<ExcludeApp ID="Teams" /> # 不安装 Teams
</Product>
</Add>
</Configuration>
(3). 若此次安装Office只想安装Word、Excel、PPT三个加Project、Visio,便将步骤1中选择的xml编辑如下
此步骤同样适用 已安装Word、Excel、PPT的 用户继续安装Project、Visio
<!-- Office 365 client configuration file sample. To be used for Office 365 ProPlus apps,
     Office 365 Business apps, Project Pro for Office 365 and Visio Pro for Office 365.

     For detailed information regarding configuration options visit: http://aka.ms/ODT.
     To use the configuration file be sure to remove the comments

     The following sample allows you to download and install the 64 bit version of the Office 365 ProPlus apps
     and Visio Pro for Office 365 directly from the Office CDN using the Current Channel
     settings  -->
<Configuration>

  <Add SourcePath="E:\soft" OfficeClientEdition="64" Channel="Current">

	# 此处指定了PIDKEY,便可使用KMS激活Visio 2016
    <Product ID="VisioProXVolume" PIDKEY="69WXN-MBYV6-22PQG-3WGHK-RM6XC">
      <Language ID="zh-CN" />
    </Product>

	# 此处指定了PIDKEY,便可使用KMS激活Project 2016
    <Product ID="ProjectProXVolume" PIDKEY="WGT24-HCNMF-FQ7XH-6M8K7-DRTW9">
      <Language ID="zh-CN" />
    </Product>

      <Product ID="O365ProPlusRetail">
      <Language ID="zh-CN" />
      <ExcludeApp ID="Access" />
      <ExcludeApp ID="Groove" />
      <ExcludeApp ID="InfoPath" />
      <ExcludeApp ID="Lync" />
      <ExcludeApp ID="OneNote" />
      <ExcludeApp ID="Outlook" />
      <ExcludeApp ID="Publisher" />
      <ExcludeApp ID="SharePointDesigner" />
      <ExcludeApp ID="Teams" />
    </Product>

  </Add>

  <!--  <Updates Enabled="TRUE" Channel="Current" /> -->

  <!--  <Display Level="None" AcceptEULA="TRUE" />  -->

  <!--  <Property Name="AUTOACTIVATE" Value="1" />  -->

</Configuration>
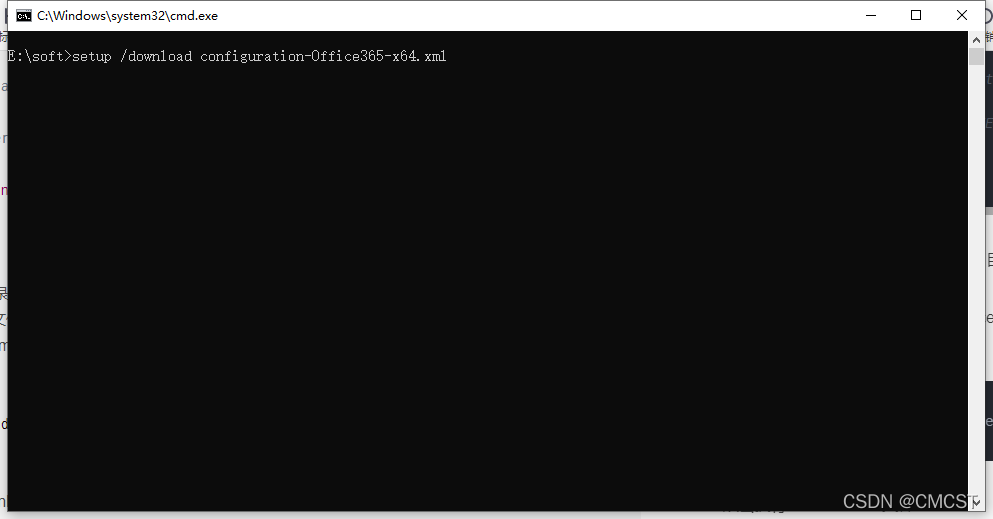
(4). 在步骤1中目录下(与所编辑xml文件同目录)创建文件download.bat文件,内容如下
步骤1中 选择文件为configuration-Office365-x64.xml,故此处第二行命令中文件名是configuration-Office365-x64.xml
@ECHO ON
setup /download configuration-Office365-x64.xml
pause
(5). 双击执行download.bat文件,会在该目录下生成office文件夹,等待系统下载
此处会弹出黑框,不要关闭

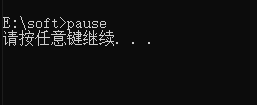
(6). 当黑框显示如下时,office文件便下载完成,然后创建文件setup.bat文件

setup.bat文件内容如下
@ECHO ON
setup /configure configuration-Office365-x64.xml
pause
(7). 双击执行setup.bat文件即可安装
4. 激活产品
- 以管理员模式运行CMD.[win + r,然后输入cmd,回车]
- 输入以下命令,进入OFFICE激活脚步所在的安装目录
cd C:\Program Files\Microsoft Office\Office16
由于我安装的是64位,所以目录如上
如果安装的是32位,目录为C:\Program Files(x86)\Microsoft Office\Office16
3. 输入命令如下(只有一行),以设置KMS地址
cscript ospp.vbs /sethst:kms.idina.cn
- 目前可用KMS地址有:[可忽略不看]
http://kms.03k.org
http://kms.luody.info
http://kms.idina.cn
- 输入命令如下,激活
cscript ospp.vbs /act
