Apache安装配置(Linux)-有手就行
Apache安装配置(Linux)-有手就行
文章目录
  ## Apache(Linux)
  ## 1.下载
  ## 2.解压
  ## 3.安装
  ## 4.启动服务
  ## 5.设置开机自启
  ## 6测试
  ## 7.总结
Apache是什么?
Apache(音译为阿帕奇)是世界使用排名第一的Web服务器软件。它可以运行在几乎所有广泛使用的计算机平台上,由于其跨平台和安全性被广泛使用,是最流行的Web服务器端软件之一。它快速、可靠并且可通过简单的API扩充,将Perl/Python等解释器编译到服务器中。
1.下载
网盘链接:链接:https://pan.baidu.com/s/1mmPnDAV6J8kyZq1IfVGBoQ
提取码:cd34
1.1方法一yum:
我本人使用了yum install httpd安装可省去一些步骤,就不需要用到网盘链接里的安装包,适合新手.
[root@localhost changling]# cd /usr/local/src
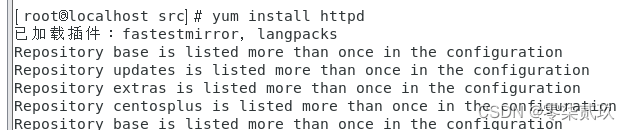
[root@localhost src]# yum install httpd #下载apache
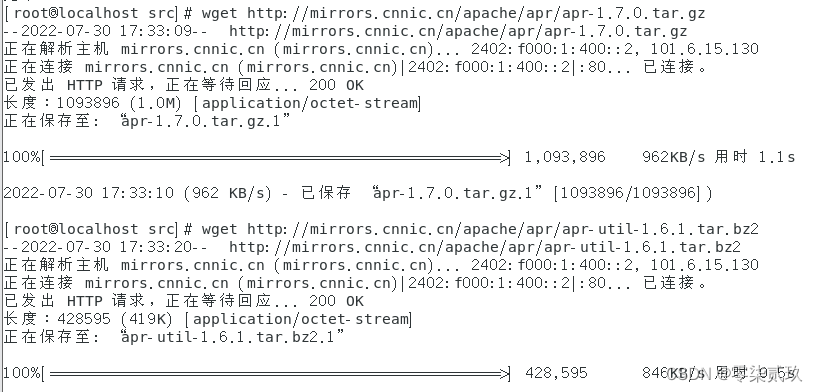
[root@localhost src]# wget http://mirrors.cnnic.cn/apache/apr/apr-1.7.0.tar.gz #下载APR
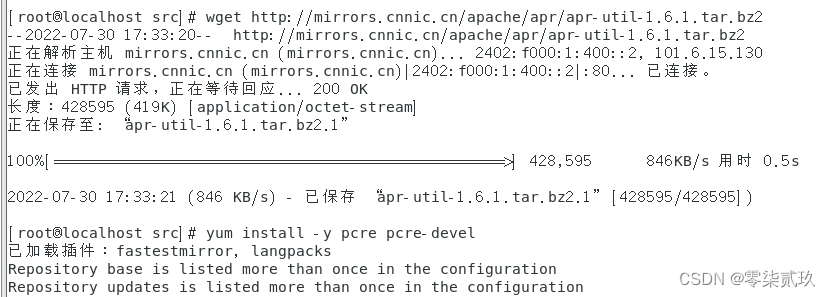
[root@localhost src]# wget http://mirrors.cnnic.cn/apache/apr/apr-util-1.6.1.tar.bz2 #下载APR-util
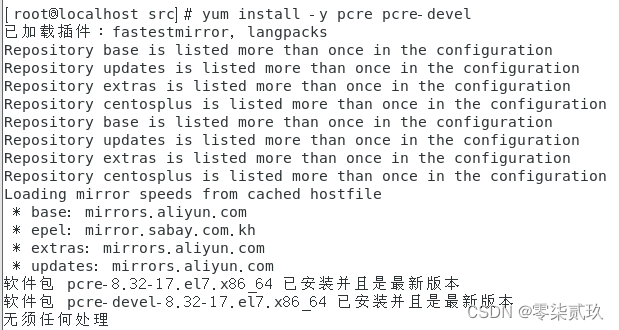
[root@localhost src]# yum install -y pcre pcre-devel #安装PCRE
1.2方法二(链接)
使用网盘链接下载apache代码如下
[root@localhost changling]# cd /usr/local/src
[root@localhost src]# wget http://mirrors.cnnic.cn/apache/httpd/httpd-2.4.46.tar.gz #下载apache
[root@localhost src]# wget http://mirrors.cnnic.cn/apache/apr/apr-1.7.0.tar.gz #下载APR
[root@localhost src]# wget http://mirrors.cnnic.cn/apache/apr/apr-util-1.6.1.tar.bz2 #下载APR-util
[root@localhost src]# yum install -y pcre pcre-devel #安装PCRE
切换目录

yum安装
下载另两个安装包
2.解压
2.1.方法一(yum)代码:
方法一:我本人使用了yum install httpd安装可省去一些步骤,就不需要用到网盘链接里的安装包,适合新手.
方法一:因为是使用yum install httpd,这里不需要用到tar解压.
tar zxvf apr-1.7.0.tar.gz
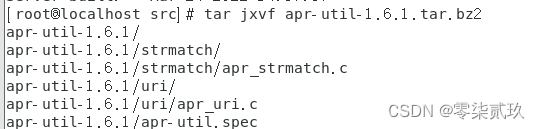
tar jxvf apr-util-1.6.1.tar.bz2
2.2.方法二(链接)代码:
使用了链接安装就需要改变
tar zxvf httpd-2.4.46.tar.gz
tar zxvf apr-1.7.0.tar.gz
tar jxvf apr-util-1.6.1.tar.bz2
2.2.1.查看版本号:
httpd -v

2.2.2.解压过程
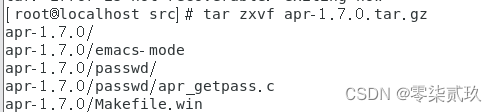
使用 ls 命令查看一下

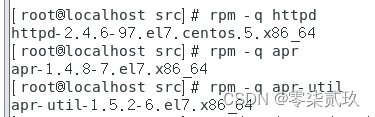
2.2.3.rpm查看
解压后可以使用rpm命令来查看安装包名字,看是否安装到位.
[root@localhost src]# rpm -q httpd
httpd-2.4.6-97.el7.centos.5.x86_64

[root@localhost src]# rpm -q apr
apr-1.4.8-7.el7.x86_64

[root@localhost src]# rpm -q apr-util
apr-util-1.5.2-6.el7.x86_64
3.安装
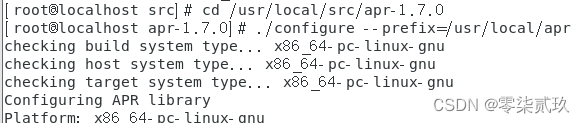
1.#APR
cd /usr/local/src/apr-1.7.0 #切换到解压目录下
./configure --prefix=/usr/local/apr #检查环境
make && make install #编译安装
2.#APR-util
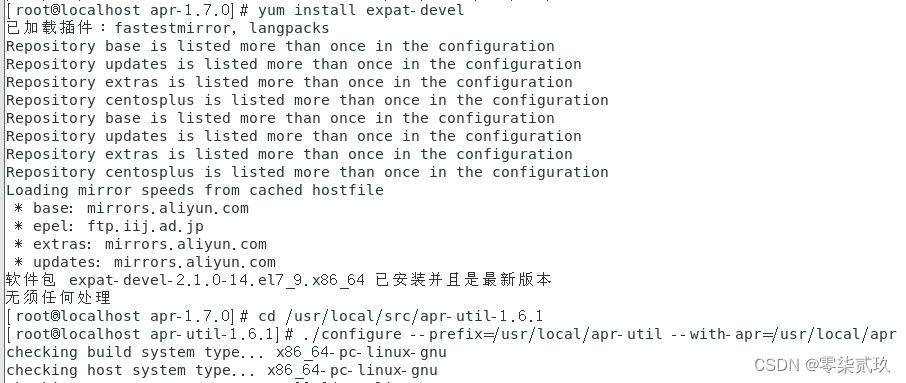
yum install expat-devel #先安依赖,有询问输入y
cd /usr/local/src/apr-util-1.6.1
./configure --prefix=/usr/local/apr-util --with-apr=/usr/local/apr
make && make install
使用方法二链接下载的需要用以下步骤,未使用法二而是使用法一yum命令则不需要经过此过程.
3.#httpd
cd /usr/local/src/httpd-2.4.46
./configure --prefix=/usr/local/apache2.4 --with-apr=/usr/local/apr --with-apr-util=/usr/local/apr-util --enable-so --enable-mods-shared=most
make && make install

4.启动服务
4.1. 简单使用这两条命令
/usr/local/apache2.4/bin/apachectl start #启动服务

ps aux |grep httpd #查看进程
4.2. 启动失败,报错现象:
[root@localhost ~]# service httpd start
Redirecting to /bin/systemctl start httpd.service
Job for httpd.service failed because the control process exited with error code. See "systemctl status httpd.service" and "journalctl -xe" for details.
[root@localhost ~]# service httpd restart
Redirecting to /bin/systemctl restart httpd.service
Job for httpd.service failed because the control process exited with error code. See "systemctl status httpd.service" and "journalctl -xe" for details.

4.3. 解决方式
1、使用journalctl -xe查看日志提示。
2、使用systemctl status httpd 查看Apache状态信息。
3、使用netstat -antlp |grep 80 查看80端口是否被占用。
此时查出问题所在。
[root@localhost ~]# netstat -antlp |grep 80
tcp        0      0 0.0.0.0:80              0.0.0.0:*               LISTEN      1196/nginx: master
tcp        0      1 192.168.1.13:50654      10.157.200.6:80         SYN_SENT    2666/python
tcp6       0      0 :::80                   :::*                    LISTEN      1196/nginx: master

(我是选用后者) 以上信息可以看到80端口被其他服务占用,此时有两种解决方式,如果不适用的情况下把占用80端口的其他服务kili掉即可。第二种是把Apache的端口该成别的端口。
在考虑到端口占用情况,不过很好解决哦.
[root@localhost ~]# vi /etc/httpd/conf/httpd.conf #进入编辑模式修改端口80成8080
# Change this to Listen on specific IP addresses as shown below to
# prevent Apache from glomming onto all bound IP addresses.
#
#Listen 12.34.56.78:80
Listen 80 //该成8080 即可
然后重启httpd服务即可。
[root@localhost ~]# systemctl start httpd
[root@localhost ~]# systemctl enable
4.5.重启服务器
重启服务器步骤如下,记得为Apache配置防火墙:
默认情况下,CentOS使用firewalld作为守护程序运行的防火墙,并为其提供基本安全性。因此,尽管已经在本机上可以访问Web服务,但很可能在远程计算机上无法访问。为了接受HTTP和HTTPS连接,还需打开服务器上的端口80和443。

$ sudo firewall-cmd --permanent --zone=public --add-service=http
$ sudo firewall-cmd --permanent --zone=public --add-service=https
$ sudo firewall-cmd --reload

本人使防火墙放行
firewall-cmd --zone=public --add-port=8080/tcp --permanent

[root@localhost ~]# firewall-cmd --zone=public --add-port=8080/tcp --permanent
4.6. 验证防火墙
验证防火墙配置是否正确
在远程计算机浏览器中输入http://<ip>:80,如果出现测试页,说明防火墙配置正确。
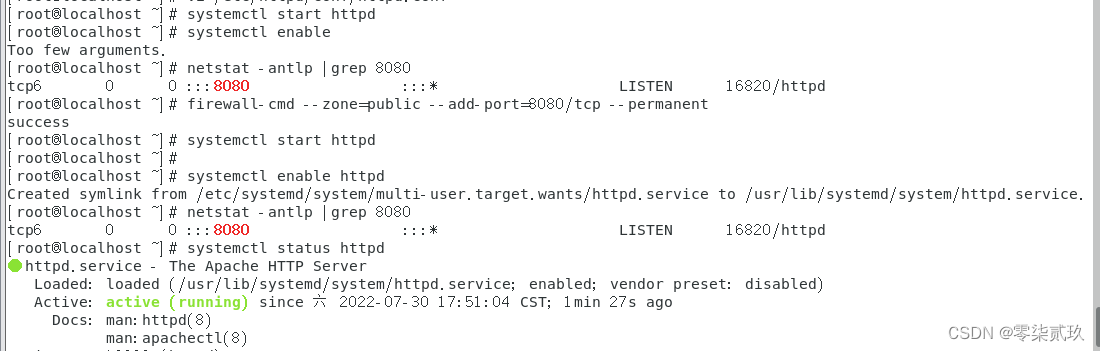
- 开启httpd和检查
[root@localhost ~]# systemctl start httpd
[root@localhost ~]# systemctl enable
Too few arguments.
[root@localhost ~]# netstat -antlp |grep 8080
tcp6       0      0 :::8080                 :::*                    LISTEN      16820/httpd
[root@localhost ~]# firewall-cmd --zone=public --add-port=8080/tcp --permanent
success
5. 设置开机自启
设置开机自启(考虑设置的可以参考以下命令,注意文件或者目录路径是否对着)
cp /usr/local/apache2.4/bin/apachectl /etc/init.d/httpd #复制服务
vi /etc/init.d/httpd #配置支持chkconfig
#然后在!/bin/sh后面添加两句代码
#chkconfig:345 85 15
#
#description:Start and stop the Apache HTTP Server
chkconfig --add httpd #添加服务启动项
chkconfig httpd on #自启
chkconfig --list httpd #检查
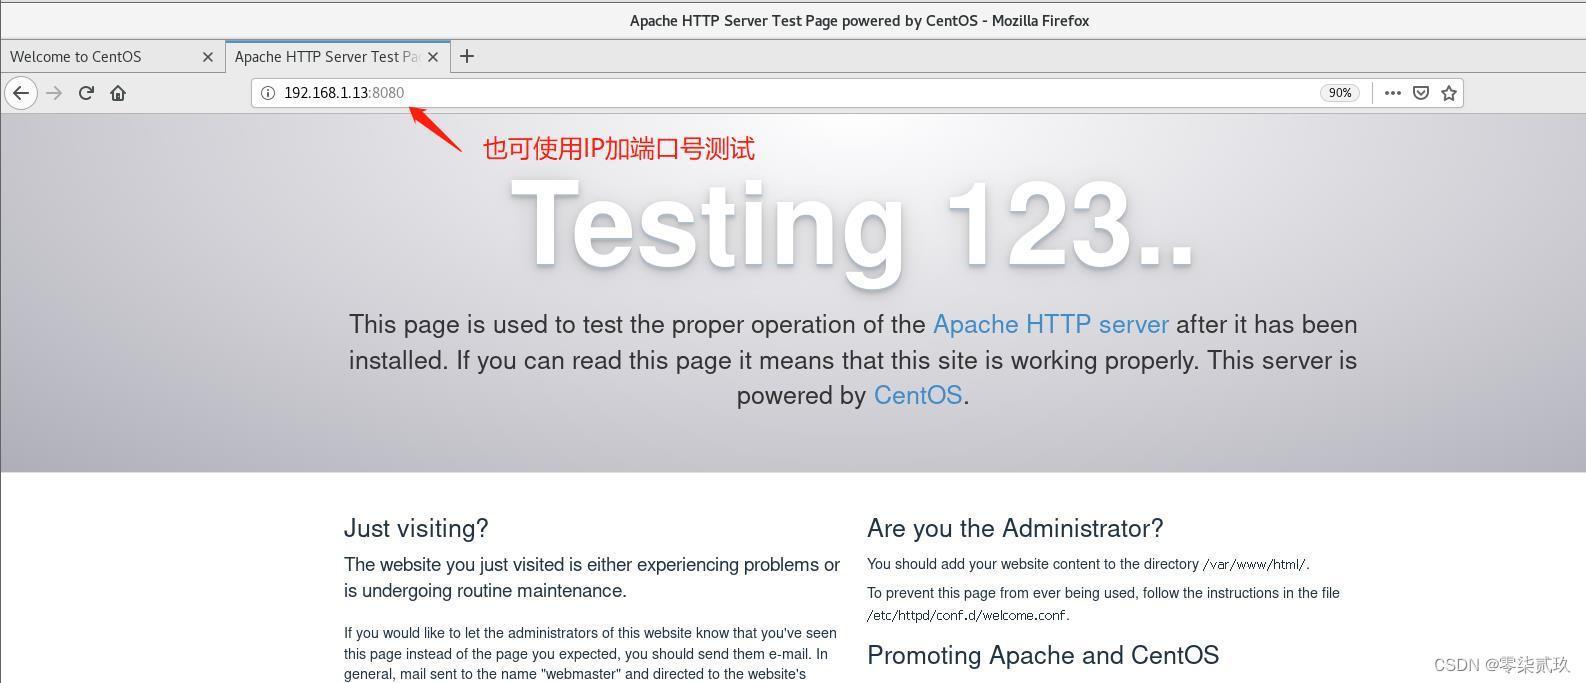
6. 测试
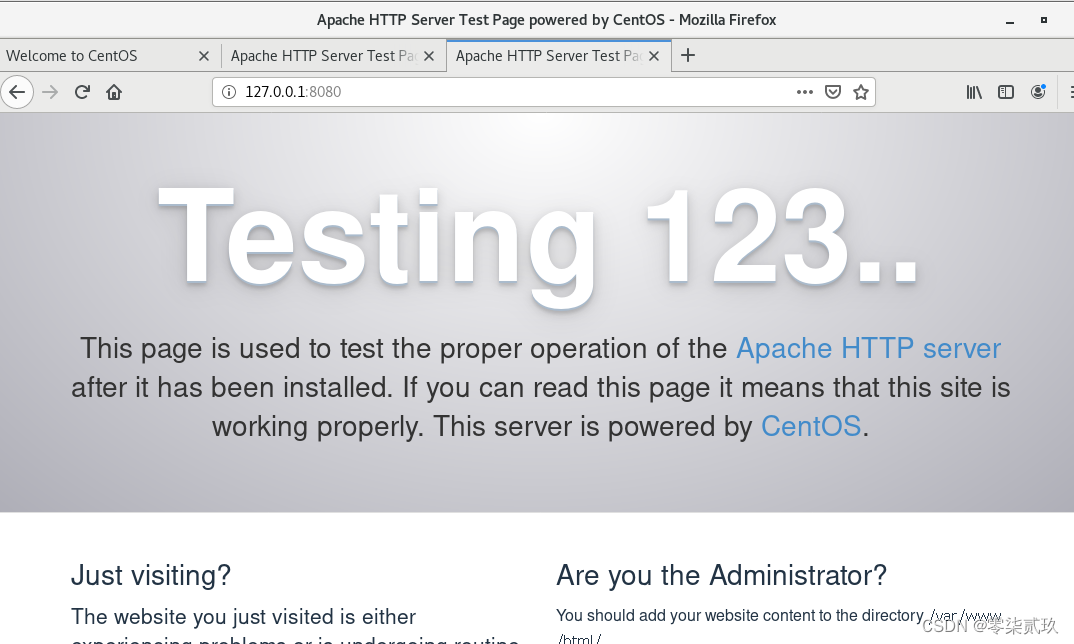
如果不行,应该是你的服务器安全组未设置,打开80或者修改后的端口例如这里的8080即可。
查看IP命令
ifconfig
ifconfig -a
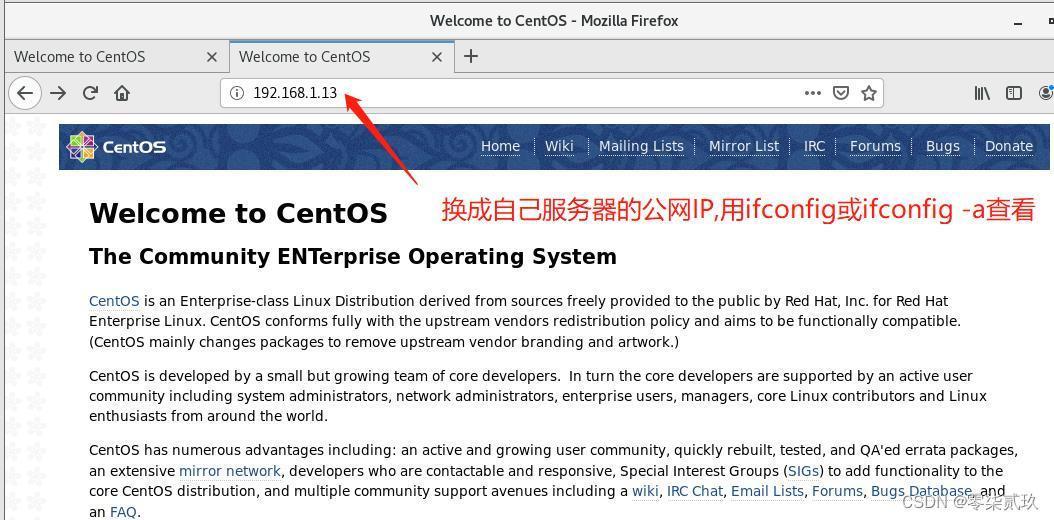
加载网页
7. 总结
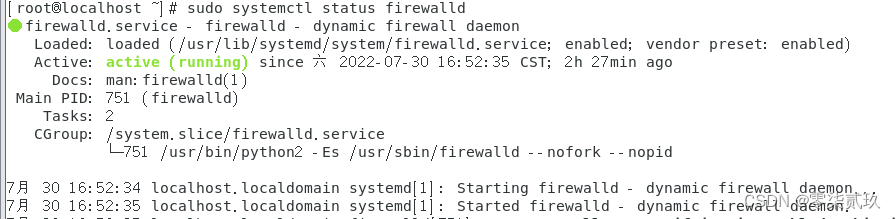
7.1、首先确保防火墙在CentOS 8实例上正确运行。
sudo systemctl status firewalld
7.2、安装Apache(在基于RHEL的发行版中,Apache软件包和服务称为httpd)。
yum install httpd
7.3、启用Apache服务,并使其在系统启动时启动。
systemctl start httpd

systemctl enable httpd
7.4、检查Apache运行状态。
systemctl status httpd
7.5、还可以检查Web服务器的版本,以确保已正确安装。
httpd -v
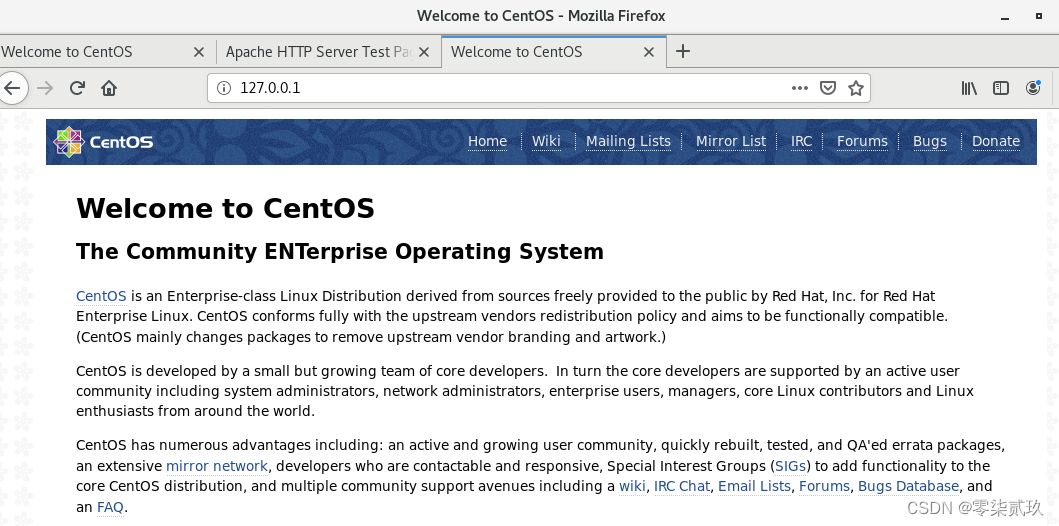
7.6、测试Apache Web服务器。
在浏览器中输入http://127.0.0.1,如果出现测试页,说明安装正确。也可以使用curl 127.0.0.1:80或者curl 127.0.0.1:8080进行测试
以上就是今天要讲的内容,本文仅仅简单介绍了apache的安装教程,而apache提供了大量能使我们快速便捷地处理数据方法。