如何将 Nacos 嵌入到开发项目中?
1. 启动Naocs
1. 下载源码

2. 将项目导入IDEA中,配置指定资源为Nexus的settings-nexus.xml文件
<?xml version="1.0" encoding="UTF-8"?>
<settings xmlns="http://maven.apache.org/SETTINGS/1.0.0"
          xmlns:xsi="http://www.w3.org/2001/XMLSchema-instance"
          xsi:schemaLocation="http://maven.apache.org/SETTINGS/1.0.0 http://maven.apache.org/xsd/settings-1.0.0.xsd">
    <!-- 配置本地jar包存放路径 -->
    <localRepository>D:/repository</localRepository>
    <pluginGroups></pluginGroups>
    <proxies></proxies>
    <servers>
        <!-- 配置从nexus私服下载jar包所需要的账号密码 -->
        <server>
            <id>nexus</id>
            <username>admin</username>
            <password>admin123</password>
        </server>
        <!-- 配置往nexus私服上传jar包所需要的账号密码 -->
        <server>
            <!--注意这个id  需要和pom.xml的对应-->
            <id>maven-releases</id>
            <username>admin</username>
            <password>admin123</password>
        </server>
        <!-- 配置往nexus私服上传jar包所需要的账号密码 -->
        <server>
            <!--注意这个id  需要和pom.xml的对应-->
            <id>maven-snapshots</id>
            <username>admin</username>
            <password>admin123</password>
        </server>
    </servers>
    <!-- 配置镜像代理 -->
    <mirrors>
        <mirror>
            <id>nexus</id>
            <mirrorOf>*</mirrorOf><!-- 配置为*的意思是将所有请求都转发到镜像仓库上 -->
            <url>http://172.16.150.132:8084/repository/maven-public/</url>
        </mirror>
        <!--这2个备用 以免在外网环境连不上私服-->
        <!--    <mirror>-->
        <!--        <id>alimaven</id>-->
        <!--        <mirrorOf>central</mirrorOf>-->
        <!--        <url>https://maven.aliyun.com/repository/public/</url>-->
        <!--    </mirror>-->
        <!--    <mirror>-->
        <!--        <id>alimaven_central</id>-->
        <!--        <mirrorOf>central</mirrorOf>-->
        <!--        <url>http://maven.aliyun.com/nexus/content/repositories/central/</url>-->
        <!--    </mirror>-->
    </mirrors>
    <profiles>
        <profile>
            <id>nexus</id>
            <!--Override the repository (and pluginRepository) "central" from the Maven Super POM
                to activate snapshots for both! -->
            <repositories>
                <repository>
                    <id>central</id>
                    <url>http://central</url>
                    <releases>
                        <enabled>true</enabled>
                    </releases>
                    <snapshots>
                        <enabled>true</enabled>
                    </snapshots>
                </repository>
            </repositories>
            <pluginRepositories>
                <pluginRepository>
                    <id>central</id>
                    <url>http://central</url>
                    <releases>
                        <enabled>true</enabled>
                    </releases>
                    <snapshots>
                        <enabled>true</enabled>
                    </snapshots>
                </pluginRepository>
            </pluginRepositories>
        </profile>
        <profile>
            <id>jdk1.8</id>
            <activation>
                <activeByDefault>true</activeByDefault>
                <jdk>1.8</jdk>
            </activation>
            <properties>
                <project.build.sourceEncoding>UTF-8</project.build.sourceEncoding>
                <maven.compiler.source>1.8</maven.compiler.source>
                <maven.compiler.target>1.8</maven.compiler.target>
                <maven.compiler.compilerVersion>1.8</maven.compiler.compilerVersion>
            </properties>
        </profile>
    </profiles>
    <activeProfiles>
        <activeProfile>nexus</activeProfile>
        <activeProfile>jdk1.8</activeProfile>
    </activeProfiles>
</settings>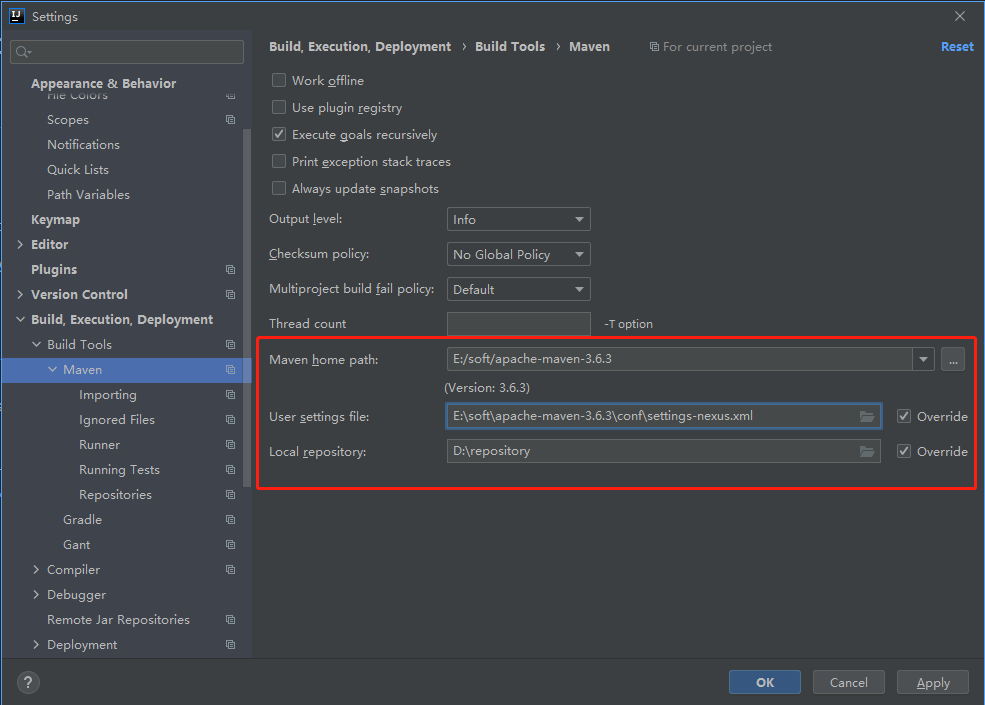
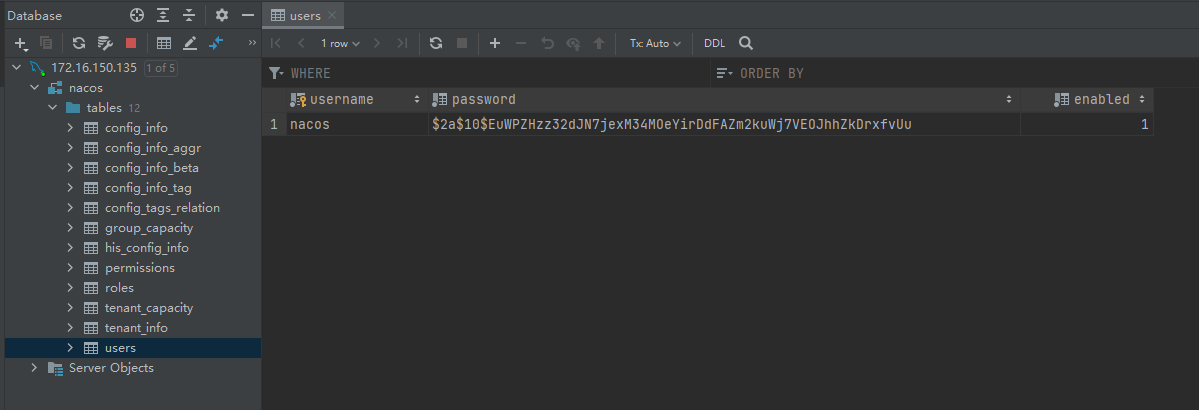
3. 导入数据库表结构
执行 distribution\conf\nacos-mysql.sql
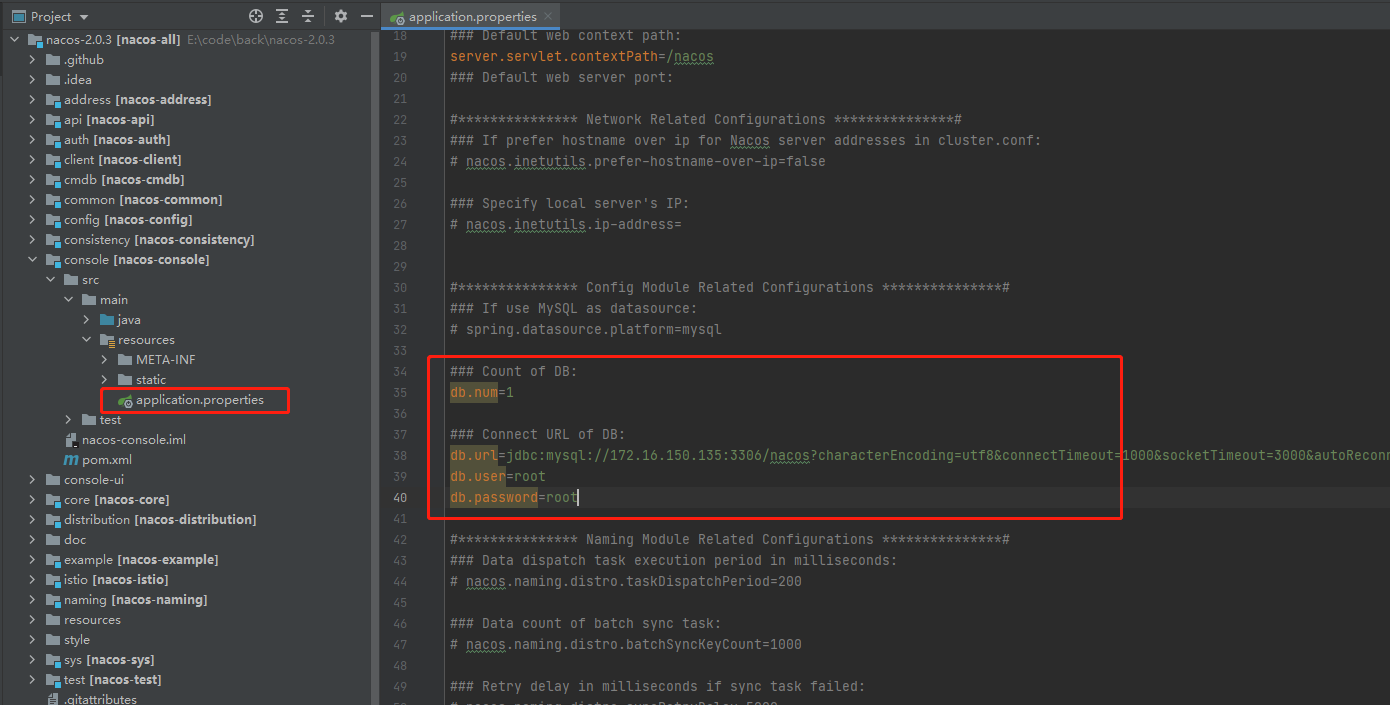
4. 修改支持MySQL连接,需要对应上自己的数据库IP、账号及密码
5. 启动控制台,发现java: 程序包com.alibaba.nacos.consistency.entity不存在

6. 找到项目目录执行以下命令,对nacos进行编译
mvn -Prelease-nacos -Dmaven.test.skip=true clean install -U

打包成功

7. 再次启动,启动成功
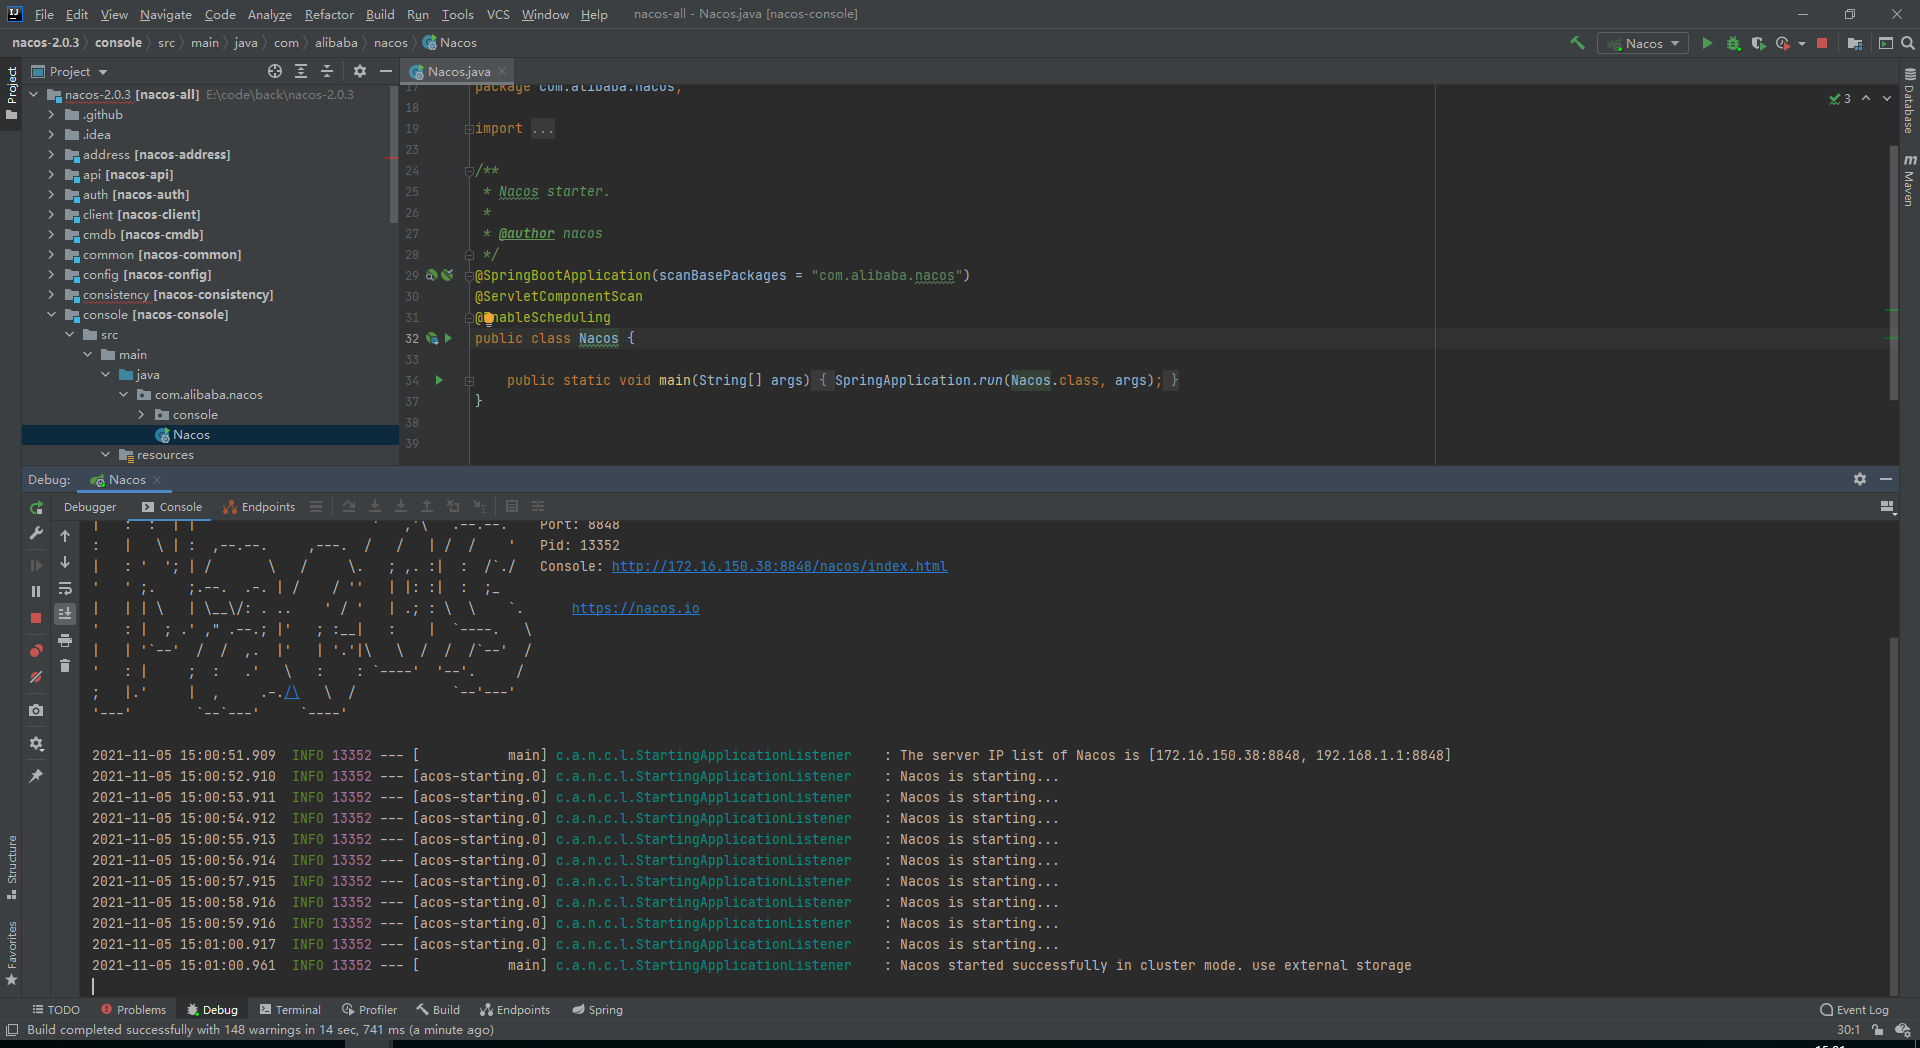
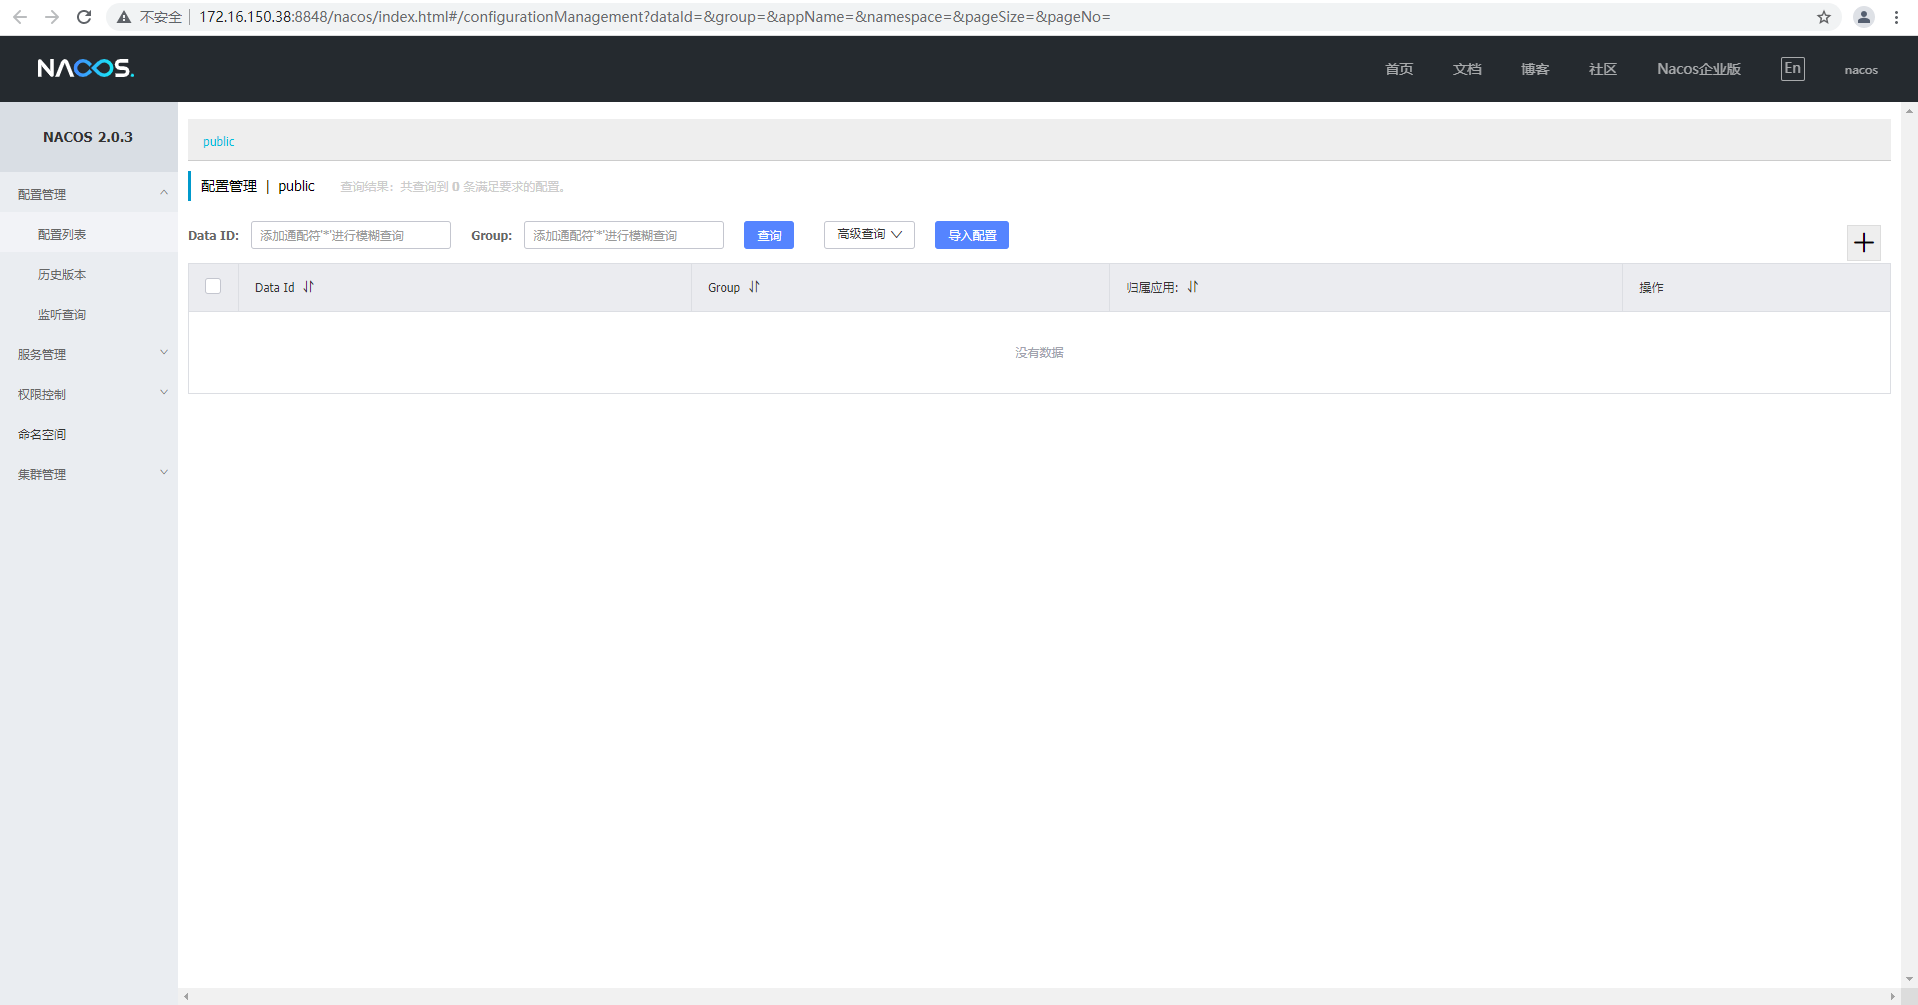
访问 http://172.16.150.38:8848/nacos/index.html, 登录nacos,初始账户密码: nacos/nacos
2. 将Nacos嵌入到开发项目中
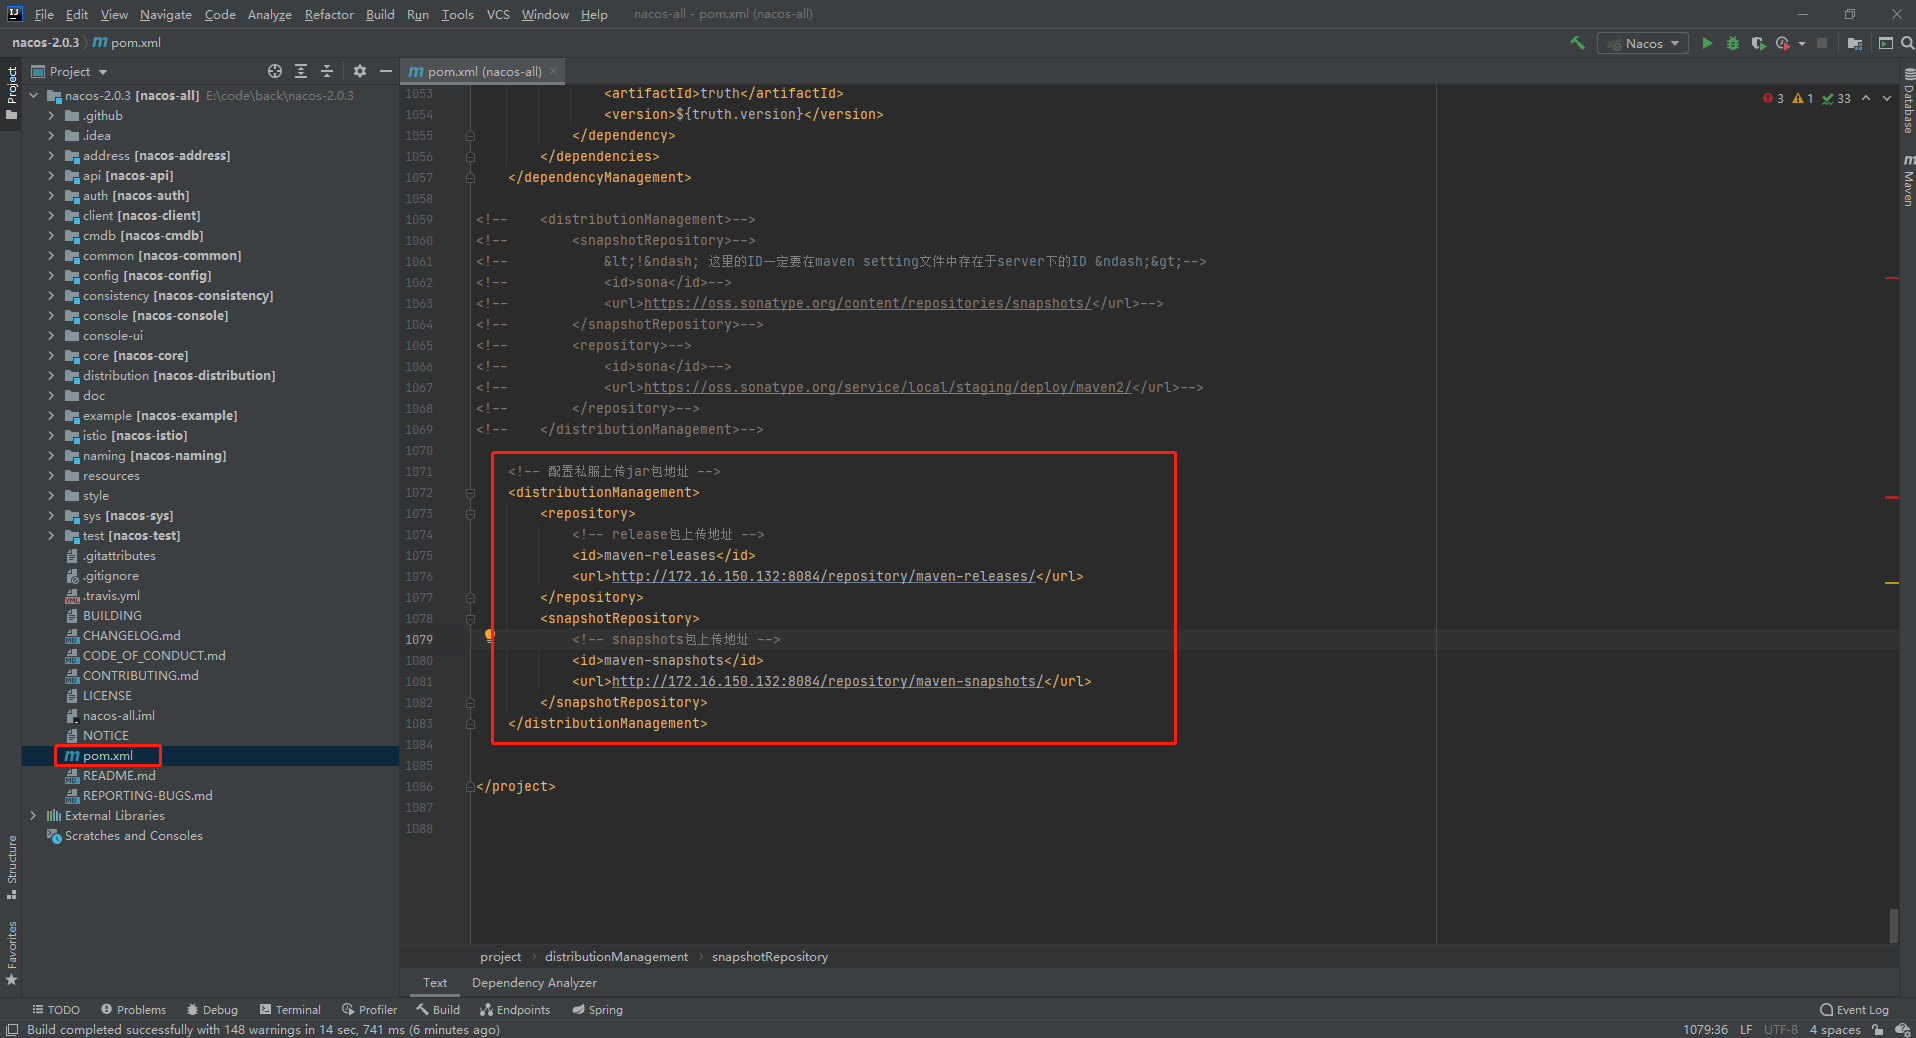
1. 对项目Pom文件进行改造,将原来的注释掉,更改为私服上传地址
<!-- 配置私服上传jar包地址 -->
<distributionManagement>
    <repository>
        <!-- release包上传地址 -->
        <id>maven-releases</id>
        <url>http://172.16.150.132:8084/repository/maven-releases/</url>
    </repository>
    <snapshotRepository>
        <!-- snapshots包上传地址 -->
        <id>maven-snapshots</id>
        <url>http://172.16.150.132:8084/repository/maven-snapshots/</url>
    </snapshotRepository>
</distributionManagement>
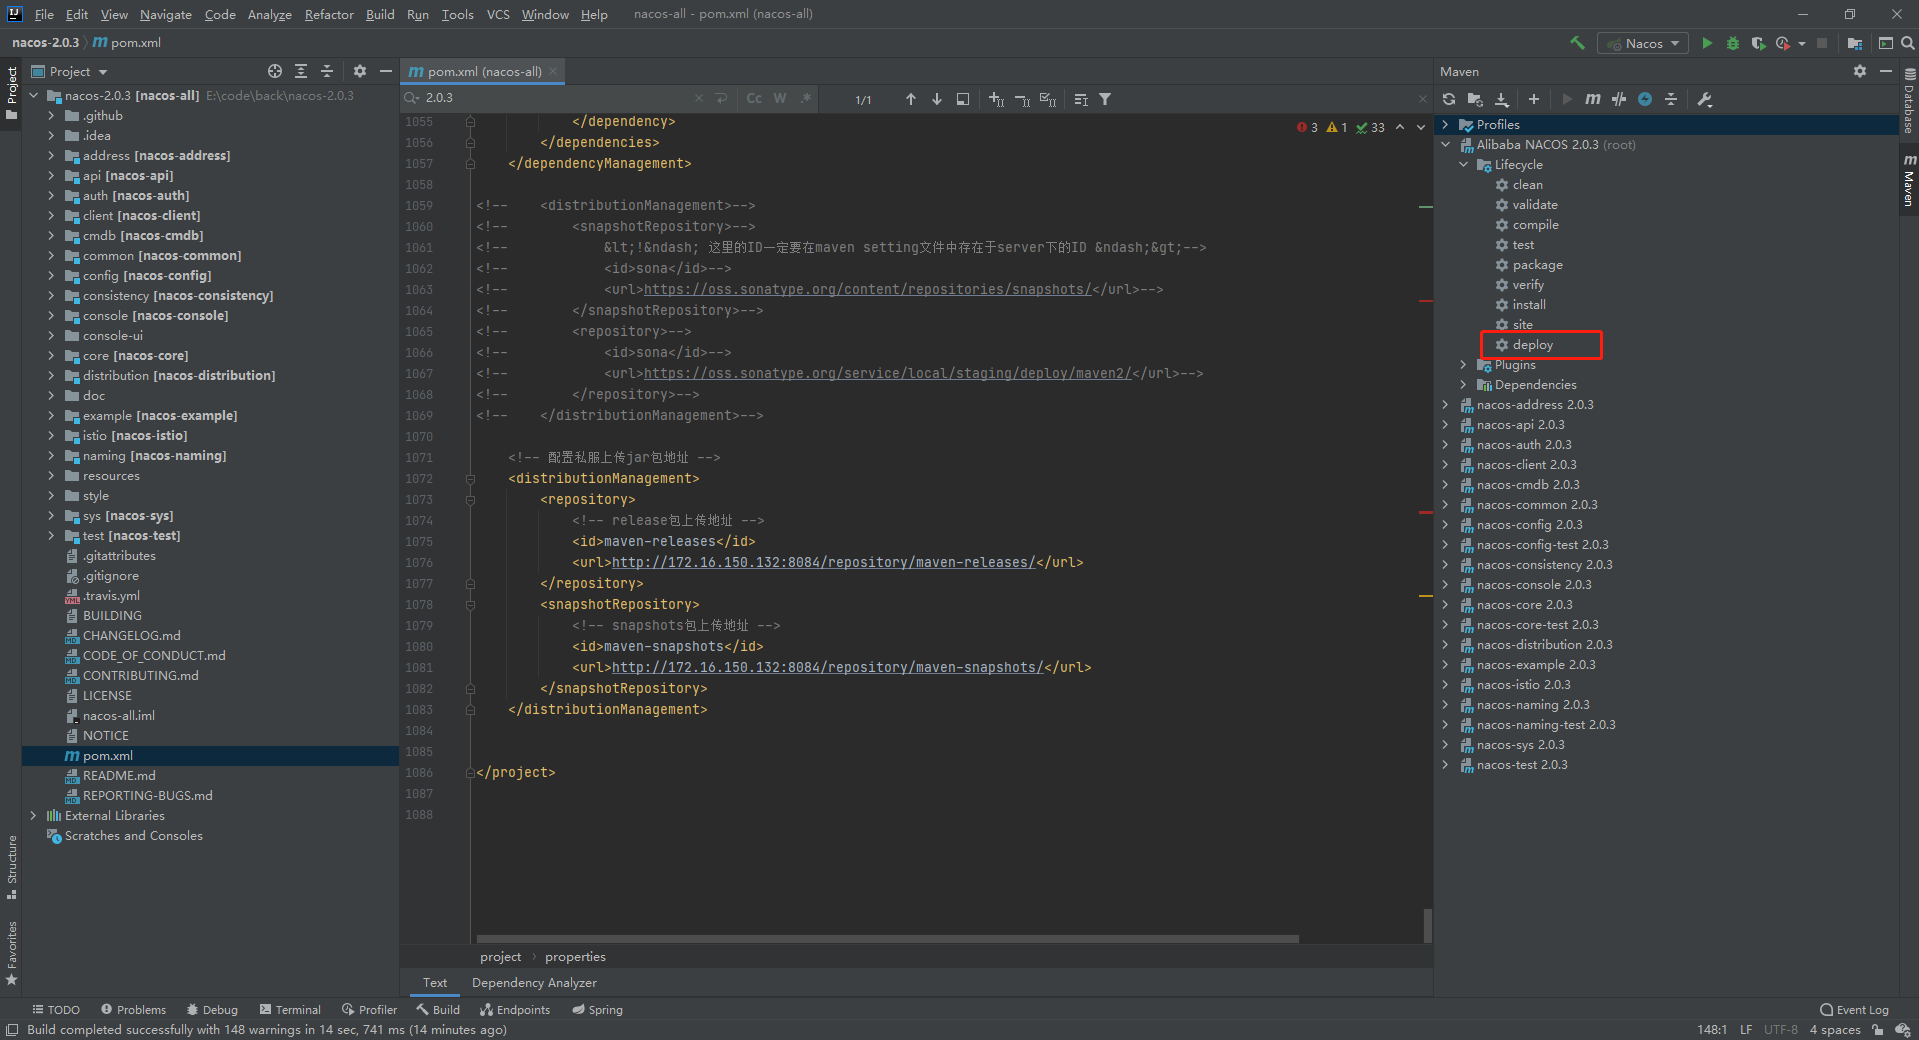
2. 执行deploy命令,将项目打包上传到nexus
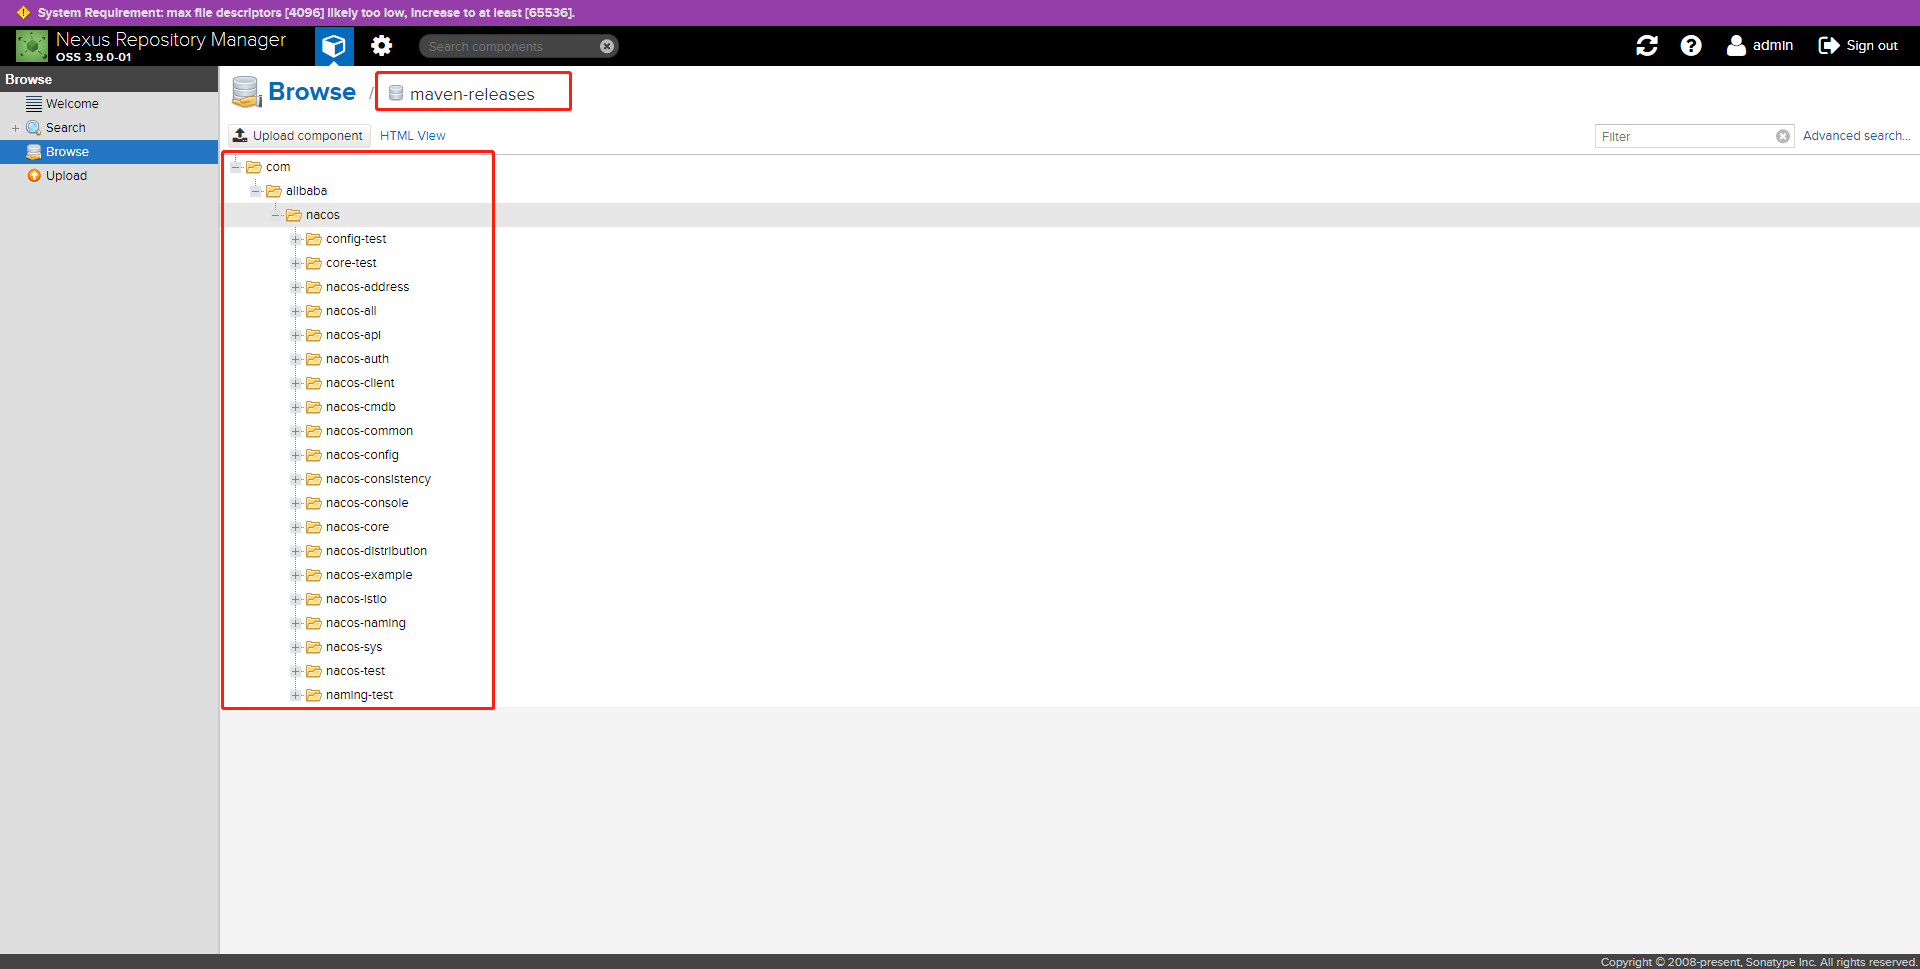
查看nexus的maven-releases下是否有文件上传(没有文件生成请检查setting.xml 及 pom 文件配置)
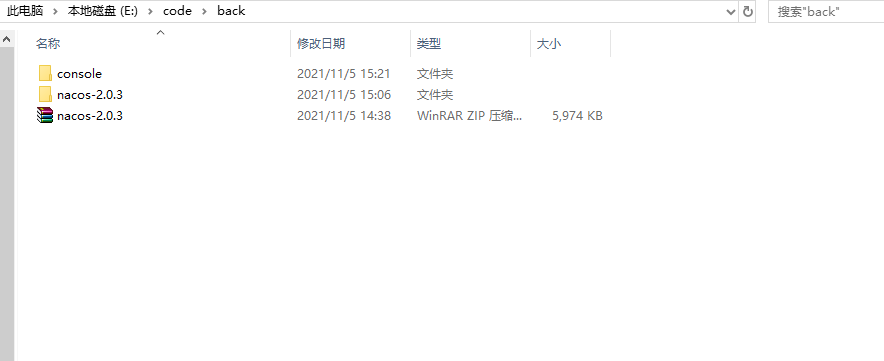
3. 将consle复制出来,为嵌入其他项目做准备
4. 导入consle项目,配置指定资源为Nexus的settings-nexus.xml文件
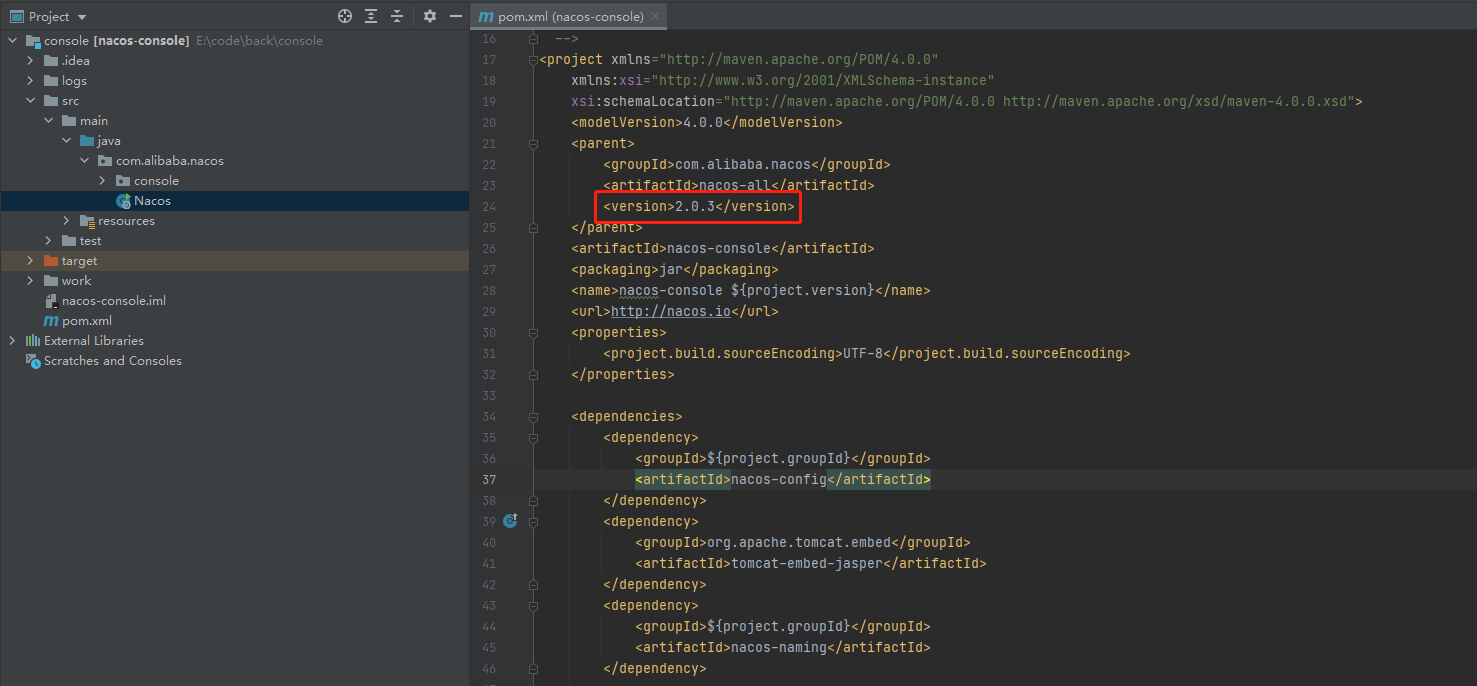
5. 将version改为nacos项目pom中的版本
<parent>
    <groupId>com.alibaba.nacos</groupId>
    <artifactId>nacos-all</artifactId>
    <version>2.0.3</version>
</parent>
6. 启动项目
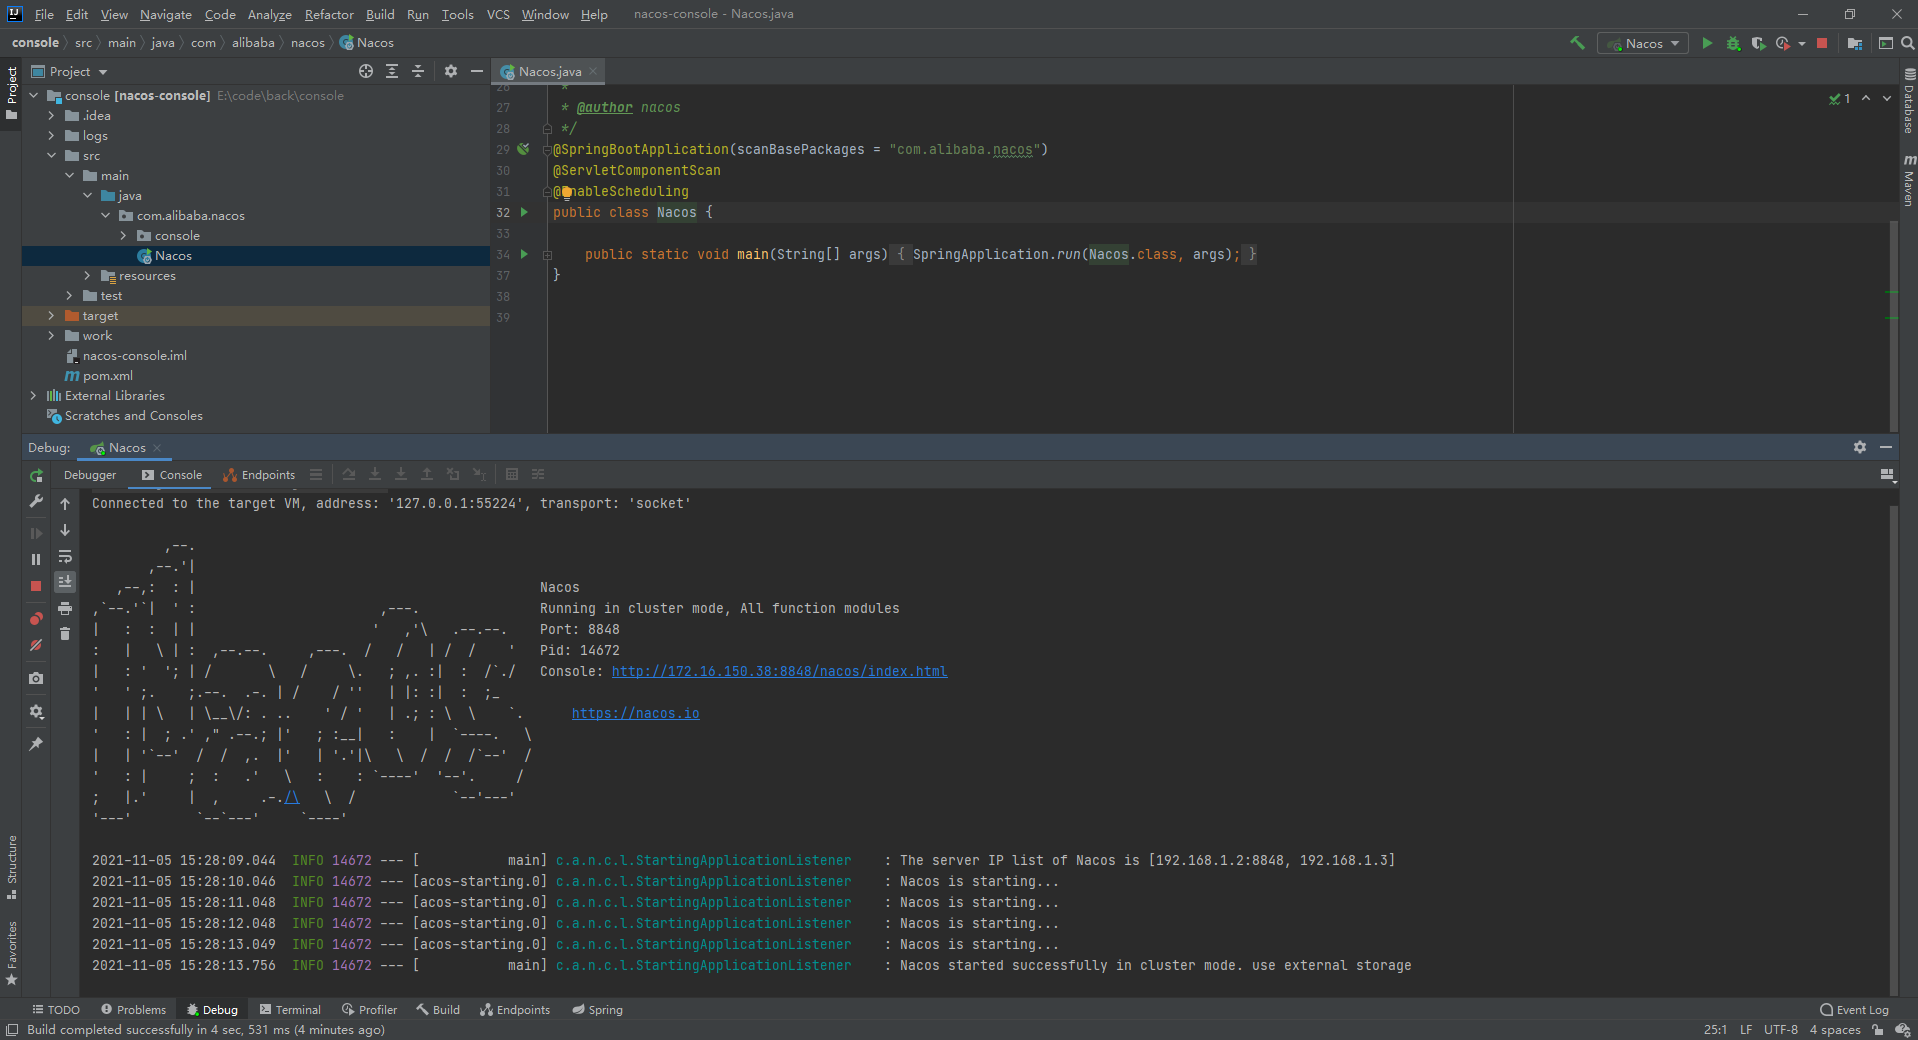
查看是否启动成功
