Prometheus+Grafana从0到1搭建jvm监控
目 录
在上一篇博客《 Prometheus+Mysqld_exporter+Grafana从0到1搭建MySQL的可视化监控》,我们完成了对数据库的可视化监控搭建,今天我们接着实现对 jvm 的监控,废话不多说,下面开整。
1. 准备工作
对于 jvm 的监控,我们不需要数据库数据采集工具 Mysqld_exporter ,因此如果只是搭建对 jvm 的监控,那这个东西是可以去掉。
- 安装Prometheus
- 安装Grafana
- 使用 IDEA 新建一个 springboot 项目
由于在上一篇博客我已经安装了 Prometheus 和 Grafana ,这里就不再重复安装了,直接跳过。
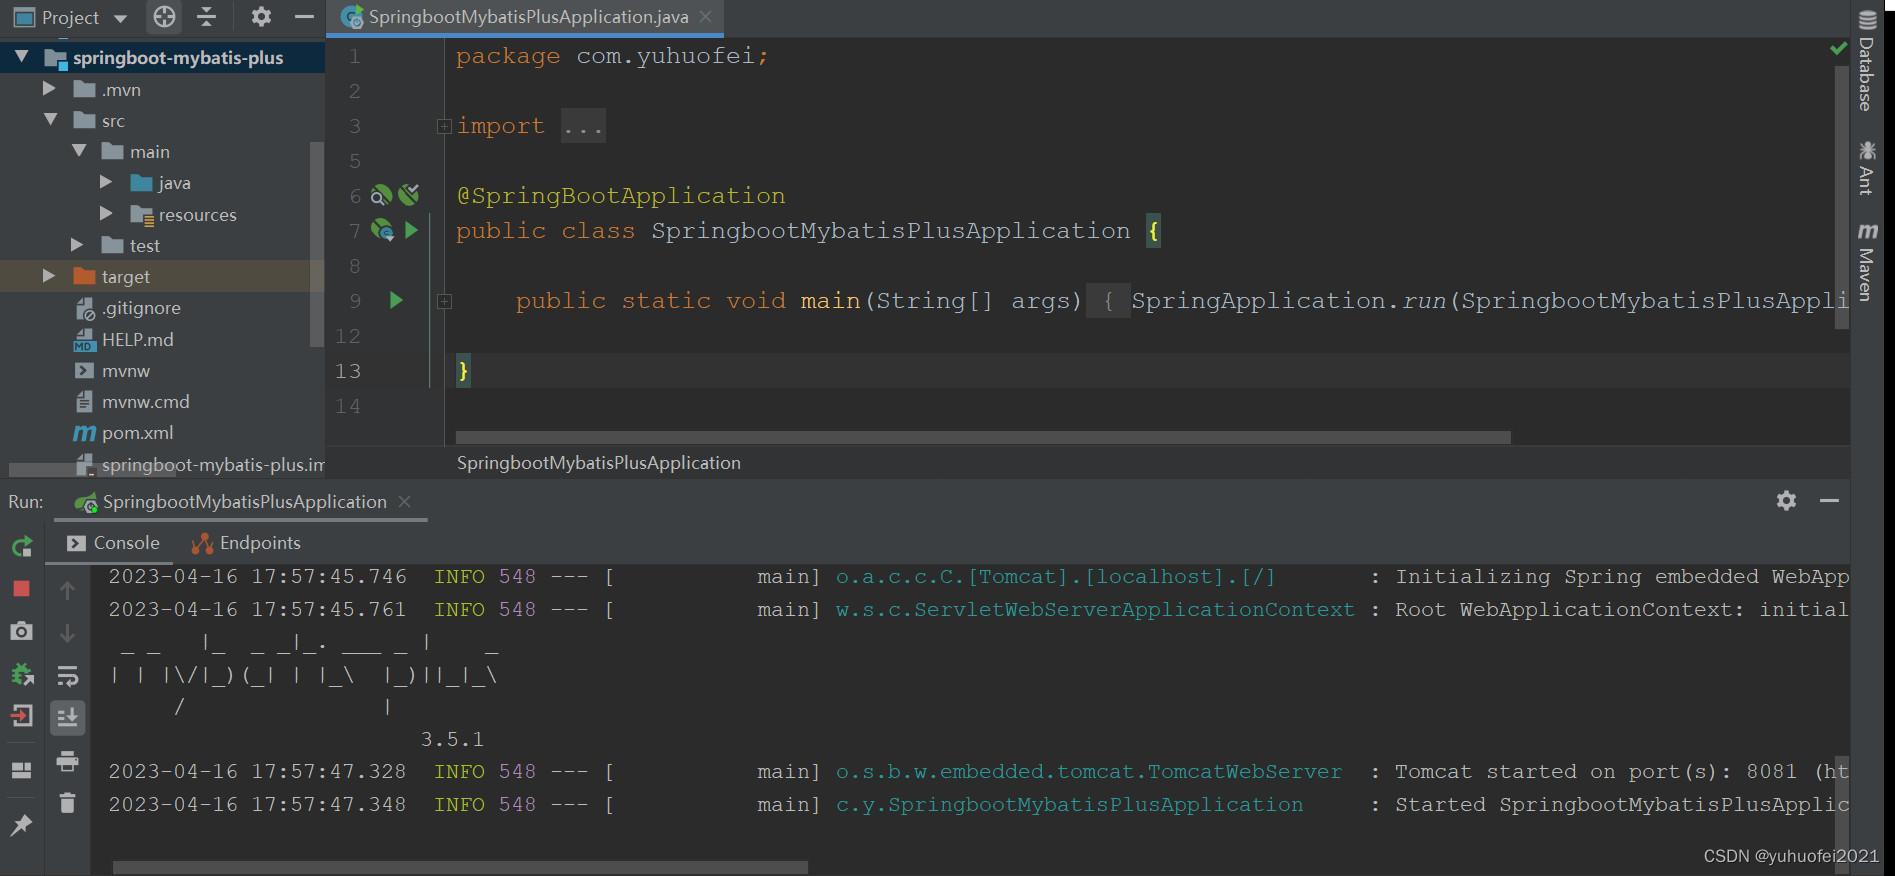
至于 springboot 项目,我这里也直接使用一个我以前创建的项目《Springboot整合MybatisPlus》,服务能正常启动就行,不需要太复杂。
2. 添加配置
2.1 添加maven依赖
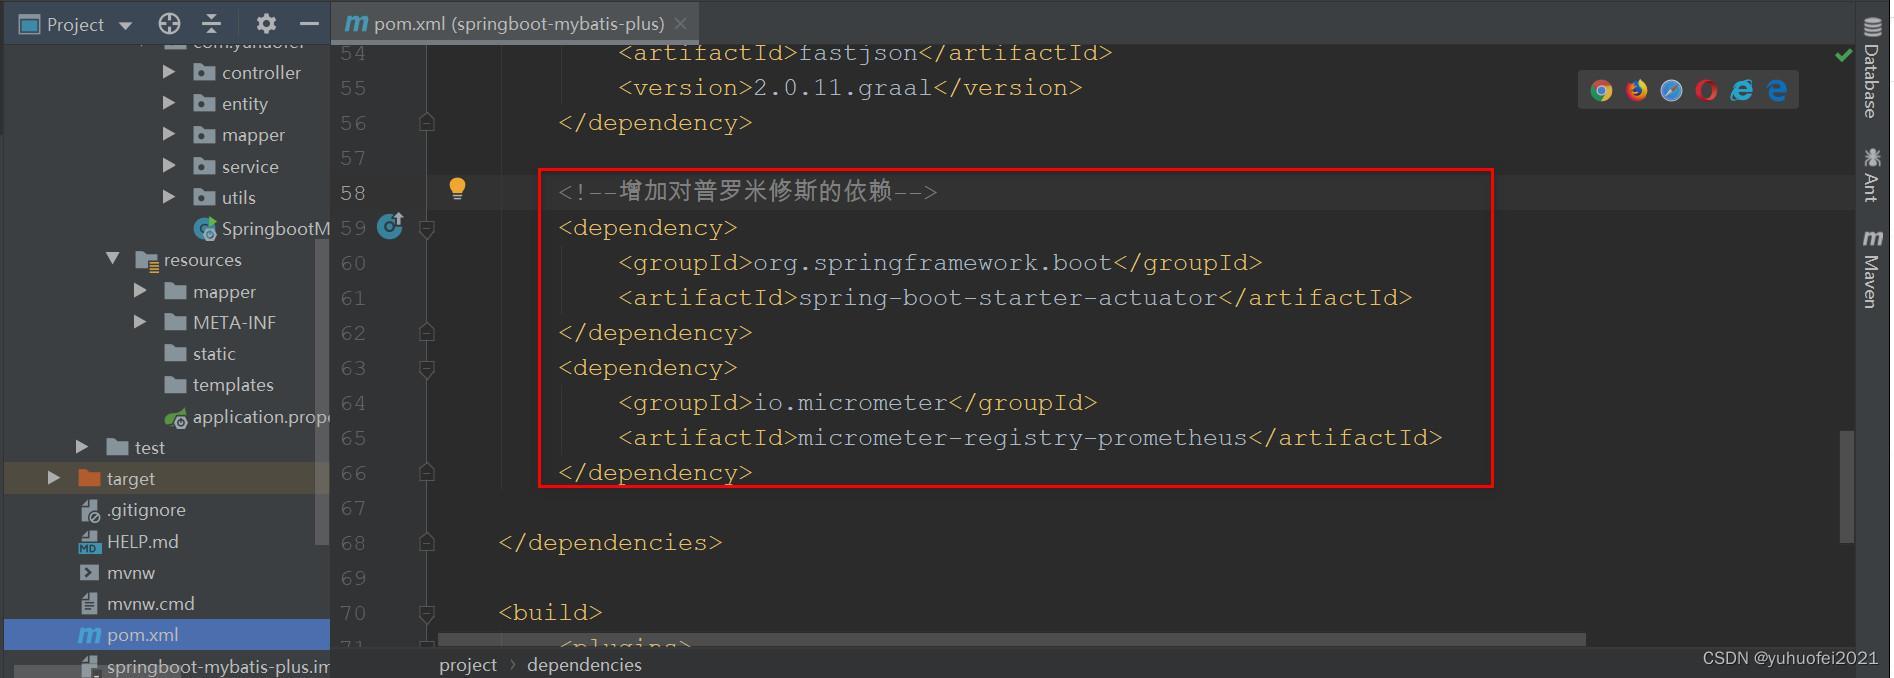
在 springboot 项目的 pom.xml 文件中,添加对普罗米修斯的依赖,将依赖包导入到项目中。
<dependency>
    <groupId>org.springframework.boot</groupId>
    <artifactId>spring-boot-starter-actuator</artifactId>
</dependency>
<dependency>
    <groupId>io.micrometer</groupId>
    <artifactId>micrometer-registry-prometheus</artifactId>
</dependency>
2.2 application.properties增加配置
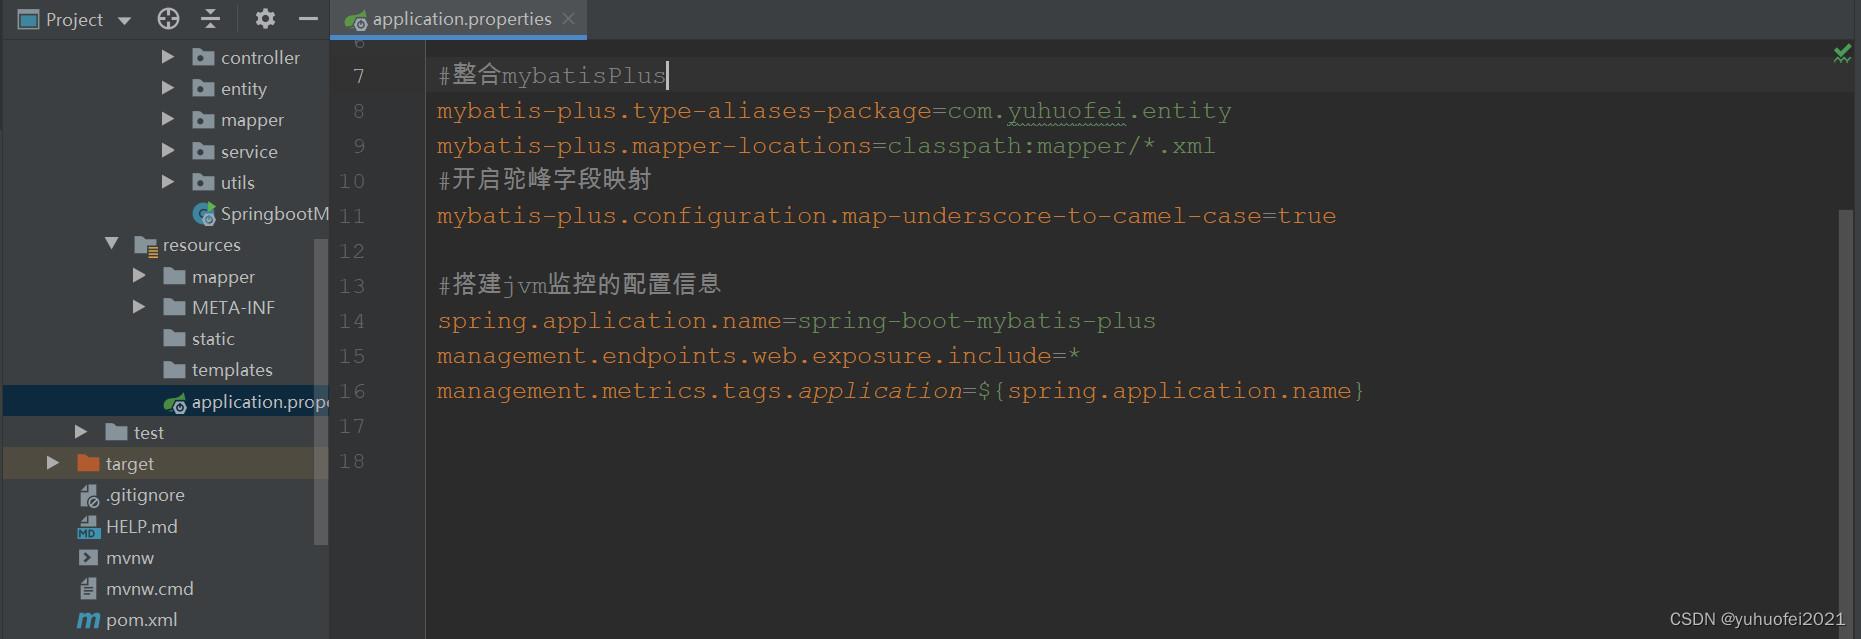
#搭建jvm监控的配置信息
spring.application.name=spring-boot-mybatis-plus
management.endpoints.web.exposure.include=*
management.metrics.tags.application=${spring.application.name}
2.3 新增配置类
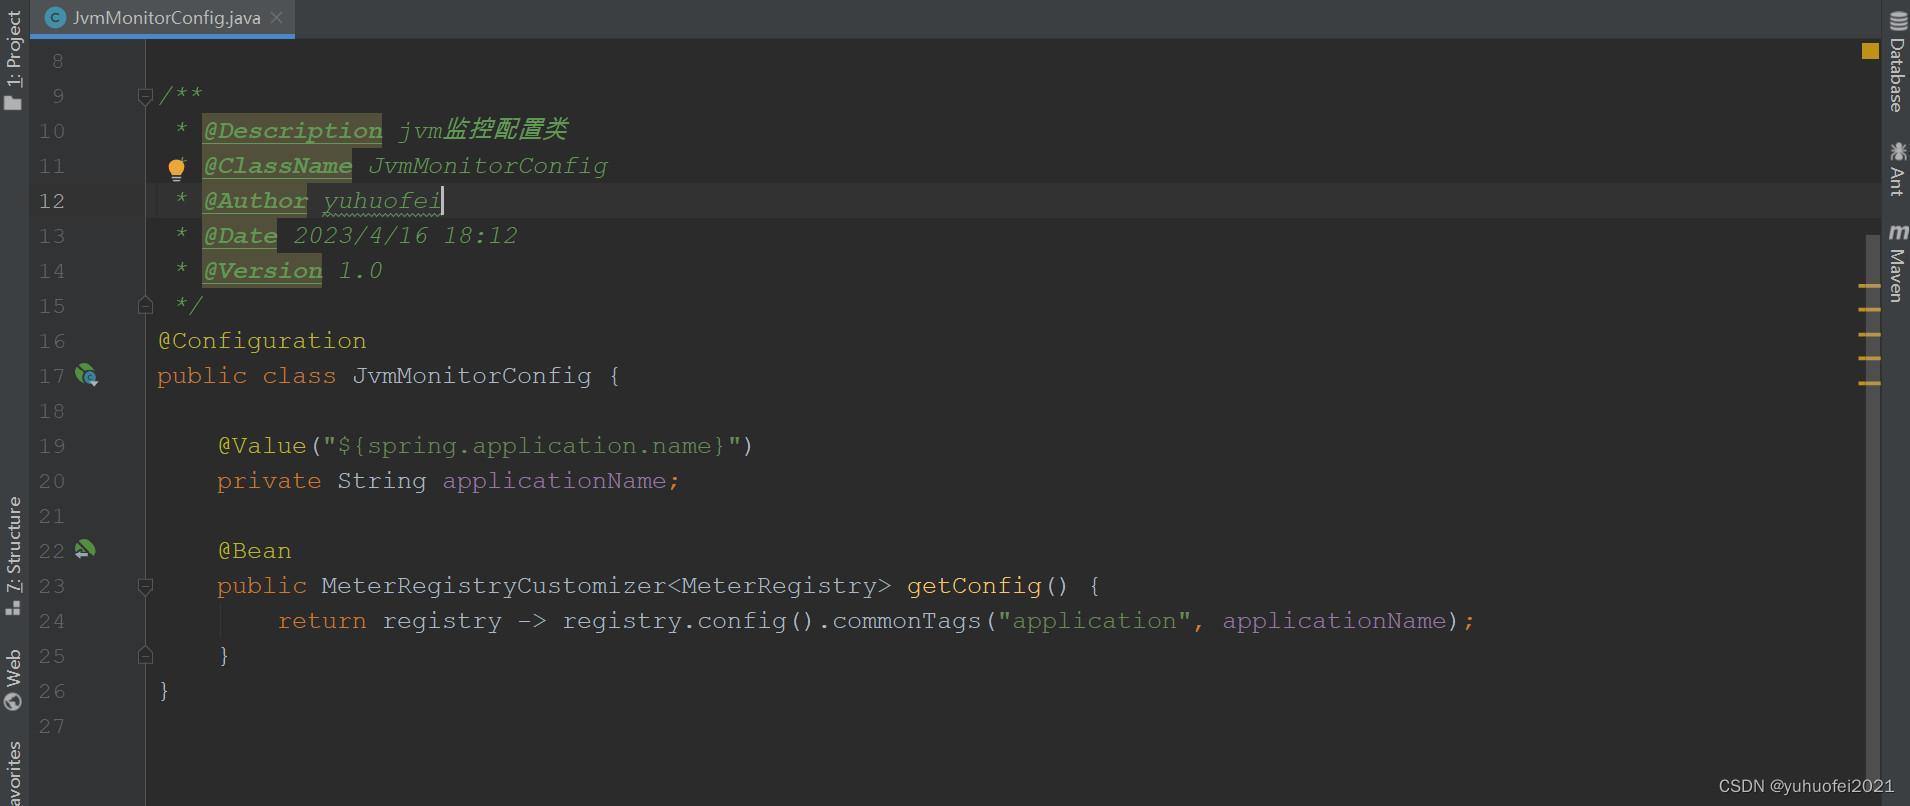
新增一个配置类 JvmMonitorConfig.java ,如下所示
package com.yuhuofei.config;

import io.micrometer.core.instrument.MeterRegistry;
import org.springframework.beans.factory.annotation.Value;
import org.springframework.boot.actuate.autoconfigure.metrics.MeterRegistryCustomizer;
import org.springframework.context.annotation.Bean;
import org.springframework.context.annotation.Configuration;

/**
 * @Description jvm监控配置类
 * @ClassName JvmMonitorConfig
 * @Author yuhuofei
 * @Date 2023/4/16 18:12
 * @Version 1.0
 */
@Configuration
public class JvmMonitorConfig {

    @Value("${spring.application.name}")
    private String applicationName;

    @Bean
    public MeterRegistryCustomizer<MeterRegistry> getConfig() {
        return registry -> registry.config().commonTags("application", applicationName);
    }
}
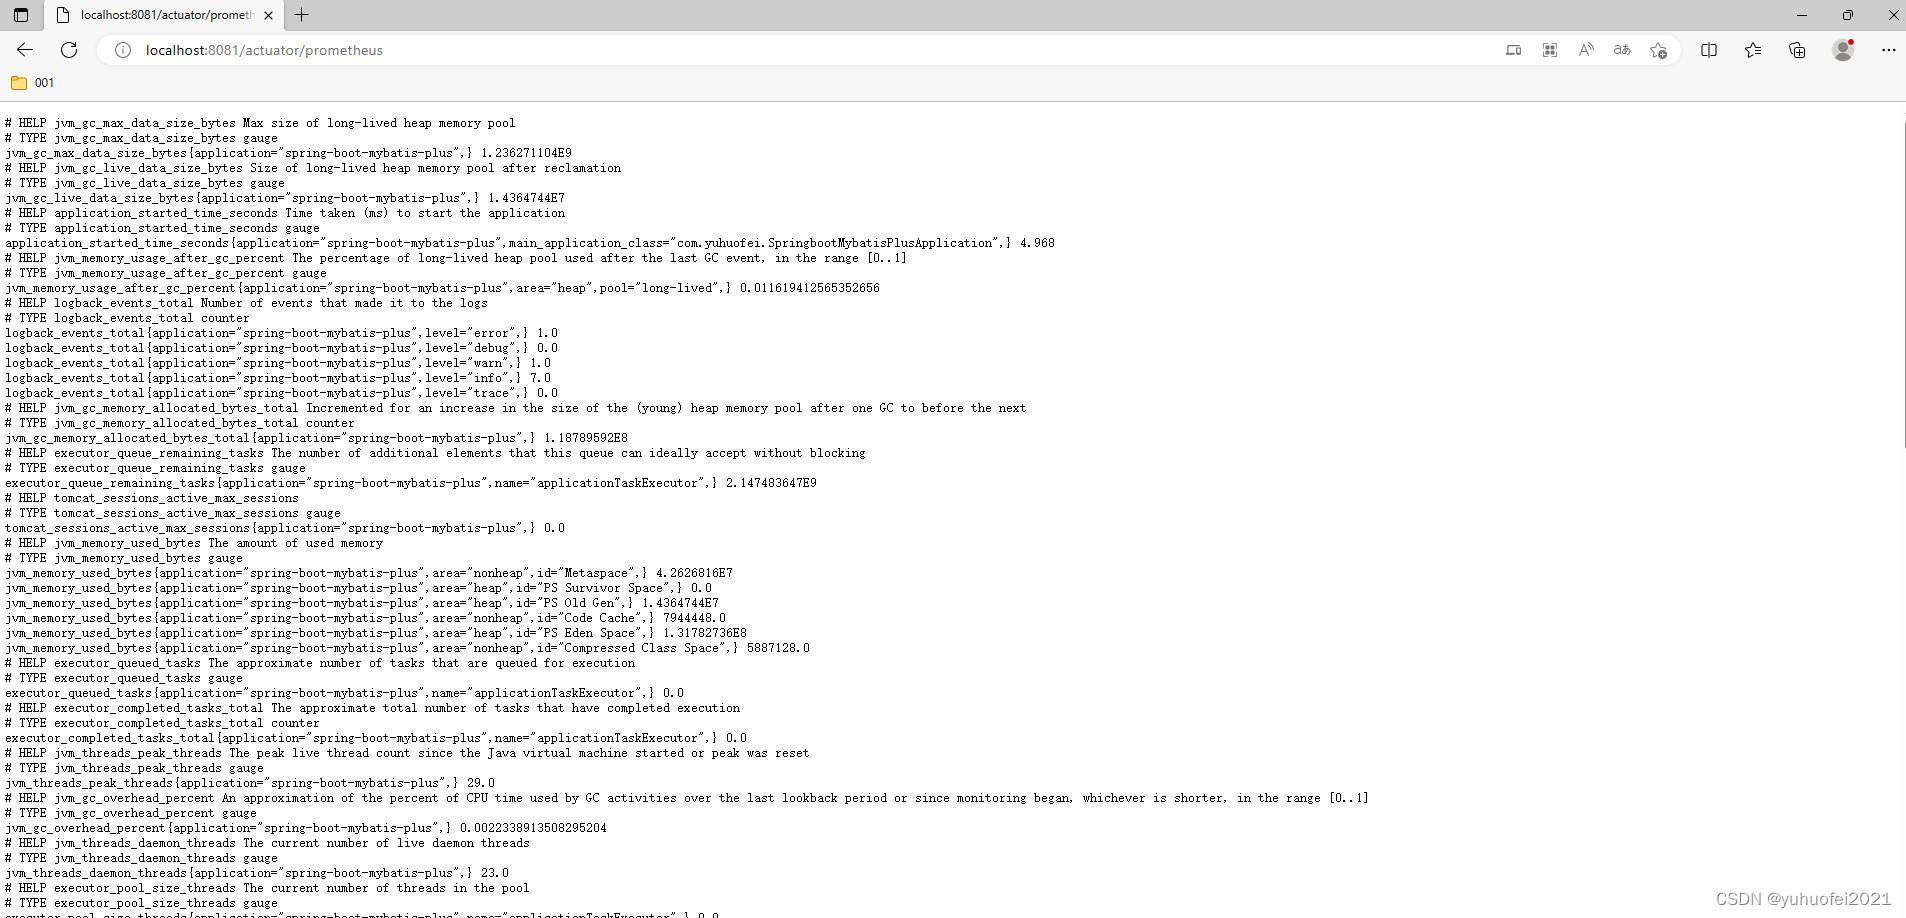
配置类新增完成后,启动项目,我这个项目用的是 8081 端口,所以打开浏览器,输入 http://localhost:8081/actuator/prometheus ,如果看到下面的信息,就表示项目整合普罗米修斯监控 jvm 是成功的。
为了能以可视化的方式查看监控信息,下面我们还需要配置一下 Prometheus 和 Grafana。
2.4 配置Prometheus
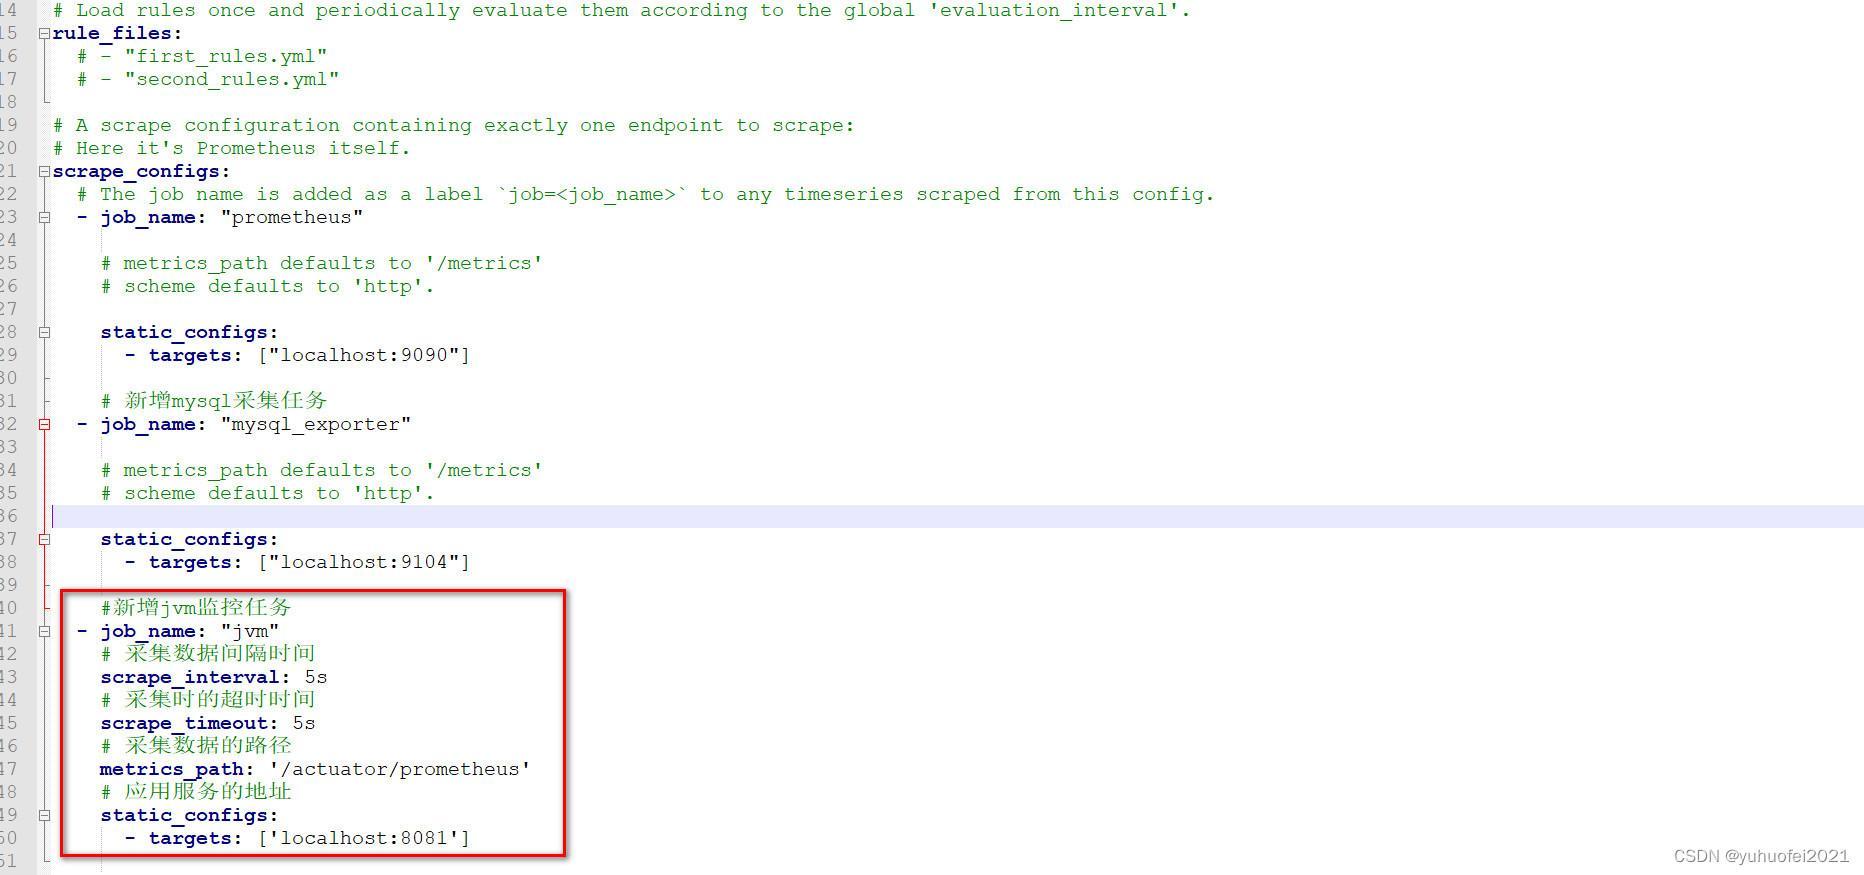
在 prometheus.yml 文件中,加入以下的配置并保存
    #新增jvm监控任务
  - job_name: "jvm"
    # 采集数据间隔时间
    scrape_interval: 5s
    # 采集时的超时时间
    scrape_timeout: 5s
    # 采集数据的路径
    metrics_path: '/actuator/prometheus'
    # 应用服务的地址
    static_configs:
      - targets: ['localhost:8081']
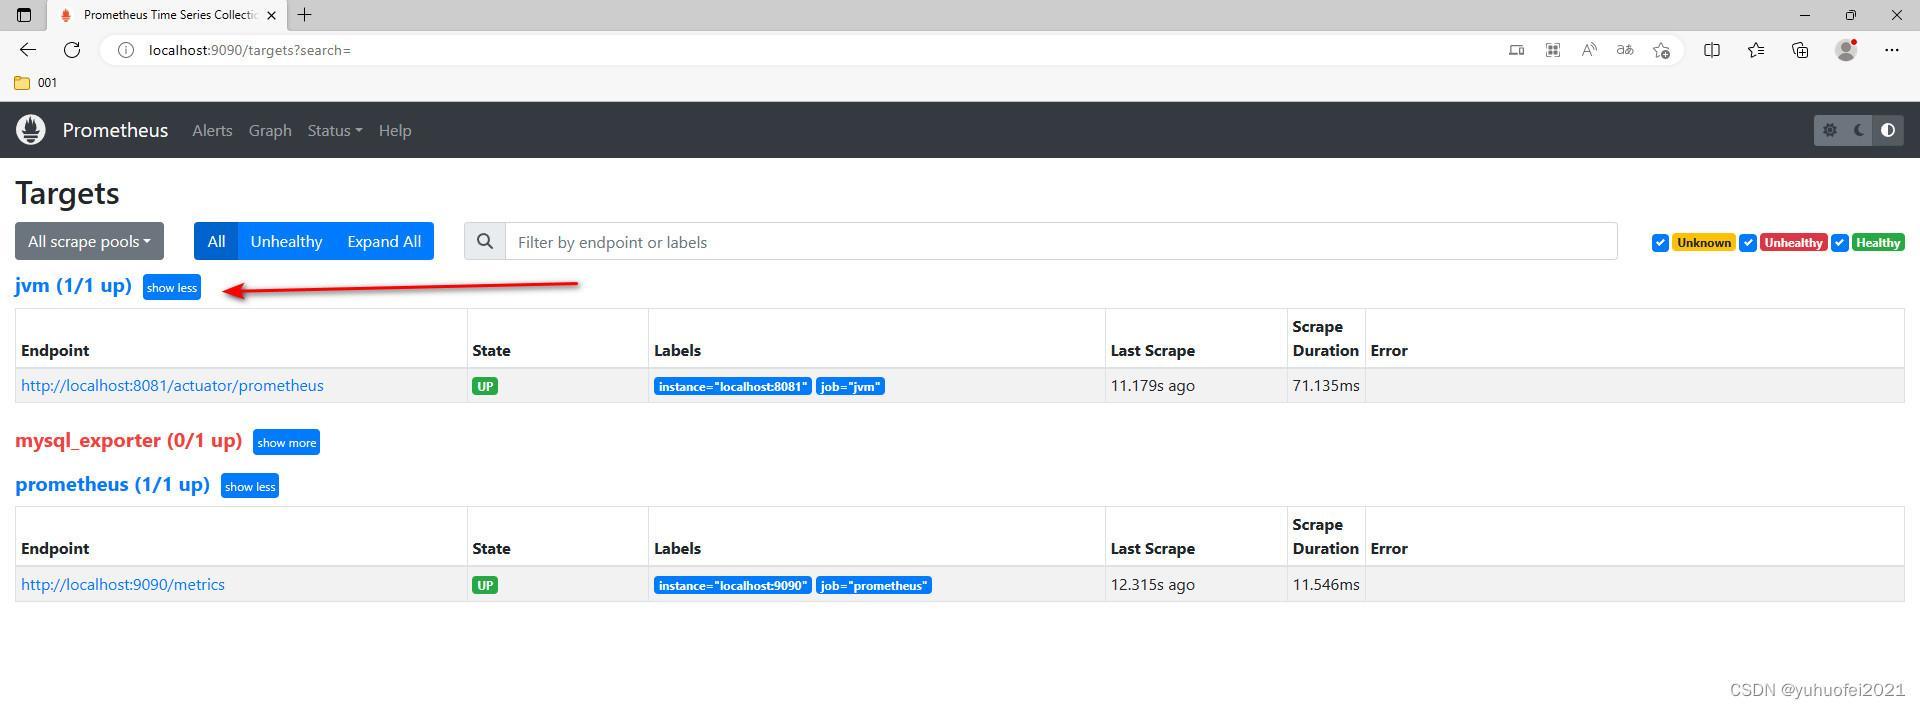
接着,双击 prometheus.exe ,启动普罗米修斯服务,在浏览器输入 http://localhost:9090/targets?search= ,如果看到下面这样的,表示添加成功。(如果一次没看到,可以多重启几次普罗米修斯服务,并刷新页面)
2.5 配置Grafana
双击 grafana.exe ,启动 Grafana 服务,然后在浏览器访问 http://localhost:3000,并登录进去,像之前一样,通过导入的方式配置 Dashboards ,可视化模板有很多,可以去 https://grafana.com/grafana/dashboards 选择
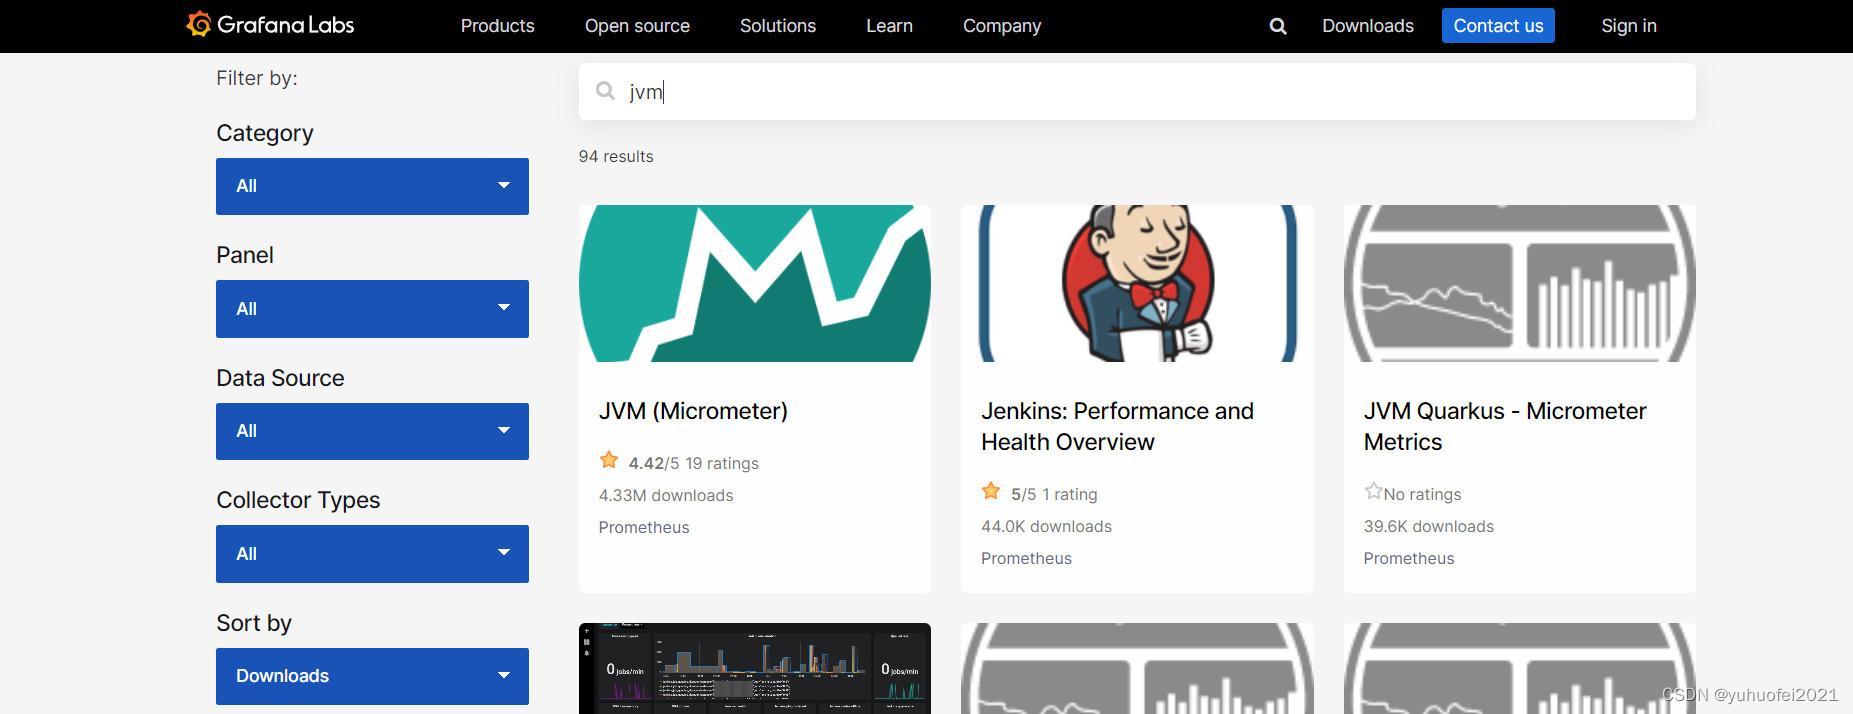
我这里直接搜 jvm ,然后点进去第一个,并将其地址复制出来 https://grafana.com/grafana/dashboards/4701-jvm-micrometer/ ,填入到导入栏进行导入。
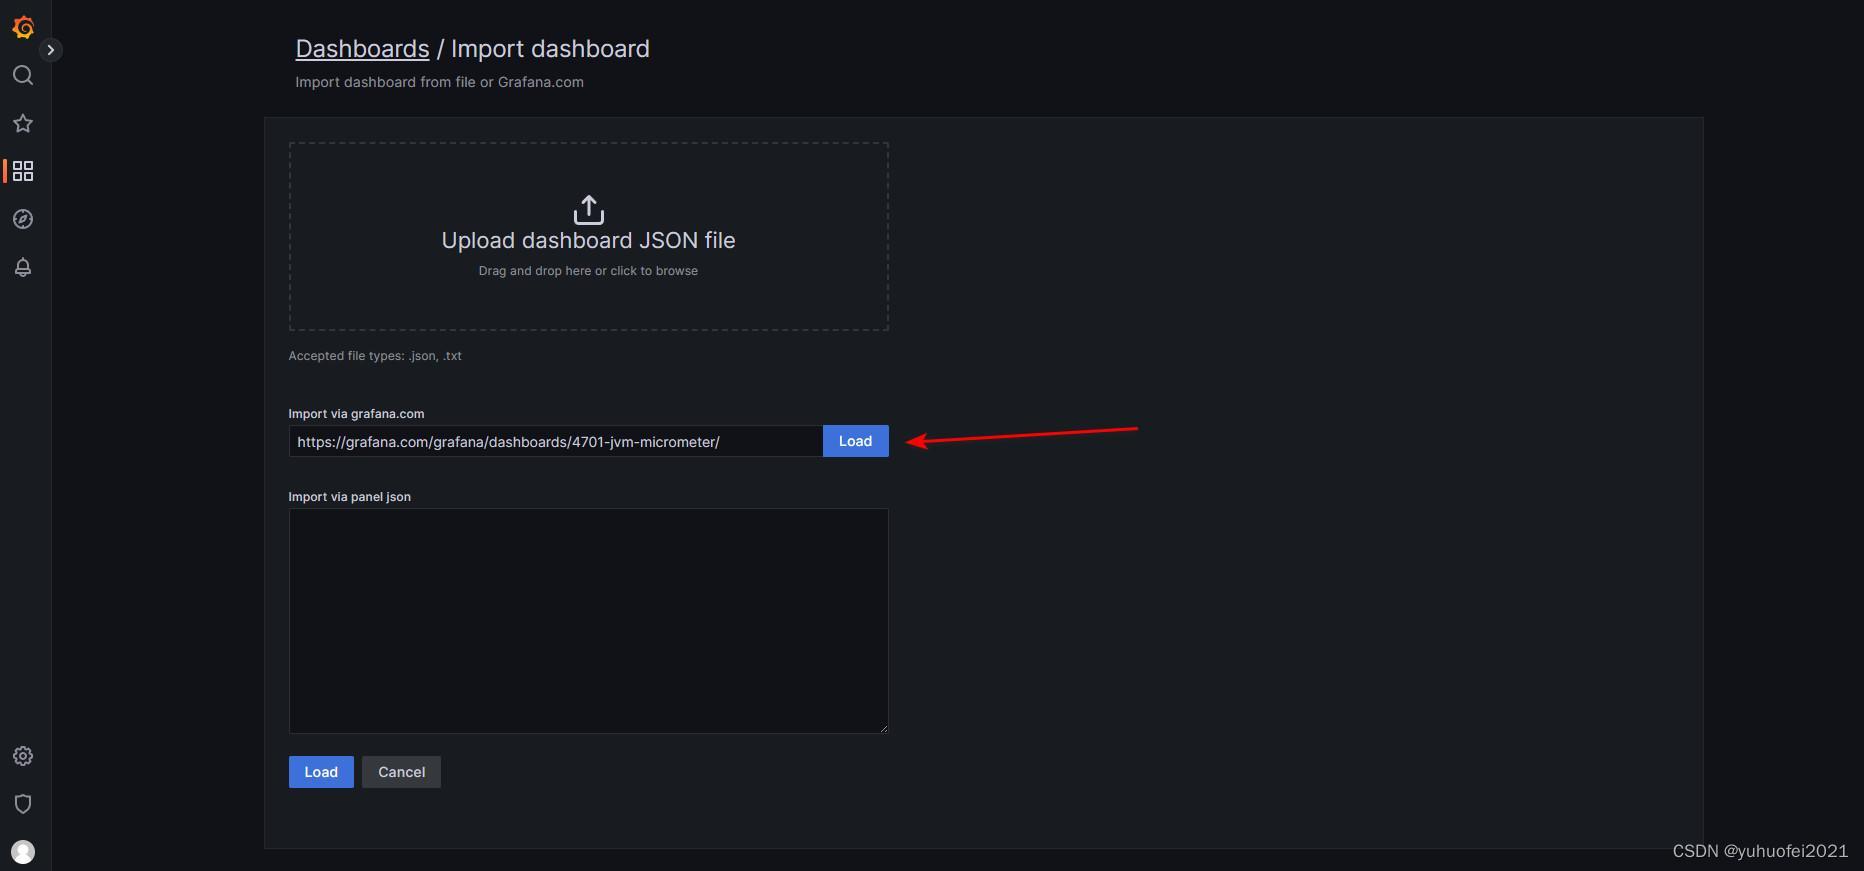
配置一下数据来源,并确定完成,就能看到下面的图样了。
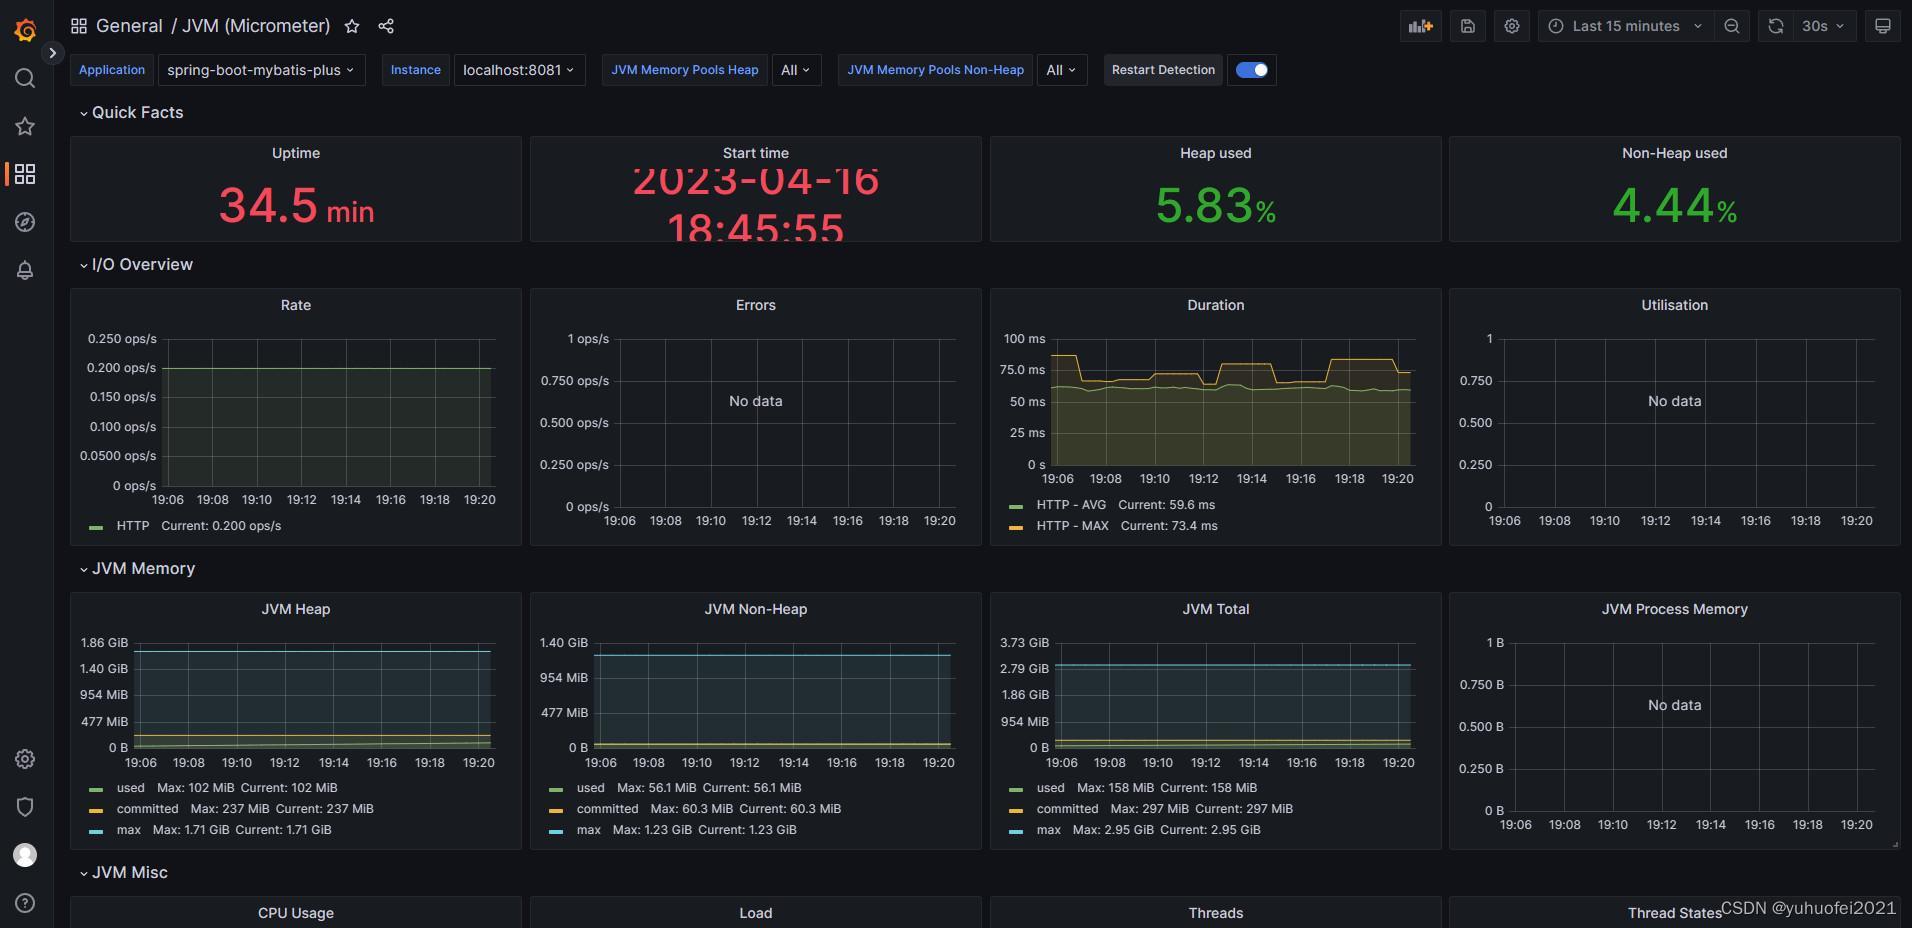
到这里,我们就完成了整个 jvm 监控的搭建。
3. 小结
搭建 jvm 的监控还是非常有必要的,有助于了解 jvm 的使用情况,及时做出调整,而且这个监控的指标也比较多,有堆、CPU、线程、非堆、元空间、Eden区、老年代、Survivor区等维度,用好监控工具,能给我们在排查问题时,省事不少。