Ubuntu18.04 安装配置Nginx、Https、PHP
Ubuntu18.04 安装配置Nginx、Https、PHP
前言
朋友趁着618入手一台轻量应用服务器,系统是Ubuntu18.04,需要搭建一个个人网站,本来想帮他装一个我最喜欢的LAMP(Linux + Apache + MySQL +PHP),但是灵机一动,不如尝试一下装个LNMP(Linux + Nginx + MySQL + PHP)试试。
安装步骤
安装 Nginx
更新系统软件包
执行 apt-get update以确保访问最新的软件包。
安装
最后的-y表示全部同意,不需要在后续的安装过程中再输入Y
sudo apt-get install nginx -y
验证
验证正在运行的 Nginx 服务器
sudo systemctl status nginx
若出现以下内容则表示服务已启用
nginx.service - A high performance web server and a reverse proxy server
   Loaded: loaded (/lib/systemd/system/nginx.service; enabled;)
   Active: active (Nginx running)

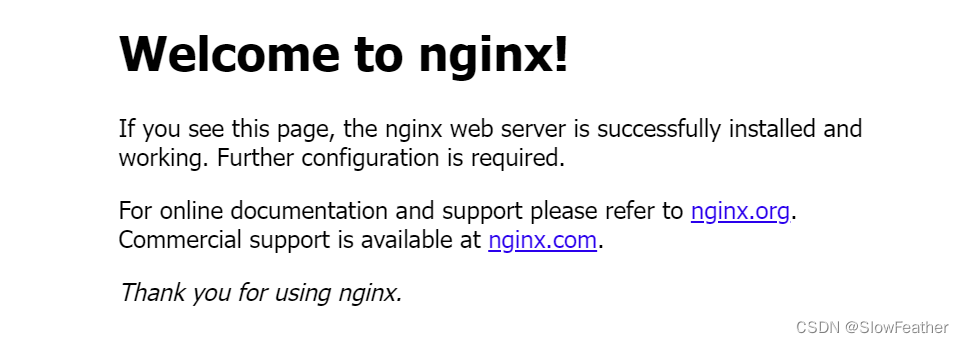
访问服务器IP出现下图说明服务可正常访问(需要检查服务器防火墙是否开启80端口)

Nginx命令
# 启动nginx服务
systemctl start nginx

# 停止服务
systemctl stop nginx

# 重新启动服务
systemctl restart nginx

# 查看所有已启动的服务
systemctl list-units --type=service

# 查看服务当前状态
systemctl status nginx

# 设置开机自启动
systemctl enable nginx

# 停止开机自启动
systemctl disable nginx
配置HTTPS
创建证书目录
找到/etc/nginx目录
输入sudo mkdir ssl创建SSL证书目录,创建完成后目录如下图

上传证书
首先从域名服务商那里申请一个免费的证书,下载Nginx对应的key和pem

然后上传到上一步创建的ssl目录

修改Nginx设置,使其支持HTTPS
进入/etc/nginx/sites-enabled目录
下面有个default文件

使用sudo vim default打开并编辑此文件
此文件中内容是以
server{

}
为一个代码块,将原来的代码修改为以下代码(不需要的可以注释掉)
server{
		listen 80 default_server;
        # listen [::]:80 default_server;

        server_name 这里写你的网址www.xxxxxx.com;
        return 301 https://$server_name$request_uri;
}

server{
		listen 443 ssl;
        # listen [::]:443 default_server;
        server_name 这里写你的网址www.xxxxxx.com;

        ssl_certificate /etc/nginx/ssl/这里写你证书pem文件名称.pem;
        ssl_certificate_key /etc/nginx/ssl/这里写你证书key文件名称.key;

        root /var/www/html;

        # Add index.php to the list if you are using PHP
        index index.html index.htm index.nginx-debian.html;

        location / {
                try_files $uri $uri/ =404;
        }
}
验证
输入
sudo nginx -t
验证设置是否正确

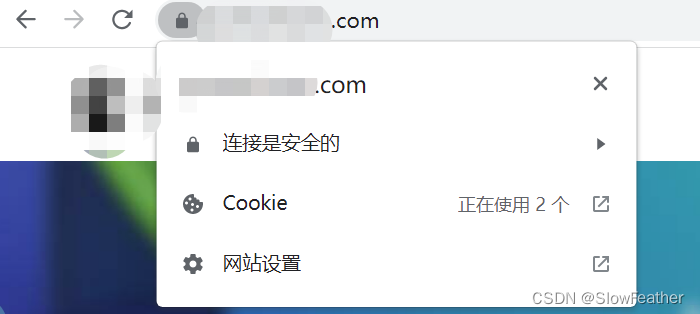
出现上图说明nginx的https配置成功,访问自己的网址会自动变成https链接

配置PHP环境
为 PHP 8.1 添加 PPA
添加ondrej/php具有 PHP 8.1 包和其他必需的 PHP 扩展。
按顺序输入这三条命令,中间会需要按下回车(Enter)来同意操作
sudo apt install software-properties-common
sudo add-apt-repository ppa:ondrej/php
sudo apt update
添加 PPA 后,可以安装 PHP 8.1。
安装PHP 8.1 FPM
跟Apache不同,Nginx需要安装 FPM。执行以下命令安装 PHP 8.1 FPM
sudo apt install php8.1-fpm
验证
安装完成后,使用此命令确认 PHP 8.1 FPM 已正确安装
php-fpm8.1 -v

安装 PHP 8.1 扩展
使用以下语法安装 PHP 扩展很简单。
sudo apt install php8.1- extension_name
用下面的命令安装一些常用的扩展
sudo apt install php8.1-common php8.1-mysql php8.1-xml php8.1-xmlrpc php8.1-curl php8.1-gd php8.1-imagick php8.1-cli php8.1-dev php8.1-imap php8.1-mbstring php8.1-opcache php8.1-soap php8.1-zip php8.1-redis php8.1-intl -y
配置 PHP 8.1
该php.ini位置将位于以下目录中
/etc/php/8.1/fpm/php.ini

可以设置下面的配置
upload_max_filesize = 32M
post_max_size = 48M
memory_limit = 256M
max_execution_time = 600
max_input_vars = 3000
max_input_time = 1000
修改完成后需要重启PHP-FPM
sudo service php8.1-fpm restart
Nginx配置PHP 8.1
修改配置
找到Nginx配置文件位置

使用sudo vim default打开并编辑此文件
主要分为以下几个步骤:
- 将 index.php 添加到索引列表中
- 取消注释 PHP 脚本到 FastCGI 入口块
- 取消注释该行以包含片段/fastcgi-php.conf
- 取消注释该行以启用 fastcgi_pass 和 php8.1-fpm
- 取消注释该部分以拒绝对 Apache .htaccess 文件的所有访问
将原来的代码修改为以下代码(不需要的可以注释掉)
server{
		listen 80 default_server;
        # listen [::]:80 default_server;

        server_name 这里写你的网址www.xxxxxx.com;
        return 301 https://$server_name$request_uri;
}

server{
		listen 443 ssl;
        # listen [::]:443 default_server;
        server_name 这里写你的网址www.xxxxxx.com;

        ssl_certificate /etc/nginx/ssl/这里写你证书pem文件名称.pem;
        ssl_certificate_key /etc/nginx/ssl/这里写你证书key文件名称.key;

        root /var/www/html;

        # Add index.php to the list if you are using PHP
        index index.html index.php index.htm index.nginx-debian.html;

        location / {
                try_files $uri $uri/ =404;
        }

		location ~ \.php$ {
                include snippets/fastcgi-php.conf;

        		# With php-fpm (or other unix sockets):
                fastcgi_pass unix:/run/php/php8.1-fpm.sock;
        		# With php-cgi (or other tcp sockets):
        		# fastcgi_pass 127.0.0.1:9000;
        }

        location ~ /\.ht {
               deny all;
        }

}
验证
输入
sudo nginx -t
验证设置是否正确

重启服务器
要启用 Nginx PHP fastCGI 设置,请重新启动服务器:
sudo systemctl restart nginx
测试
在网站根目录创建一个info.php文件
文件内容就写
<?php phpinfo(); ?>
访问该文件

参考文档
-
How to setup PHP on Nginx with fastCGI (PHP-FPM) example
链接: https://www.theserverside.com/blog/Coffee-Talk-Java-News-Stories-and-Opinions/Nginx-PHP-FPM-config-example -
How to Install or Upgrade PHP 8.1 on Ubuntu 20.04
链接: https://www.cloudbooklet.com/how-to-install-or-upgrade-php-8-1-on-ubuntu-20-04/ -
How To Install PHP 8.1 on Ubuntu 22.04|20.04|18.04
链接: https://computingforgeeks.com/how-to-install-php-on-ubuntu-linux-system/ -
php-fpm详解
链接: https://blog.csdn.net/qq_38174263/article/details/82967882