Spring Boot上传文件+部署到Tomcat
1 概述
Spring Boot上传文件,根据官方上传文件示例修改的,打包成WAR上传到Tomcat上,主要步骤是创建异常类,属性类,接口类与控制器类,最后进行少量修改打包部署到服务器上。
2 环境
Tomcat 9.0.30Spring boot 2.2.2
3 新建工程
选择Spring initializer:
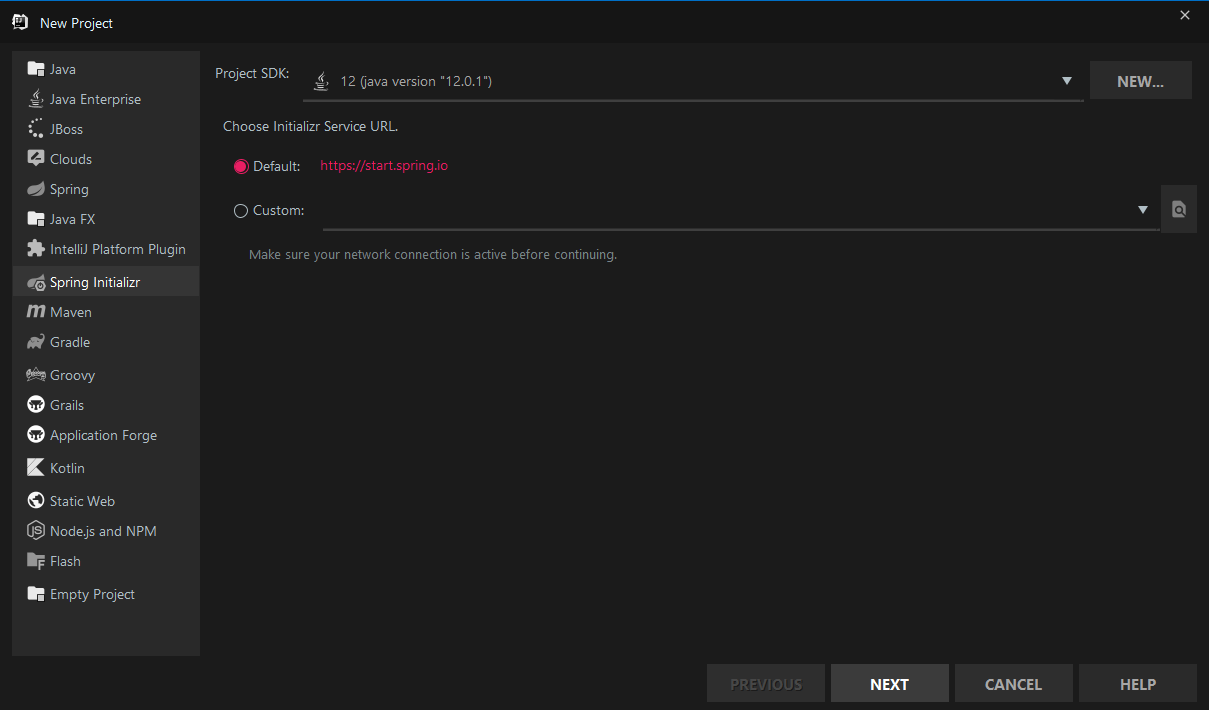
改一下包名,打包选项JAR/WAR均可,选JAR的话可以在构建的时候再生成WAR。
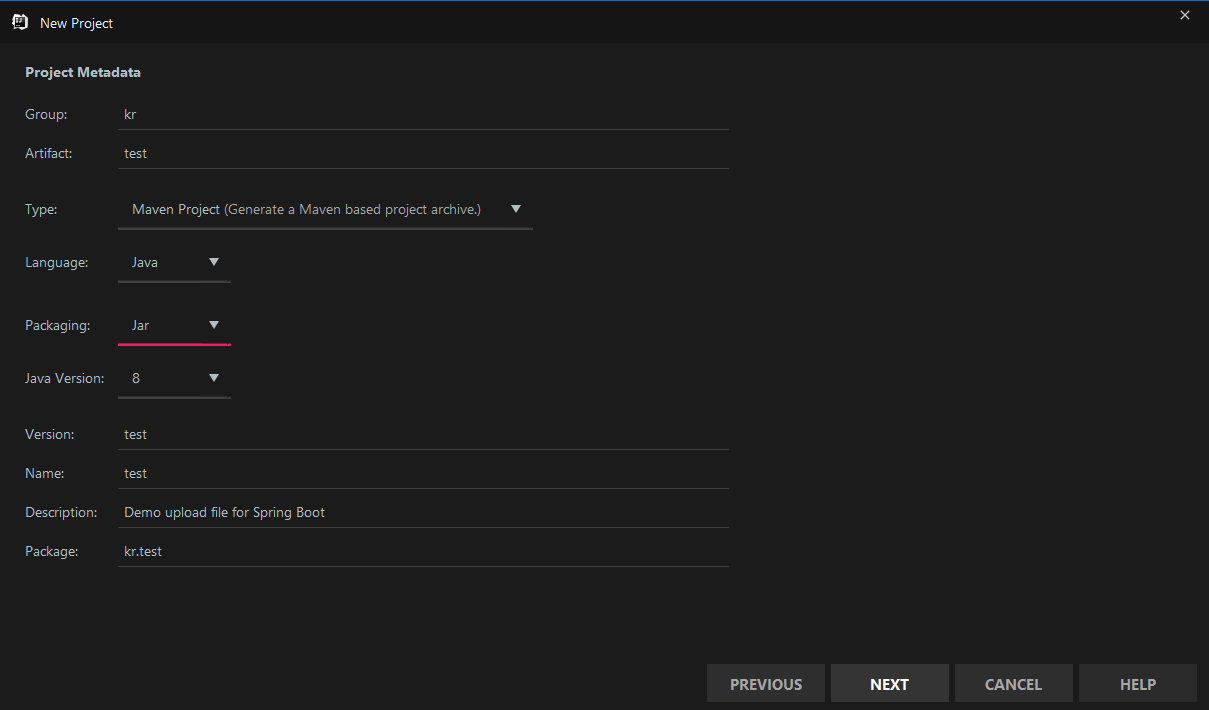
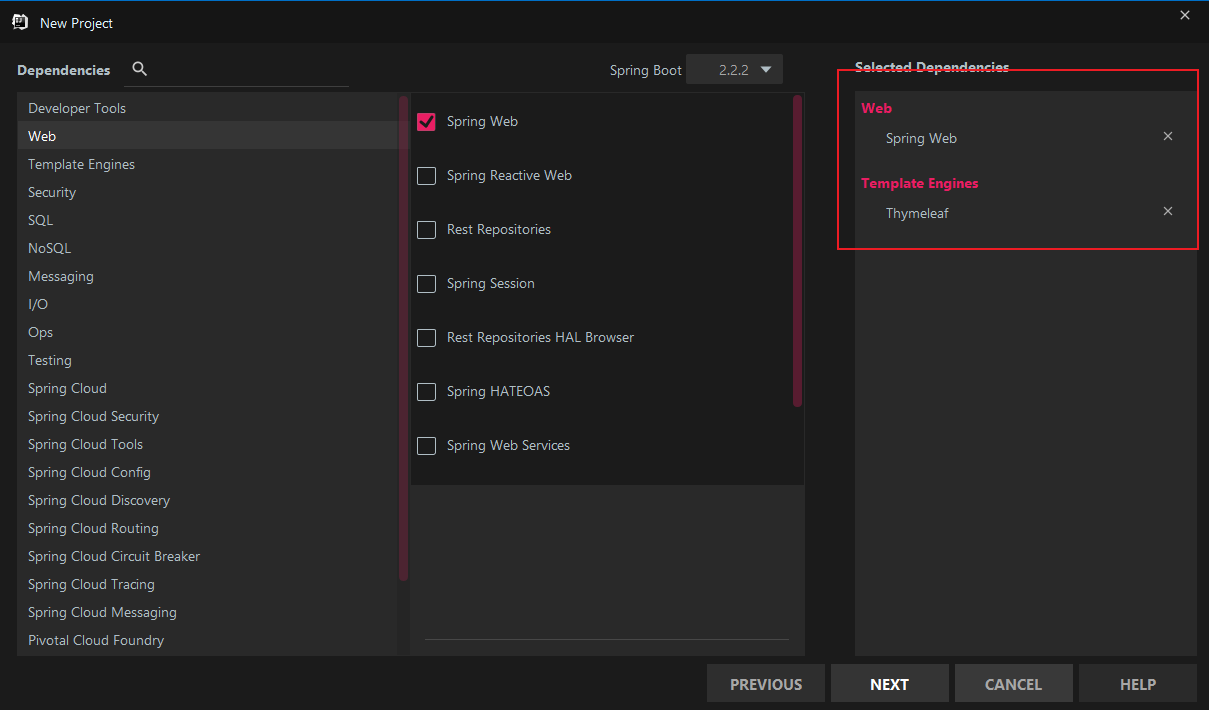
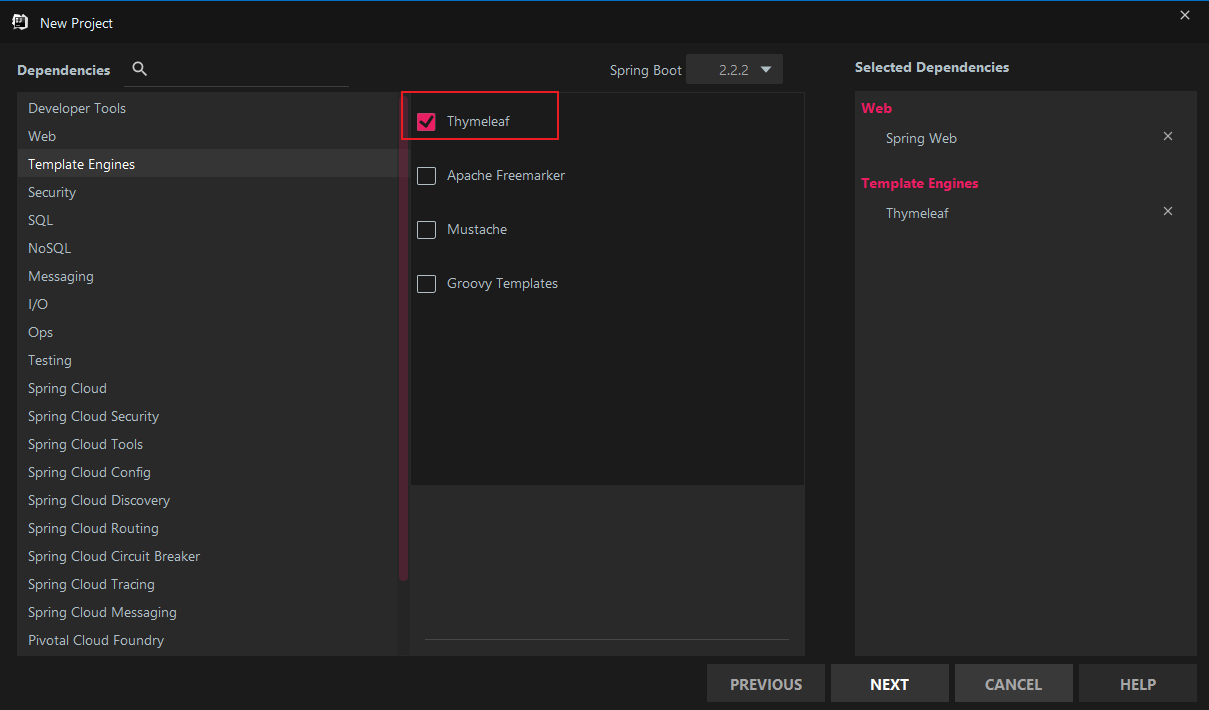
这里用的是模板引擎Thymeleaf,选择Spring Web与Thymeleaf。
最后点击完成。
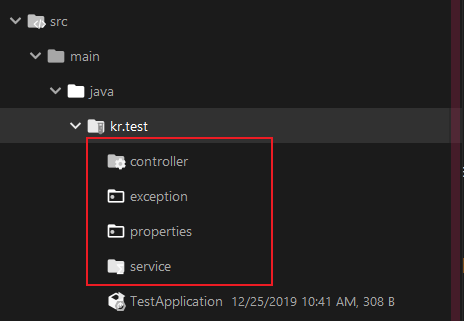
4 新建包
4个包,service,properties,controller,exception。
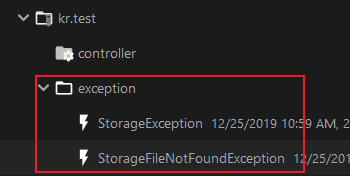
5 异常
处理两个异常,分别是存储异常与存储文件找不到异常。
5.1 StorageException
package kr.test.exception;

public class StorageException extends RuntimeException
{
    public StorageException(String message)
    {
        super(message);
    }

    public StorageException(String message,Throwable cause)
    {
        super(message,cause);
    }
}
5.2 StorageFileNotFoundException
package kr.test.exception;

public class StorageFileNotFoundException extends StorageException
{
    public StorageFileNotFoundException(String message)
    {
        super(message);
    }

    public StorageFileNotFoundException(String message,Throwable cause)
    {
        super(message,cause);
    }
}
Exception(String message,Throwable cause);
这个构造函数中的cause是引起这个异常的异常,允许空值,如果是空值则表示这个引起这个异常的异常不存在或者未知。

6 属性
新建StorageProperties.java,设定存储文件的位置,就是location的值,可以使用../../这样的值,什么也不加的话会在项目路径下新建文件夹,若有同名的文件夹会被删除再重新创建。
注意一下权限的问题,后面部署到Tomcat上面时可能会因为没有写权限而不能写入文件,要确保文件夹拥有写权限。
package kr.test.properties;

import org.springframework.boot.context.properties.ConfigurationProperties;

@ConfigurationProperties("storage")
public class StorageProperties {
    private String location = "upload_dir";
    public String getLocation()
    {
        return location;
    }

    public void setLocation(String location)
    {
        this.location = location;
    }
}
这里使用@ConfigurationProperties会报红,提示没有@EnableConfigurationProperties:

可以先不管,后面会在Main类中添加@EnableConfigurationProperties(StorageProperties.class)。
7 service
先加一个StorageService接口:
package kr.test.service;

import org.springframework.core.io.Resource;
import org.springframework.web.multipart.MultipartFile;

import java.nio.file.Path;
import java.util.stream.Stream;

public interface StorageService
{
    void init();
    void store(MultipartFile file);
    Stream<Path> loadAll();
    Path load(String filename);
    Resource loadAsResource(String filename);
    void deleteAll();
}
然后新建一个FileSystemStorageService实现该接口:
package kr.test.service;

import kr.test.exception.StorageException;
import kr.test.exception.StorageFileNotFoundException;
import kr.test.properties.StorageProperties;
import org.springframework.beans.factory.annotation.Autowired;
import org.springframework.core.io.Resource;
import org.springframework.core.io.UrlResource;
import org.springframework.stereotype.Service;
import org.springframework.util.FileSystemUtils;
import org.springframework.util.StringUtils;
import org.springframework.web.multipart.MultipartFile;

import java.io.IOException;
import java.io.InputStream;
import java.net.MalformedURLException;
import java.nio.file.Files;
import java.nio.file.Path;
import java.nio.file.Paths;
import java.nio.file.StandardCopyOption;
import java.util.stream.Stream;

@Service
public class FileSystemStroageService implements StorageService
{
    private final Path rootLocation;

    @Autowired
    public FileSystemStroageService(StorageProperties properties)
    {
        this.rootLocation = Paths.get(properties.getLocation());
    }

    @Override
    public void init()
    {
        try {
            Files.createDirectories(rootLocation);
        }
        catch (IOException e)
        {
            throw new StorageException("Could not initialize storage",e);
        }
    }

    @Override
    public void deleteAll()
    {
        FileSystemUtils.deleteRecursively(rootLocation.toFile());
    }

    @Override
    public Path load(String filename)
    {
        return rootLocation.resolve(filename);
    }

    @Override
    public Stream<Path> loadAll()
    {
        try
        {
            return Files.walk(rootLocation,1)
                    .filter(path -> !path.equals(rootLocation))
                    .map(rootLocation::relativize);
        }
        catch (IOException e)
        {
            throw new StorageException("Failed to read stored file.",e);
        }
    }

    @Override
    public Resource loadAsResource(String filename)
    {
        try {
            Path file = load(filename);
            Resource resource = new UrlResource(file.toUri());
            if(resource.exists() || resource.isReadable())
            {
                return resource;
            }
            else {
                throw new StorageFileNotFoundException("Could not read file: "+filename);
            }
        }
        catch (MalformedURLException e)
        {
            throw new StorageFileNotFoundException("Could not read file : "+filename,e);
        }
    }

    @Override
    public void store(MultipartFile file)
    {
        String filename = StringUtils.cleanPath(file.getOriginalFilename());
        try {
            if(file.isEmpty())
            {
                throw new StorageException("Failed to store empty file : "+filename);
            }
            if(filename.contains(".."))
            {
                throw new StorageException("Cannot store file with relative path outside current directory"+filename);
            }
            try(InputStream inputStream = file.getInputStream())
            {
                Files.copy(inputStream,rootLocation.resolve(filename), StandardCopyOption.REPLACE_EXISTING);
            }
        }
        catch (IOException e)
        {
            throw new StorageException("Failed to store file : "+ filename,e);
        }
    }
}
7.1 init
@Override
public void init()
{
    try {
        Files.createDirectories(rootLocation);
    }
    catch (IOException e)
    {
        throw new StorageException("Could not initialize storage",e);
    }
}
使用java.nio.file.Files.createDirectories()创建存储目录,可以建立多级目录。
7.2 deleteAll
@Override
public void deleteAll()
{
    FileSystemUtils.deleteRecursively(rootLocation.toFile());
}
使用工具类FileSystemUtils的方法递归删除文件与文件夹。
参数是一个File,下面是方法源码:
public static boolean deleteRecursively(File root)
{
    if (root != null && root.exists())
    {
        if (root.isDirectory())
        {
            File[] children = root.listFiles();
            if (children != null)
            {
                for (File child : children)
                {
                    deleteRecursively(child);
                }
            }
        }
        return root.delete();
    }
    return false;
}
首先判断根是否为空,不为空的话判断是否是目录,不是目录的话直接删除,是目录的话,利用listFiles()获取所有文件及文件夹,判断是否为空并进行递归删除。
7.3 load
@Override
public Path load(String filename) {
	return rootLocation.resolve(filename);
}
Path.resolve(String)返回相对于this的路径,具体来说,等于执行
cd rootLocation
cd filename
pwd
返回pwd的值。
7.4 loadAll
@Override
public Stream<Path> loadAll()
{
    try
    {
        return Files.walk(rootLocation,1)
                .filter(path -> !path.equals(rootLocation))
                .map(rootLocation::relativize);
    }
    catch (IOException e)
    {
        throw new StorageException("Failed to read stored file.",e);
    }
}
Files.walk遍历目录,返回一个Stream<Path>返回的Stream包含打开的一个或多个目录的引用,会在Stream关闭时关闭,第二个参数1表示遍历的最大深度。
然后对这个Stream进行filter过滤,这里是把与rootLocation不相等的Path留下,注意是不相等,就是留下filter()中条件为真的Path,不是把条件为真的Path给"删去"。
最后进行map,relativize返回参数相对于调用者的路径,这里是返回Stream中的每个Path相对于rootLocation的路径。
对于relativize,无论什么情况下:
Path a = xxxx;
Path b = xxxx;
都有
a.relativize(a.resolve(b)).equals(b)
为真。
7.5 loadAsResource
@Override
public Resource loadAsResource(String filename)
{
    try {
        Path file = load(filename);
        Resource resource = new UrlResource(file.toUri());
        if(resource.exists() || resource.isReadable())
        {
            return resource;
        }
        else {
            throw new StorageFileNotFoundException("Could not read file: "+filename);
        }
    }
    catch (MalformedURLException e)
    {
        throw new StorageFileNotFoundException("Could not read file : "+filename,e);
    }
}
这里的Resource是org.springframework.core.io.Resource,是一个接口,可以通过它访问各种资源,实现类有UrlResource,InputStreamResource等,这里利用Path.toUri()把file转换为Resource后,判断这个源是否存在或者是否可读并返回,否则抛出存储文件找不到异常。
7.6 store
@Override
public void store(MultipartFile file)
{
    String filename = StringUtils.cleanPath(file.getOriginalFilename());
    try {
        if(file.isEmpty())
        {
            throw new StorageException("Failed to store empty file : "+filename);
        }
        if(filename.contains(".."))
        {
            throw new StorageException("Cannot store file with relative path outside current directory"+filename);
        }
        try(InputStream inputStream = file.getInputStream())
        {
            Files.copy(inputStream,rootLocation.resolve(filename), StandardCopyOption.REPLACE_EXISTING);
        }
    }
    catch (IOException e)
    {
        throw new StorageException("Failed to store file : "+ filename,e);
    }
getOriginalFilename()获取文件原名字,然后通过StringUtils.cleanPath()将其标准化,处理掉.与..,然后判断文件是否为空与是否包含相对路径,没有的话利用Files.copy()进行复制,resolve获取filename相对于rootLocation的值,复制选项是REPLACE_EXISTING。
StandardCopyOption有三个可选值:
ATOMIC_MOVE:原子性的移动操作,一般在移动文件或目录时使用COPY_ATTRIBUTES:复制属性,可以保留源文件或源目录的属性REPLACE_EXISTING:替换已存在的文件
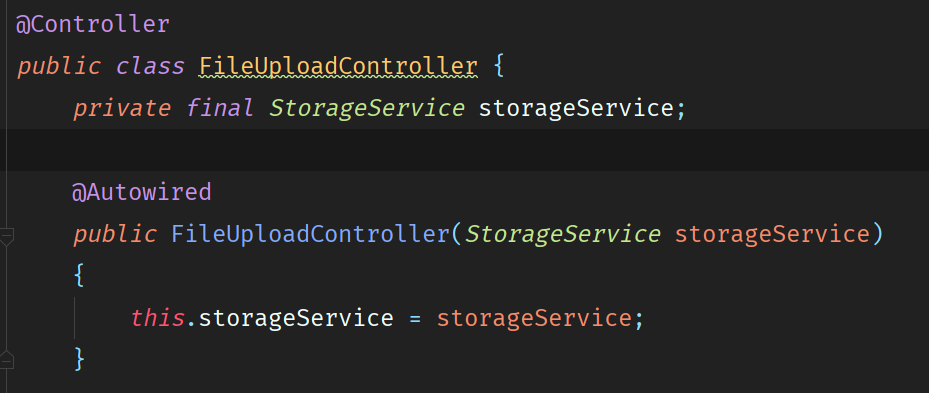
8 controller
新建FileUploadController:
package kr.test.controller;

import kr.test.exception.StorageFileNotFoundException;
import kr.test.service.StorageService;
import org.springframework.beans.factory.annotation.Autowired;
import org.springframework.core.io.Resource;
import org.springframework.http.HttpHeaders;
import org.springframework.http.ResponseEntity;
import org.springframework.stereotype.Controller;
import org.springframework.ui.Model;
import org.springframework.web.bind.annotation.*;
import org.springframework.web.multipart.MultipartFile;
import org.springframework.web.servlet.mvc.method.annotation.MvcUriComponentsBuilder;
import org.springframework.web.servlet.mvc.support.RedirectAttributes;

import java.util.stream.Collectors;

@Controller
public class FileUploadController {
    private final StorageService storageService;

    @Autowired
    public FileUploadController(StorageService storageService)
    {
        this.storageService = storageService;
    }

    @GetMapping("/")
    public String listUploadedFiles(Model model)
    {
        model.addAttribute("files",storageService.loadAll().map(
                path -> MvcUriComponentsBuilder.fromMethodName(FileUploadController.class,
                "serveFile",path.getFileName().toString()).build().toString())
                .collect(Collectors.toList()));
        return "uploadForm";
    }

    @GetMapping("/files/{filename:.+}")
    @ResponseBody
    public ResponseEntity<Resource> serveFile(@PathVariable String filename)
    {
        Resource file = storageService.loadAsResource(filename);
        return ResponseEntity.ok().header(HttpHeaders.CONTENT_DISPOSITION,"attachment;filename=\""+file.getFilename()+"\"").body(file);
    }

    @PostMapping("/")
    public String handleFileUpload(@RequestParam("file") MultipartFile file, RedirectAttributes redirectAttributes)
    {
        storageService.store(file);
        redirectAttributes.addFlashAttribute("message","You successully uploaded "+file.getOriginalFilename()+"!");
        return "redirect:/";
    }

    @ExceptionHandler(StorageFileNotFoundException.class)
    public ResponseEntity<?> handleStorageFileNotFound(StorageFileNotFoundException e)
    {
        return ResponseEntity.notFound().build();
    }
}
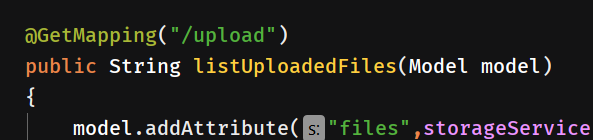
8.1 listUploadedFiles
@GetMapping("/")
public String listUploadedFiles(Model model)
{
    model.addAttribute("files",storageService.loadAll().map(
            path -> MvcUriComponentsBuilder.fromMethodName(FileUploadController.class,
            "serveFile",path.getFileName().toString()).build().toString())
            .collect(Collectors.toList()));
    return "uploadForm";
}
@GetMapping是@RequestMapping(method = RequestMethod.GET)的简化写法,将HTTP GET路径映射到特定的处理方法上。
方法的参数是Spring MVC中的Model,Model实质上是一个Map,添加的key可以在视图中用${key}获取值,比如,这里添加了files作为key,则在视图中可用${files}获取值。
MvcUriComponentsBuilder可以为Controller指定uri,fromMethod简单地说就是会调用FileUploadController的serveFile(),参数是path.getFileName().toString(),由于serveFile()返回的是Stream<Path>,利用Stream的collect将其转换成List添加到model中,然后返回uploadForm,表示这是视图的名称,会到resource/templates下寻找。
这里说一下RequestMapping与Model。
8.1.1 RequestMapping
可以用@RequestMapping()来映射URL,可以映射到某个类或某个具体方法。@RequestMapping常用的有以下属性:
value:请求的URL路径,支持URL模板,正则表达式method:HTTP请求方法,如GET、POST、PUT、DELTE等consumes:允许的媒体类型,如consumes="application/json",对应于HTTP请求的Content-Typeproduces:相应的媒体类型,如produces="application/json",对于HTTP请求的Acceptparams:请求参数,如params="action=update"headers:请求头
Spring提供了简化的@RequestMapping,提供了新的注解来标识HTTP方法:
@GetMapping@PostMapping@PutMapping- …
所以这里的@GetMapping是简化了的@RequestMapping。
8.1.2 Model
可以向Model添加视图所需要的变量,Model主要有以下方法:
Model addAttribute(Object value);
Model addAttribute(String name,Object value);
Model addAllAttributes(Map attributes);
Model addAllAttributes(Collection<?> attributes);
Model mergeAttributes(Map attributes);
boolean containAttribute(String name);
addAttribute()添加一个变量,对于两个参数的,使用name作为变量名称,后面的是值,对于只有一个Object的,变量的名字就是类名字首字母小写后转为的Java变量。
addAttributes()添加多个变量,如果变量存在则覆盖,其中参数为Collection<?>的方法添加变量名时与addAttribute(Object)的命名规范类似。
mergeAttributes()也是添加多个变量,不过变量已存在的话会忽略。
containAttributte()判断是否存在变量。
8.2 serveFile
@GetMapping("/files/{filename:.+}")
@ResponseBody
public ResponseEntity<Resource> serveFile(@PathVariable String filename)
{
    Resource file = storageService.loadAsResource(filename);
    return ResponseEntity.ok().header(HttpHeaders.CONTENT_DISPOSITION,"attachment;filename=\""+file.getFilename()+"\"").body(file);
}
这里的@GetMapping用来表示显示的用来供下载的文件名,@ResponseBody表示直接返回内容而不是视图名,因为默认返回的是视图名称,@ResponseBody对于String直接返回,否则默认使用Jackson进行序列化。
@PathVariable表示这是@GetMapping中的参数的值,可以省略,默认同名,就是形参的名字与GetMapping中的名字一样,从中取值赋给形参,通过filename加载资源后,作为ResponseEntity的请求体。
ResponseEntity从HttpEntity继承而来,ResponseEntity.ok()是一个静态方法,表示构建一个状态为ok的ResponseEntity,然后添加请求头。
HttpHeaders.CONTENT_DISPOSITION,"attachment;filename=\""+file.getFilename()+"\""
content_disposition表示文件是直接在浏览器打开还是下载,attachment表示是要下载,文件名为file.getFilename()。
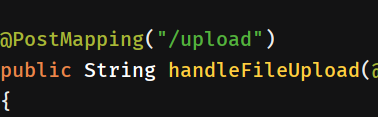
8.3 handleFileUpload
@PostMapping("/")
public String handleFileUpload(@RequestParam("file") MultipartFile file,RedirectAttributes redirectAttributes)
{
    storageService.store(file);
    redirectAttributes.addFlashAttribute("message","You successully uploaded "+file.getOriginalFilename()+"!");
    return "redirect:/";
}
@PostMapping()与@GetMapping()类似,只不过方法不是GET而是POST。@RequestParam表示请求参数,里面的是请求参数的名字,使用MultipartFile来处理文件上传。
RedirectAttributes是用于重定向使用的,可以附带参数,RedirectAttributes有两种带参的形式:
addAttribute(String name,Object value);
addFlashAttribute(String name,Object value);
addAttribute()相当于直接在重定向的地址添
name=value
这样的形式,会将参数暴露在重定向的地址上。
而addFlashAttribute()隐藏了参数,只能在重定向的页面中获取参数的值,用到了session,session跳转到页面后就会删除对象。
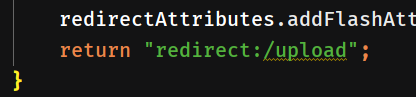
handleFileUpload首先保存文件,然后添加一个保存成功的信息,由于Controller中重定向可以返回以redirect:或以forward:为前缀的URI,因此返回redirect:/,重定向到根。
8.4 handleStorageFileNotFound
@ExceptionHandler(StorageFileNotFoundException.class)
public ResponseEntity<?> handleStorageFileNotFound(StorageFileNotFoundException e)
{
    return ResponseEntity.notFound().build();
}
@ExceptionHandler()注解会处理Controller层抛出的所有StorageFileNotFoundException类及其子类的异常,ResponseEntity.notFound()相当于返回404标识码。
9 main
package kr.test;

import kr.test.properties.StorageProperties;
import kr.test.service.StorageService;
import org.springframework.boot.CommandLineRunner;
import org.springframework.boot.SpringApplication;
import org.springframework.boot.autoconfigure.SpringBootApplication;
import org.springframework.boot.context.properties.EnableConfigurationProperties;
import org.springframework.context.annotation.Bean;

@SpringBootApplication
@EnableConfigurationProperties(StorageProperties.class)
public class TestApplication {

    public static void main(String[] args) {
        SpringApplication.run(TestApplication.class, args);
    }

    @Bean
    CommandLineRunner init(StorageService storageService)
    {
        return (args) ->
        {
            storageService.deleteAll();
            storageService.init();
        };
    }
}
在原来的基础上添加
@EnableConfigurationProperties(StorageProperties.class)
与
@Bean
CommandLineRunner init(StorageService storageService)
{
    return (args) ->
    {
        storageService.deleteAll();
        storageService.init();
    };
}
@EnableConfigurationProperties可以为带有@ConfigurationProperties注解的Bean提供有效的支持,将带有@Configuration注解的类注入为Spring的Bean,在这里是使StorageProperties的@ConfigurationProperties生效,如果没有这一行会报红:

@Bean标注在方法上,等价于Spring的xml配置文件的<bean>,注册bean对象。
CommandLineRunner接口用于应用初始化后去执行一段代码逻辑,这段代码在整个应用周期只执行一次。
10 application.properties
这里可以设置一些环境配置属性,Spring Boot允许准备多个配置文件,在部署时可以指定那个配置文件覆盖默认的application.properties。这里是有关上传文件的设置:

默认如下:
spring.servlet.multipart.enabled=true
spring.servlet.multipart.file-size-threshold=0
spring.servlet.multipart.location=
spring.servlet.multipart.max-file-size=1MB
spring.servlet.multipart.max-request-size=10MB
spring.servlet.multipart.resolve-lazily=false
enabled表示允许上传,file-size-threshold表示上传文件超过一定长度就先写入临时文件,单位MB或KB,location是临时文件存放目录,不设定的话使用Web服务器提供的临时目录。max-file-size表示单个文件最大长度,默认1MB,max-request-size为单次HTTP请求上传的最大长度,默认10MB,resolve-lazily表示文件和参数被访问的时候再解析成文件。
在这里只需把max-size调大一点即可。

11 测试
这是在本地进行的测试,直接在IDE上点击运行应用,然后打开浏览器输入:
localhost:8080

12 打包部署
Spring Boot通常打成JAR包或WAR包,这里部署到Tomcat上的是打成WAR包。
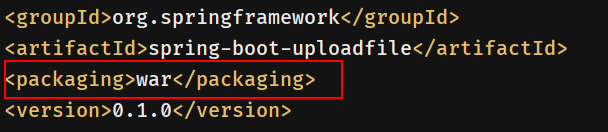
12.1 改变打包方式
pom.xml中,<packaing>改成WAR:
12.2 去除Tomcat依赖
Spring Boot默认自带了一个嵌入式的Tomcat,需要把Tomcat依赖方式改为provided。
pom.xml中,在<dependencies>添加:
<dependency>
    <groupId>org.springframework.boot</groupId>
    <artifactId>spring-boot-starter-tomcat</artifactId>
    <scope>provided</scope>
</dependency>
12.3 修改Main类
修改Main类,让其继承SpringBootServletInitializer,重载configure(),同时main()保持不变。
@SpringBootApplication
public class MainClass extends SpringBootServletInitializer
{
	@Override
	protected SpringApplicationBuilder configure(SpringApplicationBuilder application)
	{
		return application.sources(MainClass.class);
	}
	//main()不变
}
12.4 路径问题
这个很重要,设置不当的话就无法访问了,主要就是四个路径:
action:

@GetMapping

@PostMapping

redirect
12.4.1 action
这个是绝对路径,要加上/war项目名。
/war项目名/上传路径名

比如这里WAR项目名是kr,上传路径名是upload。
12.4.2 @GetMapping
这个是相对路径,相对于当前项目的路径,不用加上/war项目名。
/上传路径名
这里是upload。
12.4.3 @PostMapping
与@GetMapping一样,上传路径名。
/上传路径名
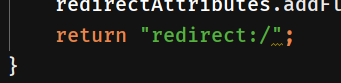
12.4.4 redirect
这个是返回的重定向的路径名,相对路径,与上两个一样,也是上传路径名.
/上传路径名
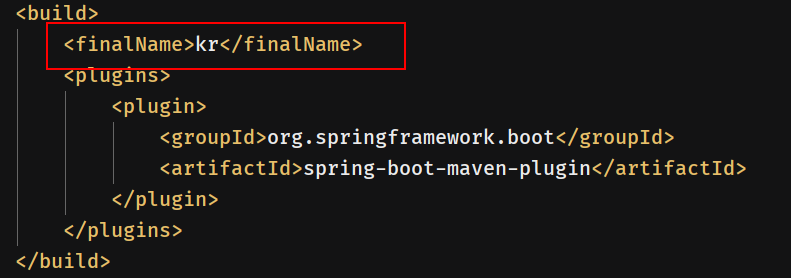
12.5 设置打包名字
在<build>中添加<finalName>,指定打包出来的WAR名,注意这个要与上面的WAR项目名一样,这里设置的是kr。
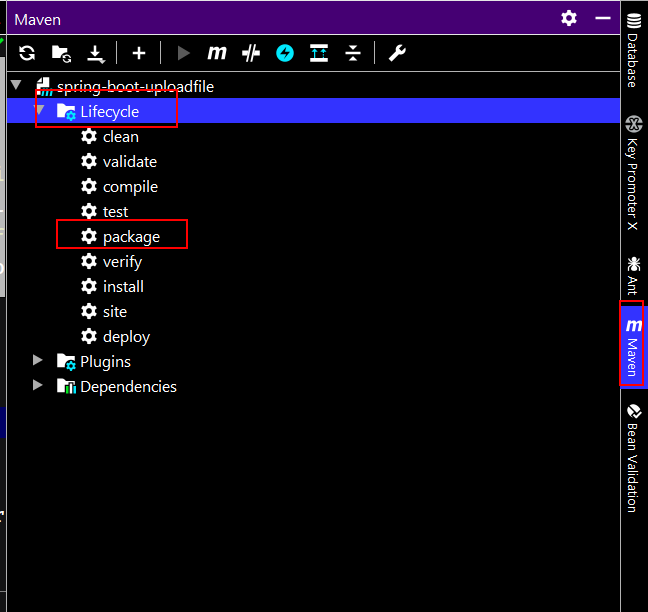
12.6 Maven打包
运行
mvn package
即可打包,对于IDEA,可以在IDEA右侧栏的Maven中,打开Lifecycle,选择package:
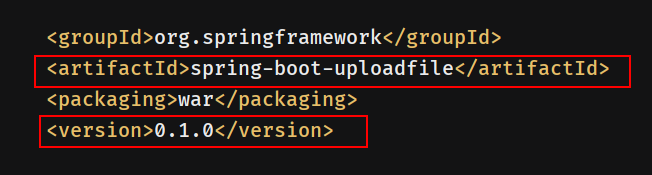
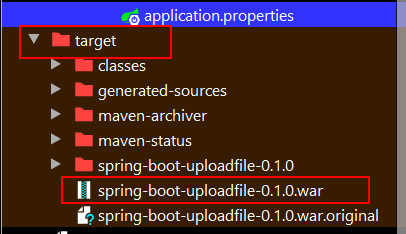
12.7 打包完成
打包后的WAR默认放在target下,名字默认为<artifactId>+<version>。
12.8 上传到服务器
上传的话笔者用的是密钥认证的scp:
scp -i xxxx\id_rsa kr.war username@ip:/usr/local/tomcat/webapps
放到服务器的Tomcat下的webapps目录。
12.9 开启Tomcat
进入到Tomcat目录的bin下:
cd /usr/local/tomcat/bin
./startup.sh
如果正在运行的话就不用启动了,因为会自动检测到webapps目录的变化,把新的WAR自动解包。
12.10 测试
略过,与本地测试类似,不过要注意的是上传的文件夹是在tomcat/bin下,想要修改的话可以修改StorageProperties的location。